


Chili cheese dip is a warm, cheesy appetizer made with canned Hormel chili, cream cheese, and shredded cheddar, layered in one pie dish and baked until bubbling. I build it in layers instead of stirring it together, the same way I would build a queso, so the cream cheese stays rich on the bottom instead of turning grainy. It takes 5 minutes to assemble and 15 minutes in the oven, and I serve it with Fritos scoops, tortilla chips, pita chips, or fresh-cut vegetables for game day.

This chili cheese dip needs only 3 ingredients for the base, which makes it one of the easiest appetizers alongside my Velveeta cheese dip, my Mexican corn party dip, and my Bisquick sausage balls. Everything spreads into one pie dish and bakes in a single layer, so cleanup is one dish instead of three. If you are new to the kitchen, this is a forgiving appetizer to start with; there is very little that can go wrong between spreading, pouring, and baking.
Easy Chili Cheese Dip Ingredients:

- Cream cheese, softened - this is the base layer, and it needs to be fully softened at room temperature. Cold cream cheese does not spread smooth; it tears and leaves gaps, and those gaps are where grease and liquid pool once the dip bakes.
- Hormel chili, no beans - I use no beans specifically because it spreads into an even layer without pockets that break up the texture when you scoop. The chili also needs to look thick, not soupy; thin chili is the most common reason this dip turns watery.
- Sharp cheddar cheese, shredded - sharp cheddar melts into a stringy, glossy layer without turning greasy the way milder cheeses can under direct heat. Shred it yourself from a block if you can; pre-shredded bags are coated in starch to prevent clumping, and that same starch keeps the cheese from melting into one silky layer.
Recipe Card?
To find the full printable recipe with specific measurements and directions CLICK HERE to go to the recipe card.
Variations and substitutions:
Here is what actually changes when you swap ingredients in this recipe, based on how I have made it.
- Hormel chili with beans works in place of no beans if you want more heartiness in each scoop; the texture is chunkier but it still spreads and bakes the same way. Homemade chili and plant-based chili both work too, as long as the chili is thick rather than brothy. If your canned chili looks loose, drain off a couple tablespoons of liquid before you pour it in, or the dip will separate into grease and liquid as it bakes.
- For the cheese, I have swapped in colby jack, pepper jack, and a Mexican blend, and all three melt just as well as sharp cheddar. I would skip pre-shredded mozzarella here; it turns rubbery under the direct heat instead of browning the way cheddar does, and it does not hold the same pull when you scoop it.
- Let everyone dress their own serving at the table with chopped green onions, a splash of hot sauce, a dollop of sour cream, or a scoop of pico de gallo.
- If dips are the plan for game day, my pizza dip recipe is another crowd favorite to add to the table.
How to make Homemade Chili Cheese Dip
Four short steps get this from countertop to oven; here is what each one should look like along the way. For a cooler, tangier dip to set next to this one, try one of my sour cream dip recipes.

Preheat oven to 350 degrees
Spread
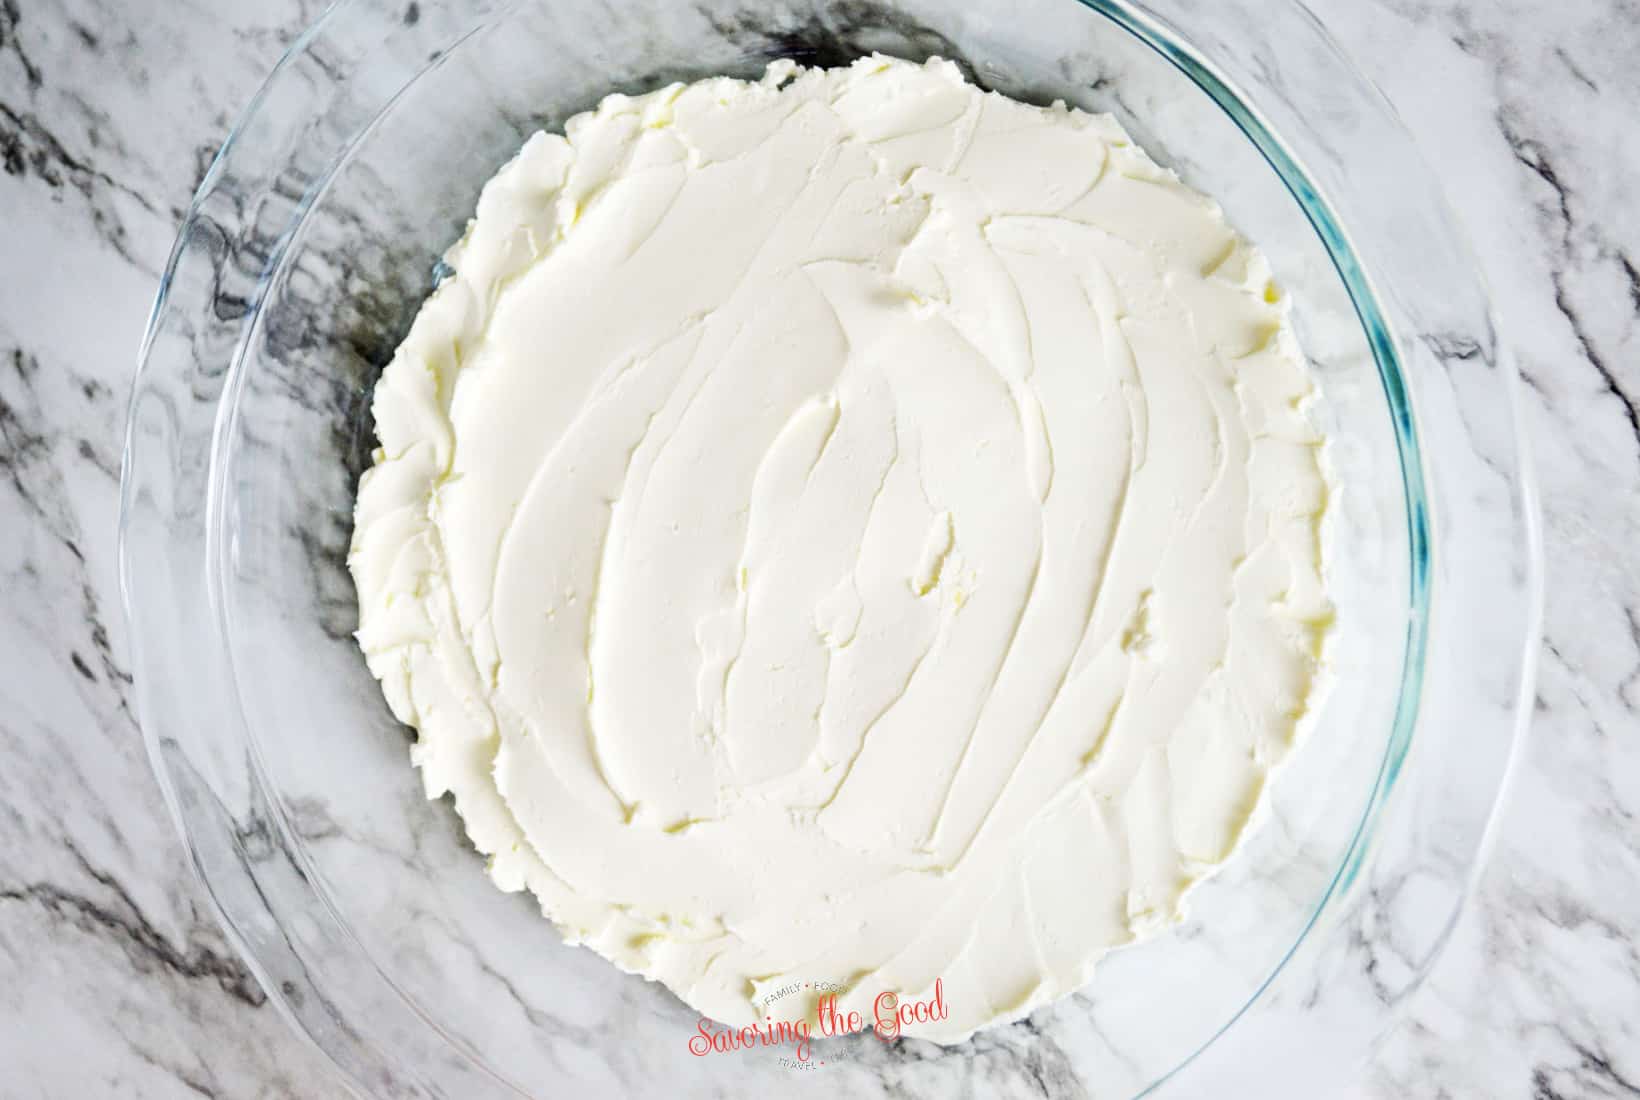
Spread softened cream cheese into the bottom of a 9 inch pie dish with the back of a large spoon, working it into one even layer that reaches the edges.
Cheese Tip
The cream cheese has to be fully softened for this; cold cream cheese tears and leaves gaps instead of spreading smooth, and those gaps are where the dip turns watery once it bakes.

Pour
Pour the chili over the cream cheese and smooth it into an even layer with the back of the spoon. You should see the chili cover the cream cheese completely, edge to edge, with no white peeking through.

Sprinkle
Sprinkle the shredded cheese evenly over the chili so it is covered in one solid layer with no bare spots. A solid layer matters here; thin spots brown too fast and can burn before the center is bubbling.

Bake
Bake for 15 minutes, or until the cheese is fully melted and bubbling at the edges of the dish. Once the cheese pulls slightly away from the side of the dish and the center is bubbling, not just melted, it is ready; pulling it early leaves the center underheated even though the top looks done.
Storage Tips
Here is how to store this so it stays fresh. Store leftover chili cheese dip in an airtight container, or cover the cooled baking dish with plastic wrap, and refrigerate for up to 5 days.
Store leftover chili cheese dip in an airtight container. Alternatively, you can just cover the cooled baking dish with plastic wrap and keep in the refrigerator for up to 5 days.
Reheating Instructions
Heat leftovers in the microwave in 30-second increments, stirring between each, until the center is hot and the cheese has melted again. If you want the top bubbly like it was fresh from the oven, reheat it in a 350-degree oven for about 10 minutes instead.
Seasonal Favorite
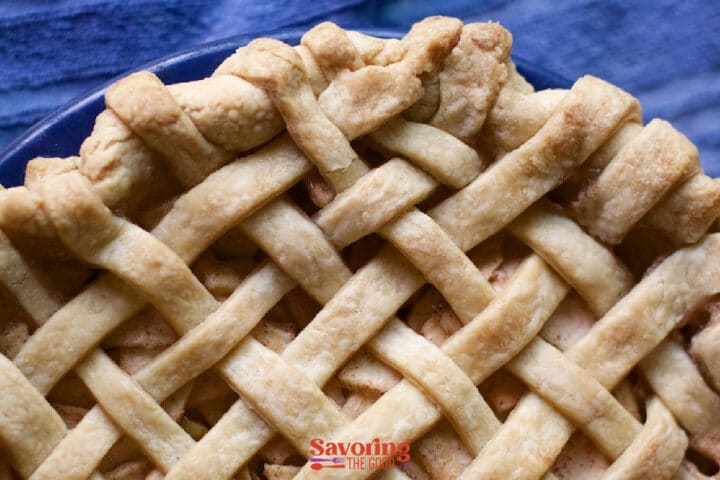
This is my award-winning Crisco pie crust recipe; flaky, tender, and made with simple ingredients you already have.
Recipe Tips
- Make sure to use a sturdy chip or cracker for dipping because the dip is thick and heavy.
- To make this recipe spicier, try using a spicy variety of chili or adding a dash of cayenne pepper.
- You can also customize this recipe by adding your favorite toppings such as diced tomatoes, jalapeños, or sliced black olives.
FAQ's and Tips
Yes, queso and cheese dip are essentially the same thing. Queso is a Spanish word for "cheese," while cheese dip is an American term for melted or processed cheese used as a dip.
Typically, queso refers to a more authentic Mexican-style cheese sauce made with real cheese, while cheese dip may contain additional ingredients like cream, seasonings or peppers. But in general, both terms refer to a creamy and melty cheesy sauce used as a dipping condiment for chips or other foods.
Yes. Assemble the layers in the pie dish, cover, and refrigerate for up to 24 hours before baking. Add 3 to 5 extra minutes to the bake time since the dish is starting cold instead of at room temperature.
This almost always comes down to two things: thin, soupy chili or pre-shredded cheese. Drain a couple tablespoons of liquid from loose canned chili before using it, and shred your own cheese from a block instead of using bagged shredded cheese, which is coated in starch that keeps it from melting smooth.
I do not recommend it. Cream cheese based dips separate and turn grainy once they thaw, and you will lose the smooth texture that makes this dip work. It is best made fresh or refrigerated for up to 5 days.
No beans spreads into a smoother, more even layer, which is why I default to it. Chili with beans works too and gives you a heartier bite, but the layer will be chunkier and less uniform when you scoop it.

Sarah's Culinary Insight
- The cream cheese has to be fully softened, not just left out for ten minutes. If it is still cool in the center, it will not spread into one smooth layer, and the gaps let grease and liquid pool during baking.
- I have baked this dip more times than I can count, and 15 minutes at 350 degrees in a glass pie dish is the sweet spot. Push it past 20 minutes and the cheese starts to break, separating into grease and rubbery curds instead of staying smooth.
- Shred your own cheese from a block when you can. Pre-shredded bags are coated in starch to keep the shreds from clumping in the bag, and that same starch keeps the cheese from melting into the same silky layer.
- If your canned chili looks thin or soupy straight out of the can, drain off a couple tablespoons of liquid before you pour it in. Thin chili is the most common reason this dip turns watery instead of holding together.
- Skip stirring the layers together before baking, even though it is tempting. Keeping the cream cheese, chili, and cheese in distinct layers is what gives you a clean pull when you scoop instead of a muddy, orange-tinted dip.


Ingredients
- 8 ounces (226 ⅘ g) Cream Cheese softened
- 1 15 oz can (1 15 oz can) Hormel chili
- 2 Cups (226 g) shredded cheddar cheese
Instructions
- Preheat your oven to 350 degrees.

- Spread softened cream cheese into the bottom of a 9 inch pie dish with the back of a large spoon, working it into one even layer that reaches the edges.8 ounces (226 ⅘ g) Cream Cheese

- Pour the chili over the cream cheese and smooth it into an even layer with the back of the spoon. You should see the chili cover the cream cheese completely, edge to edge, with no white peeking through.1 15 oz can Hormel chili
- Sprinkle the shredded cheese evenly over the chili so it is covered in one solid layer with no bare spots. A solid layer matters here; thin spots brown too fast and can burn before the center is bubbling.2 Cups (226 g) shredded cheddar cheese
- Bake for 15 minutes, or until the cheese is fully melted and bubbling at the edges of the dish. Once the cheese pulls slightly away from the side of the dish and the center is bubbling, not just melted, it is ready; pulling it early leaves the center underheated even though the top looks done.
- Serve with tortilla chips. Enjoy!



Nutrition
Notes

I am Sarah Mock. Welcome!
Sarah Mock is a classically trained Chef and a graduate of Johnson & Wales University. A culinary blogger for 17 years, Sarah helps the home cook prepare her recipes with professional results.


Comments
No Comments