

You can grow fresh, flavorful greens on your kitchen counter in as little as 7 to 14 days with no garden required and a green thumb is optional.
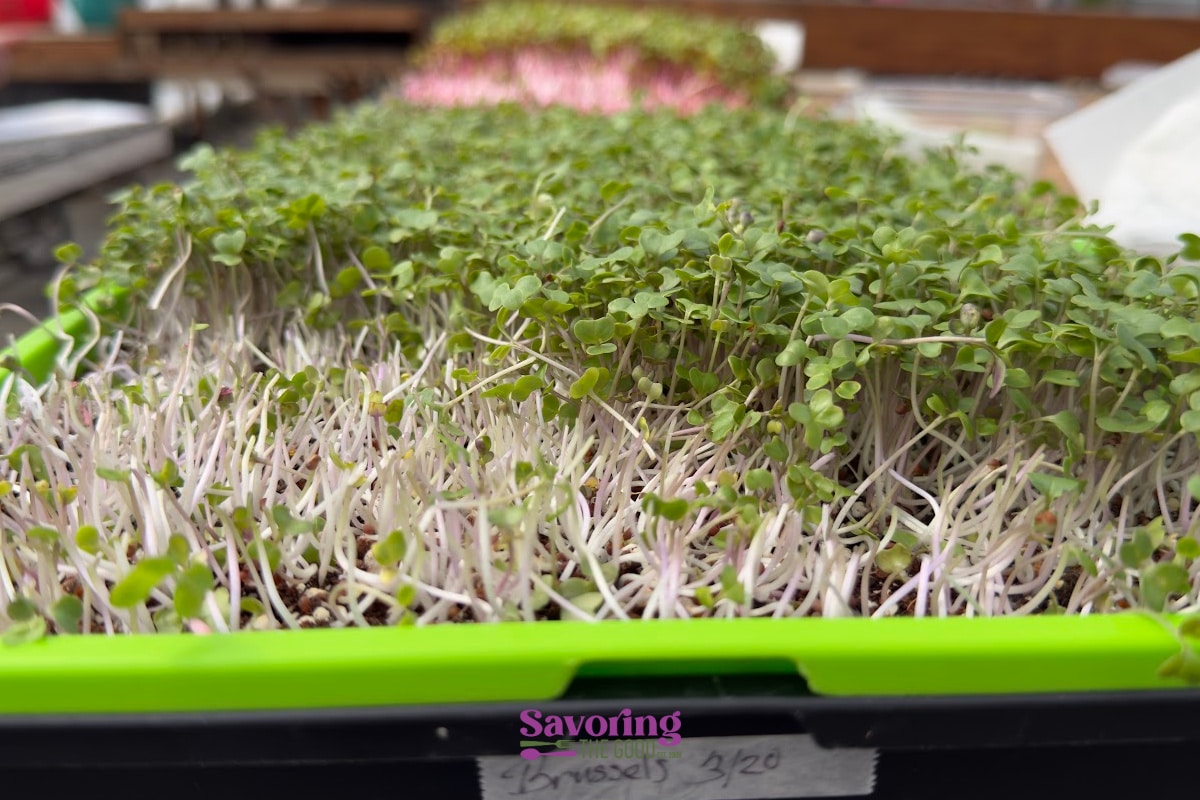
In this guide, I'll walk you through exactly how to grow microgreens at home using a simple setup, plus the tips I learned in a hands-on class at Horn Farm so you can avoid the most common mistakes.
Growing Microgreens at home - A Quick Overview
Beginner tip: If this is your first time growing microgreens, start with radish or broccoli. They grow quickly, don't require soaking, and are the most forgiving.
- Prepare soil.
- Sow seeds.
- Cover and germinate.
- Move to light.
- Water from below.
- Harvest in 1-2 weeks.
Before You Start Growing Microgreens
Before you start growing microgreens, there are a few key things that will make the difference between a successful first harvest and a frustrating one.
The Seeds Matter
The seeds you choose will directly affect how well your microgreens grow.
Look for seeds labeled specifically for microgreens or sprouting. Organic is a great option if available. These are tested for high germination rates and are safe for dense planting.
If you're deciding where to spend a little extra, this is the place to do it-better seeds mean more even growth and better results.
One of the reasons microgreens are so popular is because of how they grow.
At this early stage, the plant is still pulling all of its energy from the seed (called the endosperm). That's where the nutrients and flavor are stored.
As the plant grows larger, that energy gets spread out so the flavor becomes milder.
By harvesting microgreens early, you're catching them at their most flavorful stage.
The taste is more concentrated, and the greens add a stronger punch to everyday dishes like sandwiches, salads, and eggs. If this is your first time, start with radish or broccoli as they grow quickly and are the most forgiving. or spicy salad mix if you want to try a blend. I am NOT a fan of broccoli as l talk about it in my roasted broccoli post but I am adding broccoli microgreens to the way I will be eating broccoli from now on.
How to Grow Microgreens (Step-by-Step)
Prepare the Tray for Microgreens
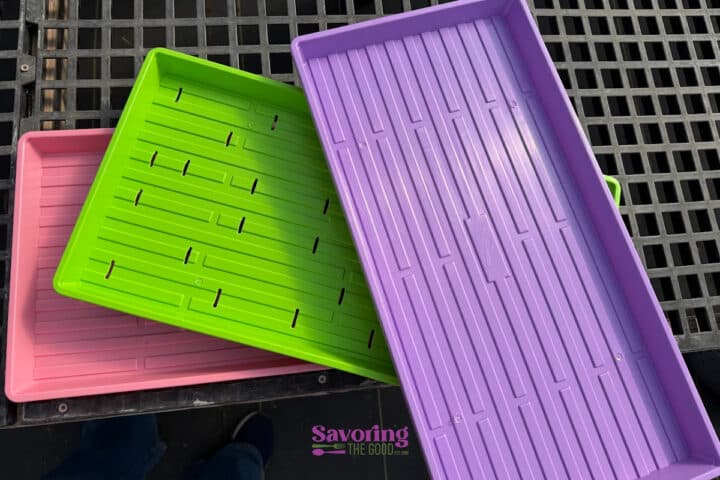
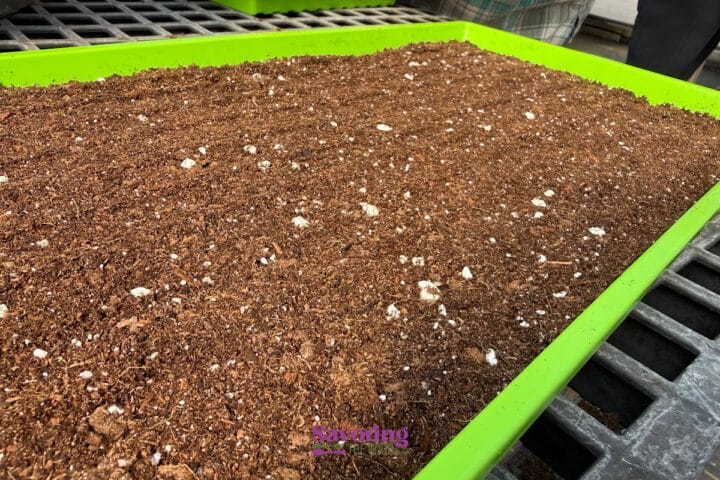
Add about 2 quarts of your preferred soil to the tray with the slits in it.
Spread as evenly as possible, avoiding divots and mounds. Click to get the trays I use from Bootstrap Farmer.
Soil Leveling Tip
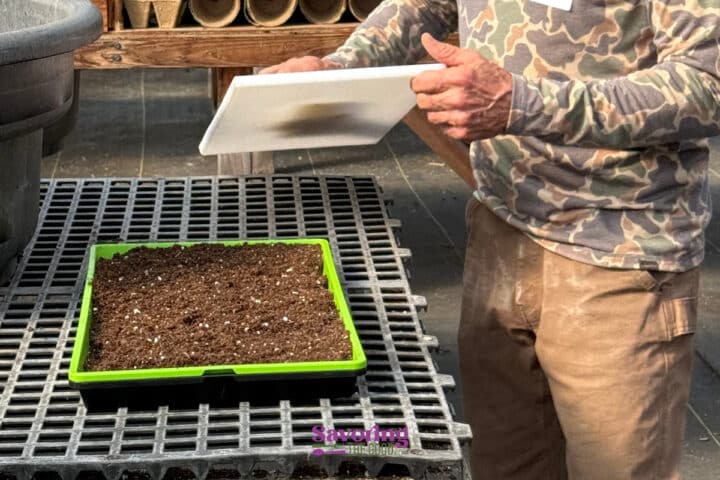
Bill taught us that you can use a cutting board to press the soil evenly. I suggest using one of the solid trays if a cutting board is not available.
Soak Seeds (If Needed)
If your seeds need to soak before spreading, now is the time to get that started. See the chart for more information.
Moisten Soil
Add a light mist of water over the soil. Here is the Mister Bottle I purchased.
Different Seed Shakers For Different Seeds
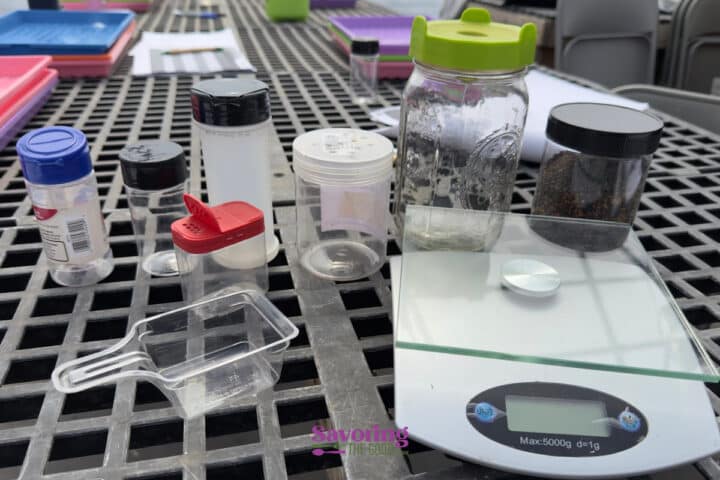
Use old spice jars with different-sized holes that will allow the seeds to sprinkle out.
Grams Matter
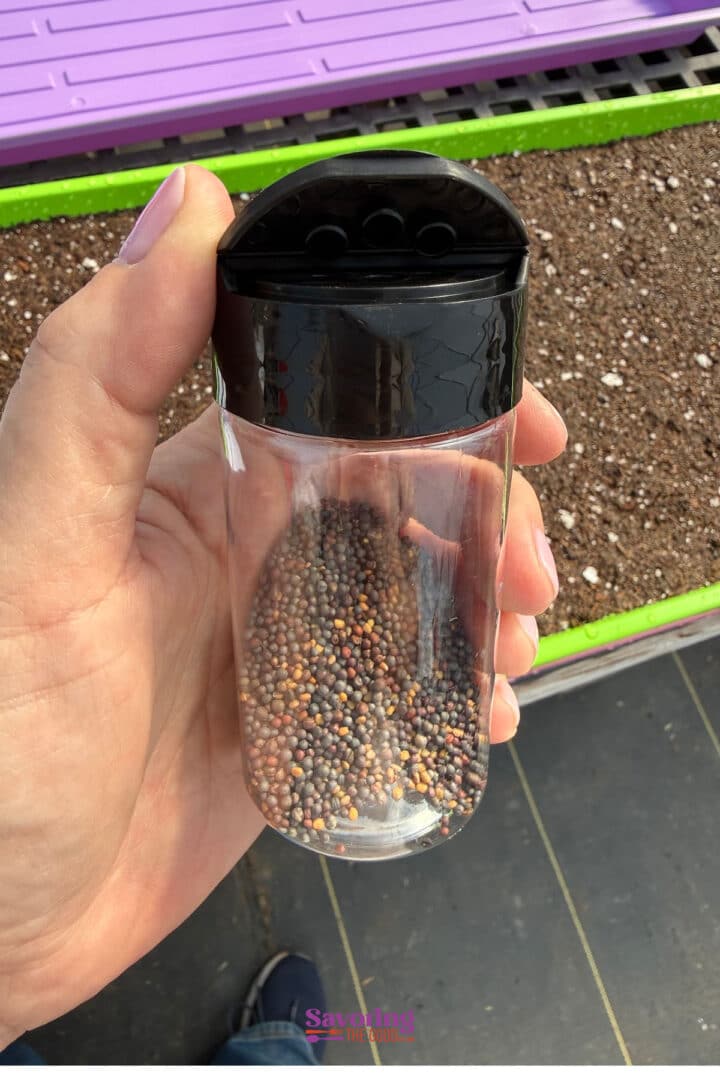
Microgreens grow best when the seeds are close together-but not overcrowded.
A good rule of thumb: you want the surface of the tray fully covered with seeds, but not stacked on top of each other. If you can see piles, you've added too many.
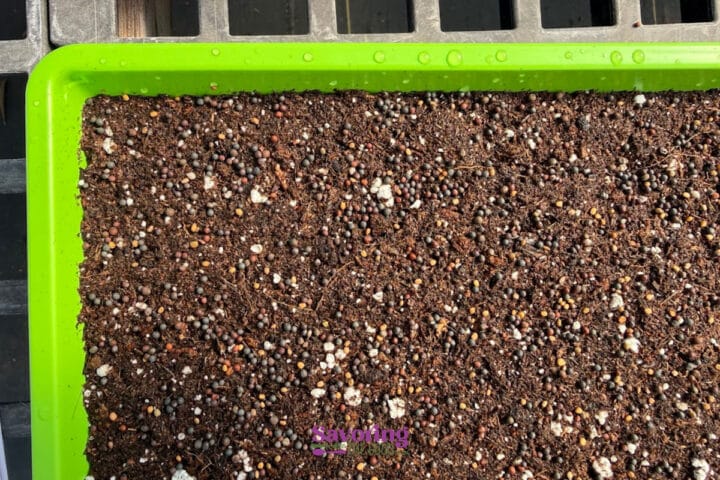
Sow Seeds Evenly
Using an up-cycled spice container, sprinkle the seeds across the surface as evenly as possible. I used a left to right and then a top to bottom spreading pattern across the tray.
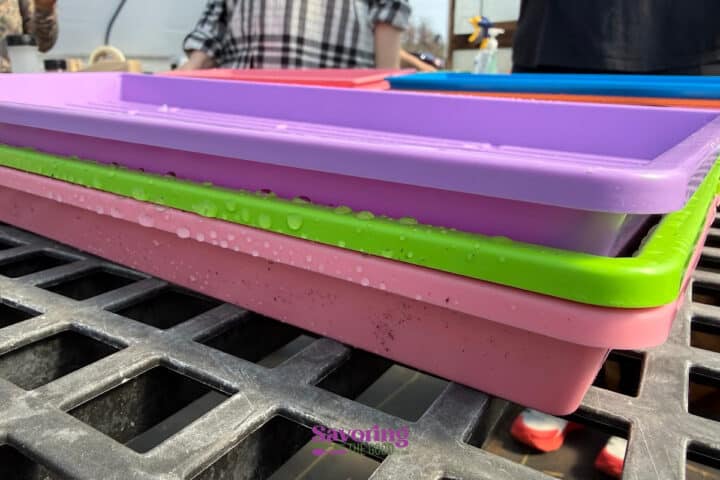
Cover and Let Germinate
- Lightly press seeds into the soil and cover the tray.
- Keep in a dark spot for 2-4 days.
- Add about 15 pounds of weight on top. (think cast iron pan, a few pans of pasta sauce, stack of books)
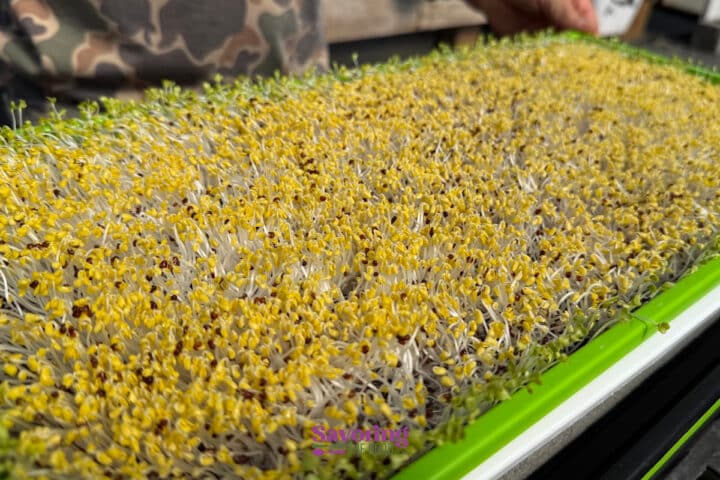
Move to Light
Once seeds have sprouted, remove the cover and place the tray in light.
A bright window works well, or you can use a simple grow light for more consistent results.
12 hours light 12 hours dark
During the growth cycle, microgreens like to have cycles of light and darkness. I plan to do a 12 light 12 dark with the top cover being my black out medium but some growers will do an 18-hour light, 6 hour dark cycle. See what works best for your lifestyyle.
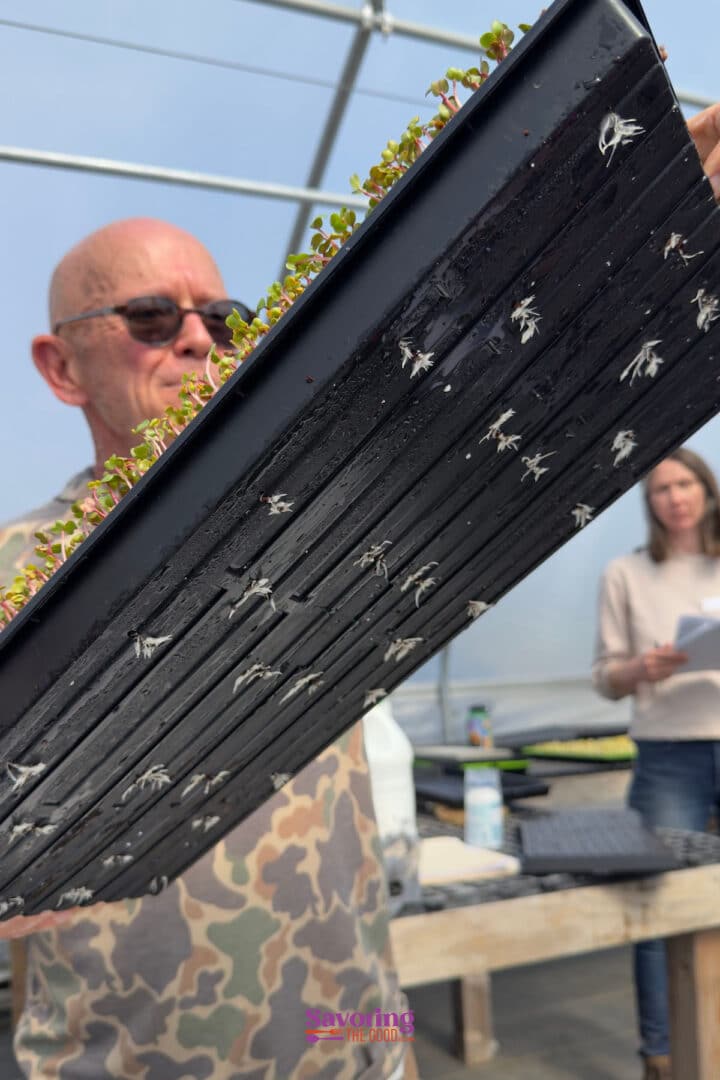
Water Properly
It is best to water the micro greens from the bottom. The moisture from the initial mist of water should be a great start. You want the roots to be 'reaching' through the bottom of the slotted tray, looking for moisture. If the underside of the slotted try is dry and the tray feels light, add a thin mist of water to the bottom tray.
Water Tip
If you're unsure, it's better to underwater slightly than overwater-too much moisture is the most common cause of problems.
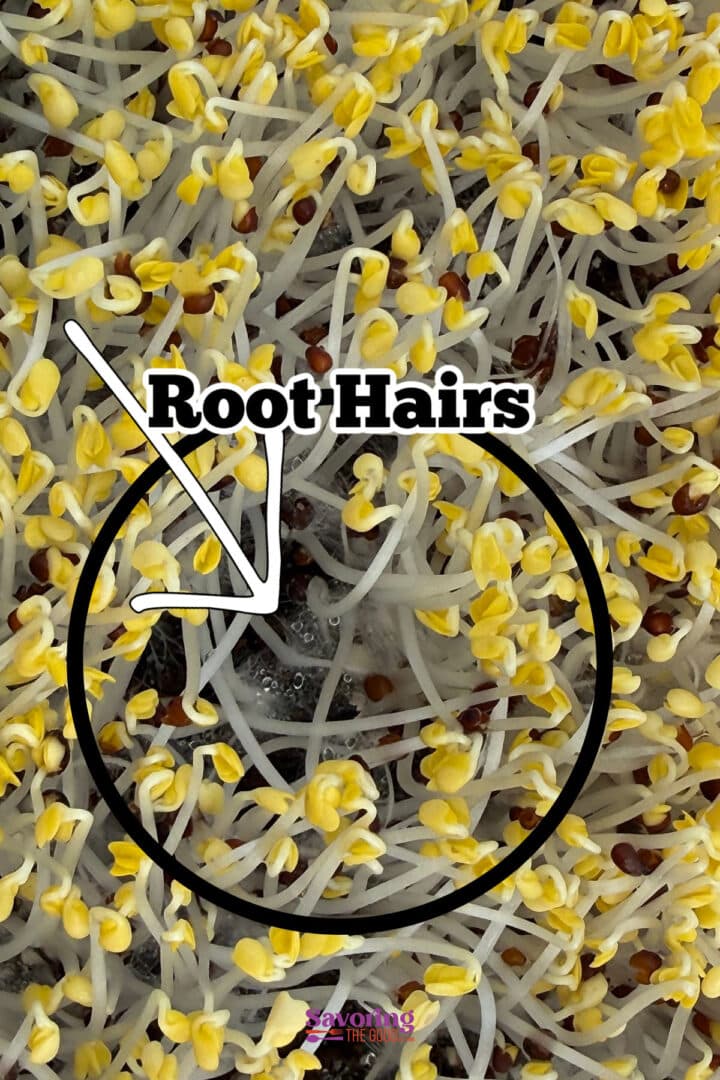
Root Hairs Are Not Mold
If your tray smells sour or looks fuzzy, it's usually a sign of too much water or not enough airflow.
But know that root hairs are not mold.
Stop Watering
The day before you are to harvest, stop watering them. The lack of moisture will help intensify the flavor and reduce the moisture in the container, reducing the risk for mold.
First Leaves
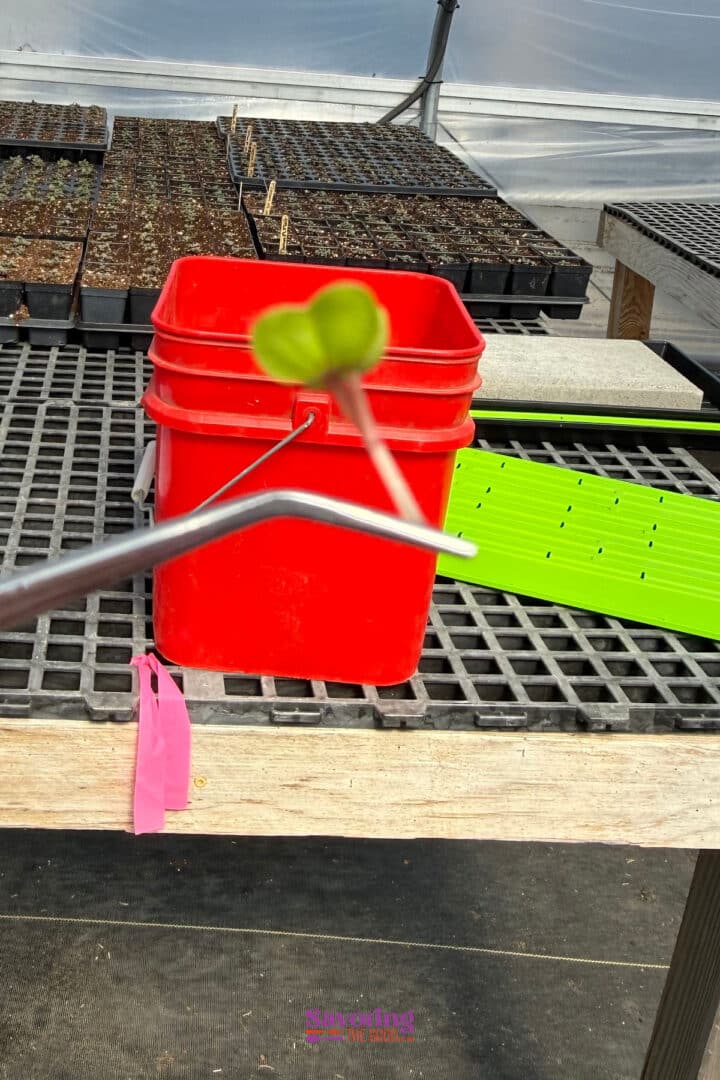
Microgreens are ready to harvest once they have their first set of leaves (called cotyledons).
You don't need to wait for full-sized leaves beyond these two. This early stage is when flavor is at its best.
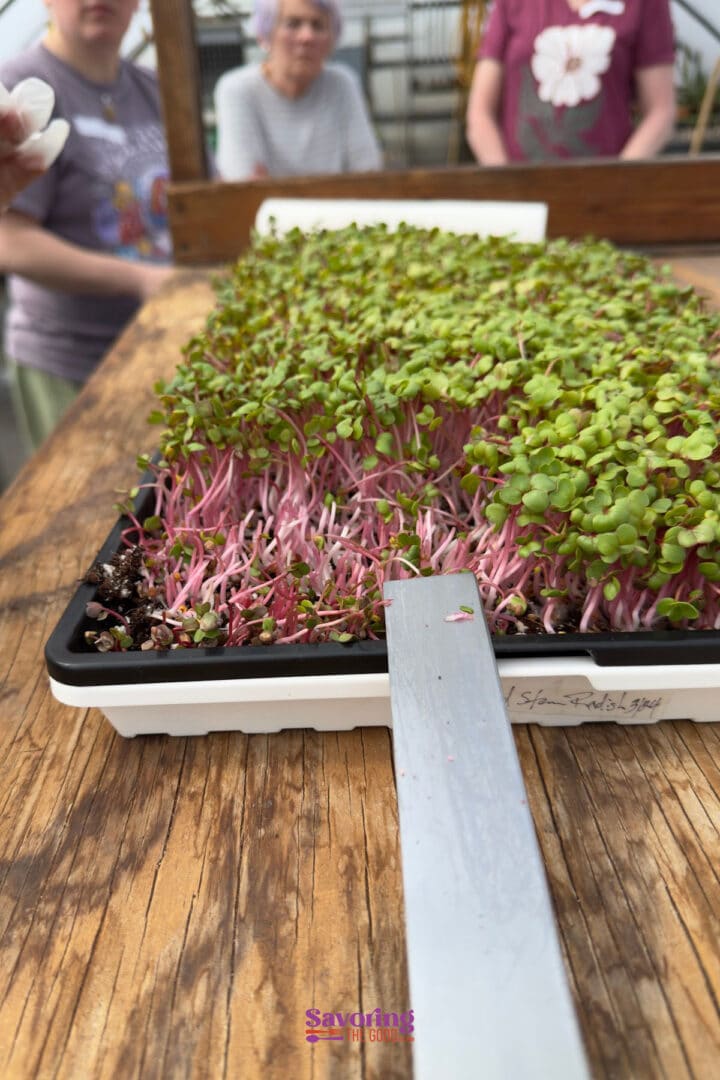
Harvest
Harvest when your microgreens are about 2-3 inches tall and have their first set of leaves.
Cut just above the soil line so you don't pull soil into your greens.
Use a long sharp greens cutting knife and with a sawing motion hold the greens and slice them off.
Alternatively a pair of clean kitchen snips can be used.
How to Store Microgreens
Closed container
Store your microgreens in a closed container with a piece of dry paper towel at the bottom.
Allow the greens to 'off gas' for 20 minutes before closing the container.
Make sure your microgreens are completely dry before storing-extra moisture will shorten their shelf life.
Brassicas Growing Guide
All brassicas thrive on coco coir medium with minimal initial water needs.
| Crop | Sowing Density | Medium | Soak Time | Bury Seed | Germination | Blackout | Grow Time |
|---|---|---|---|---|---|---|---|
| Broccoli | 20g | Coco Coir | None | No | 3 days | 2 days | 10 days |
| Cabbage, Golden Acre | 20g | Coco Coir | None | No | 3 days | 2 days | 10 days |
| Cabbage, Red Acre | 20g | Coco Coir | None | No | 3 days | 2 days | 10 days |
| Kale, Red Russian | 20g | Coco Coir | None | No | 3 days | 2 days | 10 days |
| Kohlrabi | 20g | Coco Coir | None | No | 3 days | 2 days | 10 days |
| Mustard (all types) | 20g | Coco Coir | None | No | 3 days | 2 days | 10 days |
| Pak Choi | 20g | Coco Coir | None | No | 3 days | 2 days | 10 days |
| Rutabaga | 20g | Coco Coir | None | No | 3 days | 2 days | 10 days |
| Turnip | 20g | Coco Coir | None | No | 3 days | 2 days | 10 days |
Radishes Growing Guide
Radishes offer various color options and spicy flavors for your microgreens lineup.
| Crop | Sowing Density | Medium | Soak Time | Bury Seed | Germination | Blackout | Grow Time |
|---|---|---|---|---|---|---|---|
| Radish, Daikon | 32g | Coco Coir | None | No | 3 days | 2 days | 10 days |
| Radish, Sango | 32g | Coco Coir | None | No | 3 days | 2 days | 10 days |
| Radish, Rambo | 32g | Coco Coir | None | No | 3 days | 2 days | 10 days |
| Radish, Triton Purple | 32g | Coco Coir | None | No | 3 days | 2 days | 10 days |
Leafy Greens Growing Guide
Leafy greens varieties offer diverse flavor and texture profiles. Sunflower requires soaking and is prone to mold-use H2O2 if needed.
| Crop | Sowing Density | Medium | Soak Time | Bury Seed | Germination | Blackout | Grow Time |
|---|---|---|---|---|---|---|---|
| Arugula | 20g | Coco Coir | None | No | 3 days | 2 days | 10 days |
| Spicy Salad Mix | 20g | Coco Coir | None | No | 3 days | 2 days | 10 days |
| Sunflower | 125g | Coco Coir | 12 hours | No | 4 days | 2 days | 10 days |
Root Vegetables Growing Guide
Root vegetables require longer germination times. Bury seeds to prevent hull sticking on beets. Celery requires daily misting during germination.
| Crop | Sowing Density | Medium | Soak Time | Bury Seed | Germination | Blackout | Grow Time |
|---|---|---|---|---|---|---|---|
| Beet, Detroit Dark Red | 45g | Coco Coir | None | Yes | 5 days | None | 10 days |
| Beet, Bulls Blood | 45g | Coco Coir | None | Yes | 3 days | 2 days | 10 days |
| Carrot | 20g | Coco Coir | None | Yes | 5 days | 5 days | 21-28 days |
| Celery | 20g | Coco Coir | None | No | 10 days | 7 days | 21-28 days |
Peas & Shoots Growing Guide
Peas provide hearty, nutrient-dense shoots. Both varieties require soaking before planting for optimal germination.
| Crop | Sowing Density | Medium | Soak Time | Bury Seed | Germination | Blackout | Grow Time |
|---|---|---|---|---|---|---|---|
| Pea, Dun | 300g | Coco Coir | 12 hours | No | 4 days | 2 days | 10 days |
| Pea, Speckled | 300g | Coco Coir | 12 hours | No | 4 days | 2 days | 10 days |
Herbs & Specialty Greens Growing Guide
Herb and specialty green varieties offer diverse flavors and extended harvest windows. Basil and cilantro are popular culinary options. Weight helps root development for basil varieties.
| Crop | Sowing Density | Medium | Soak Time | Bury Seed | Germination | Blackout | Grow Time |
|---|---|---|---|---|---|---|---|
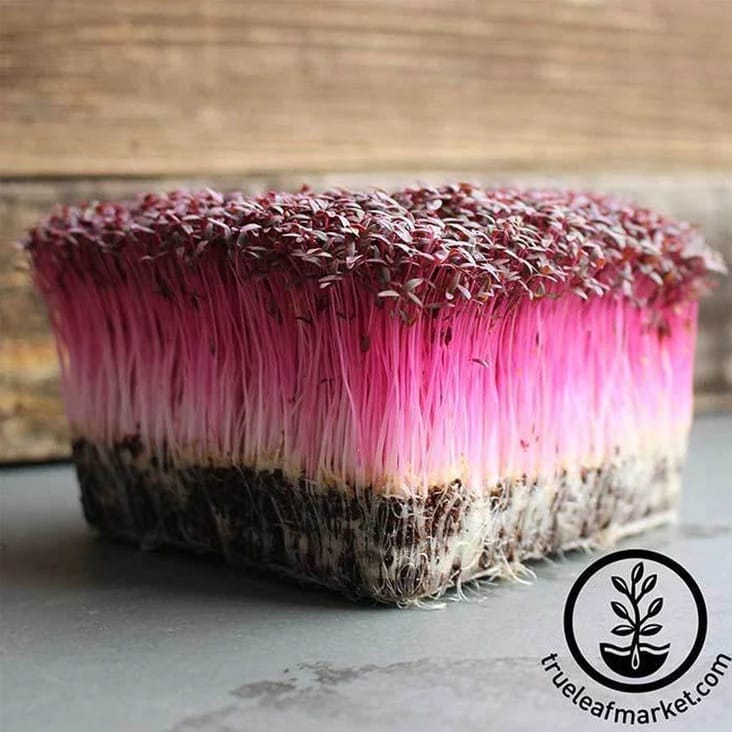
| Amaranth, Red Garnet | 8g | Coco Coir | None | No | 3 days | 2 days | 14-28 days |
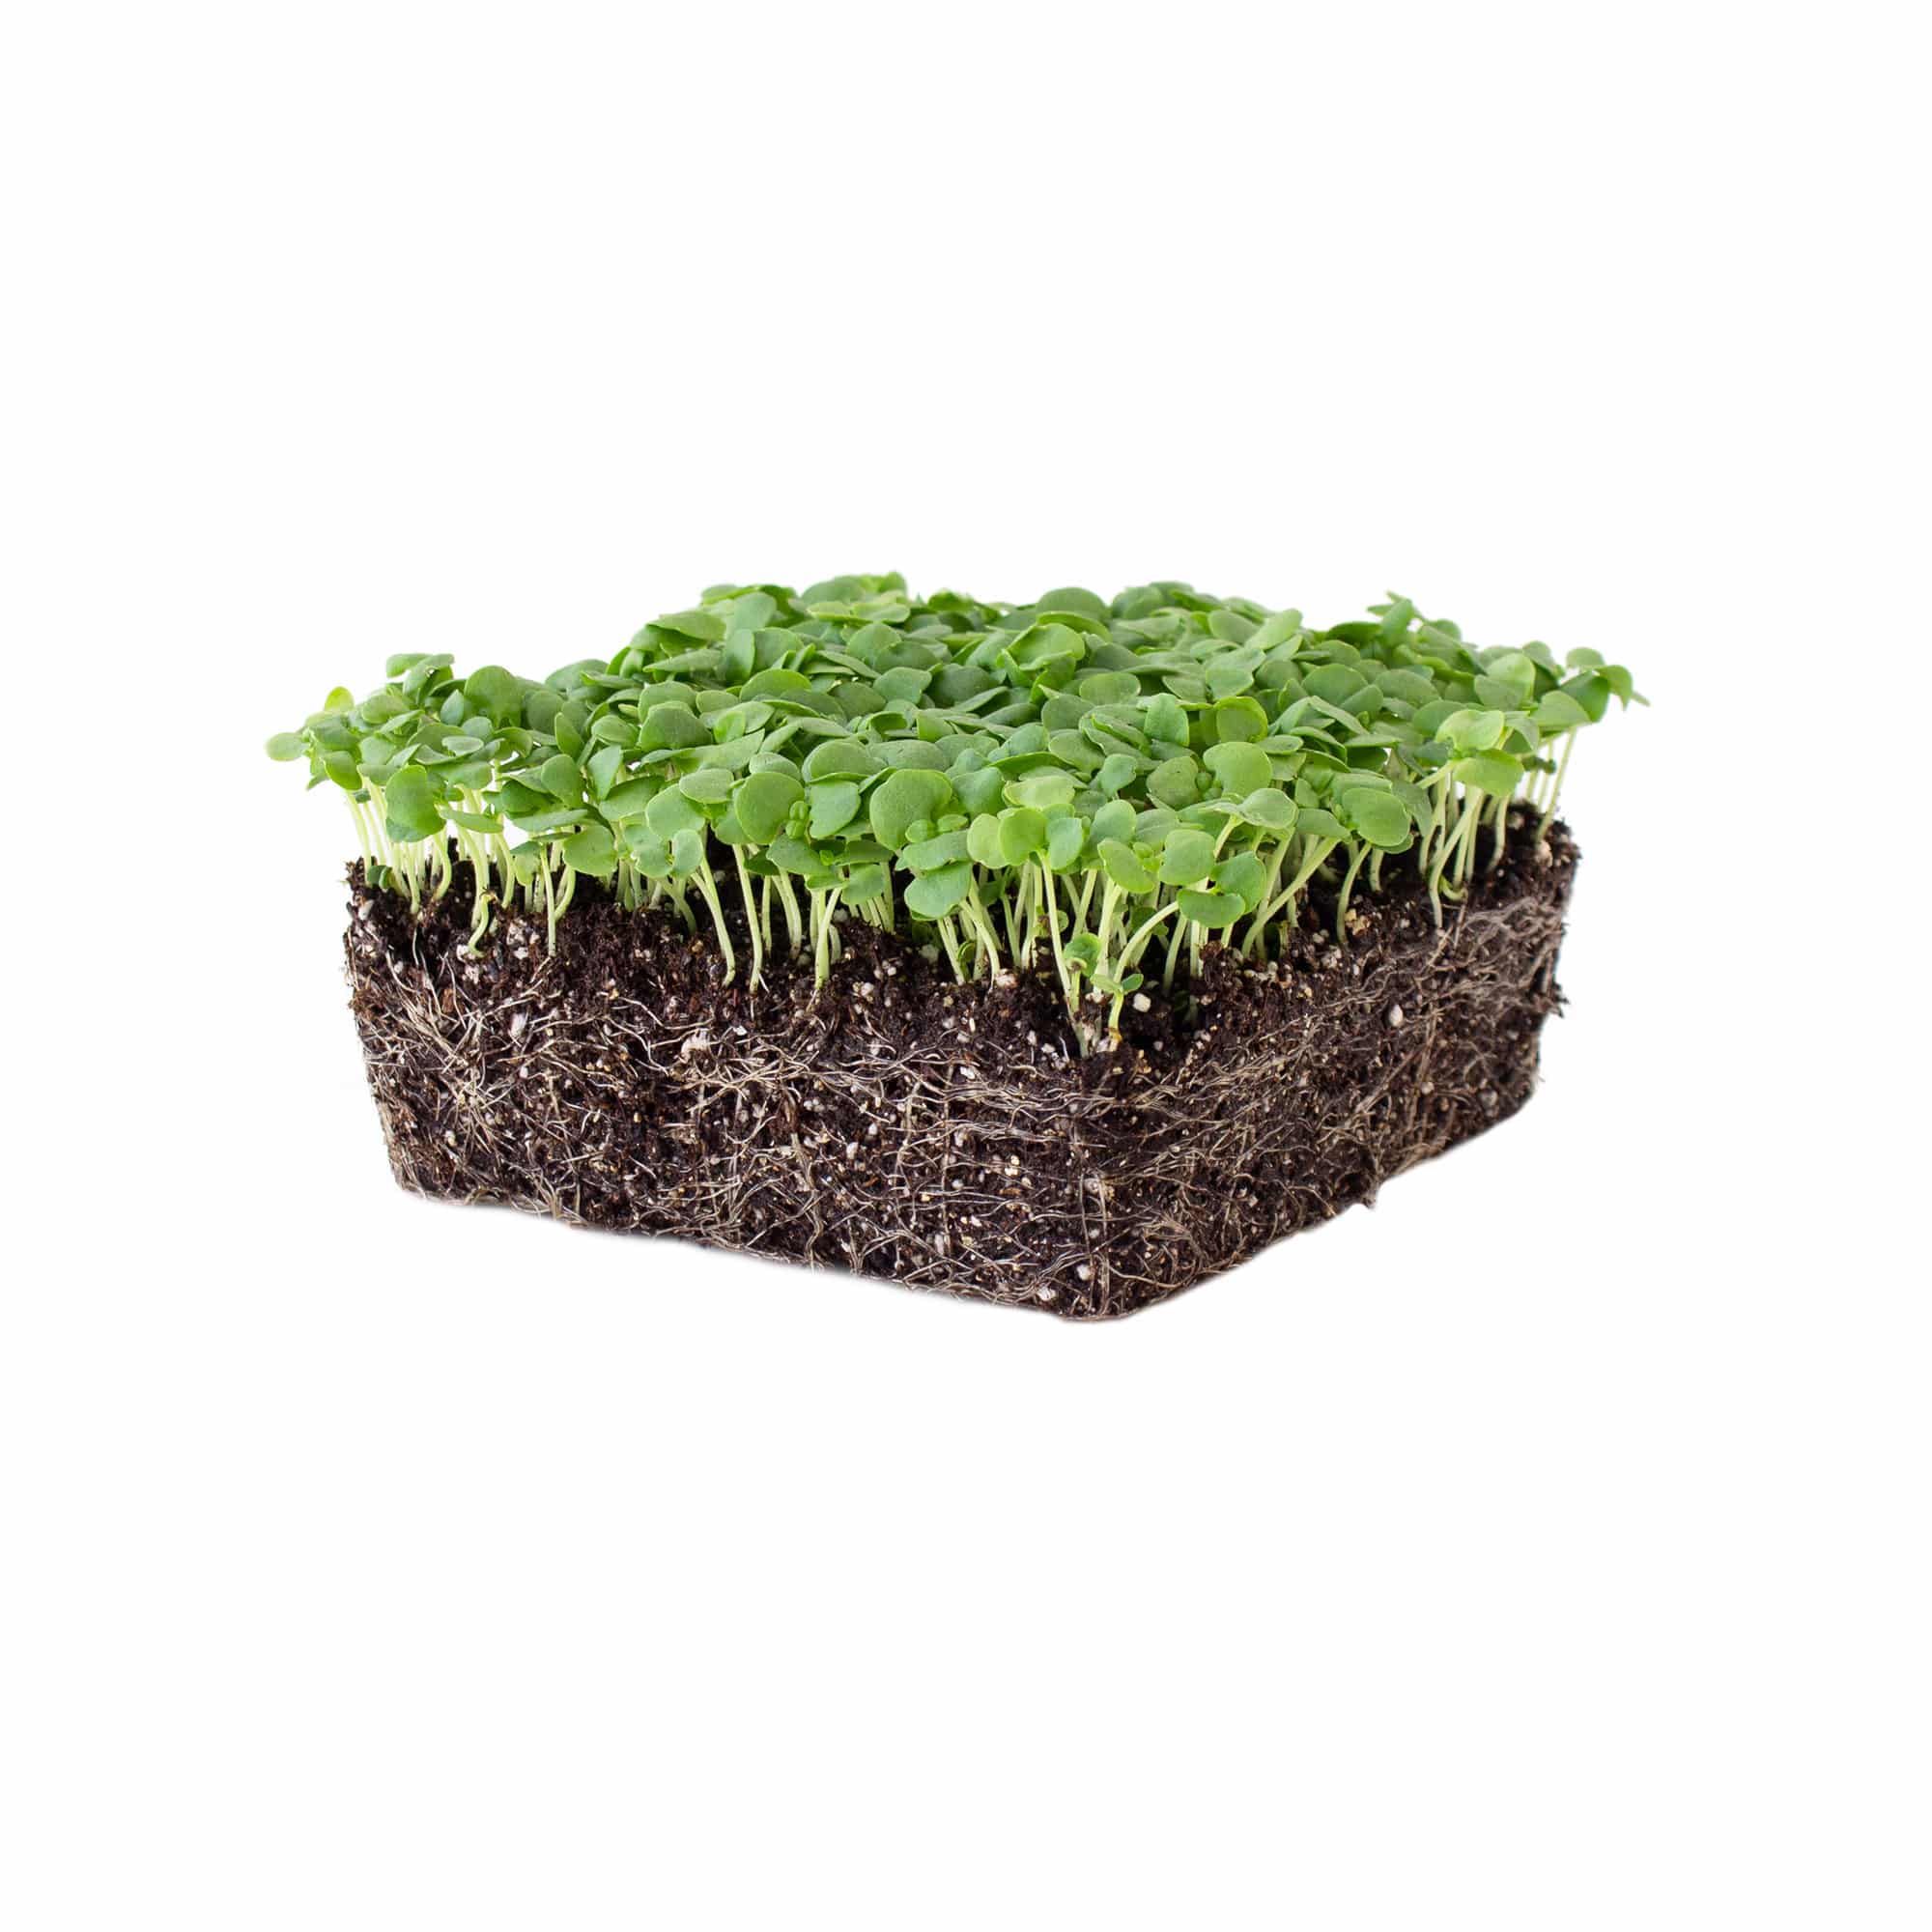
| Basil, Genovese | 10g | Coco Coir | None | No | 5 days | 5 days | 21-28 days |
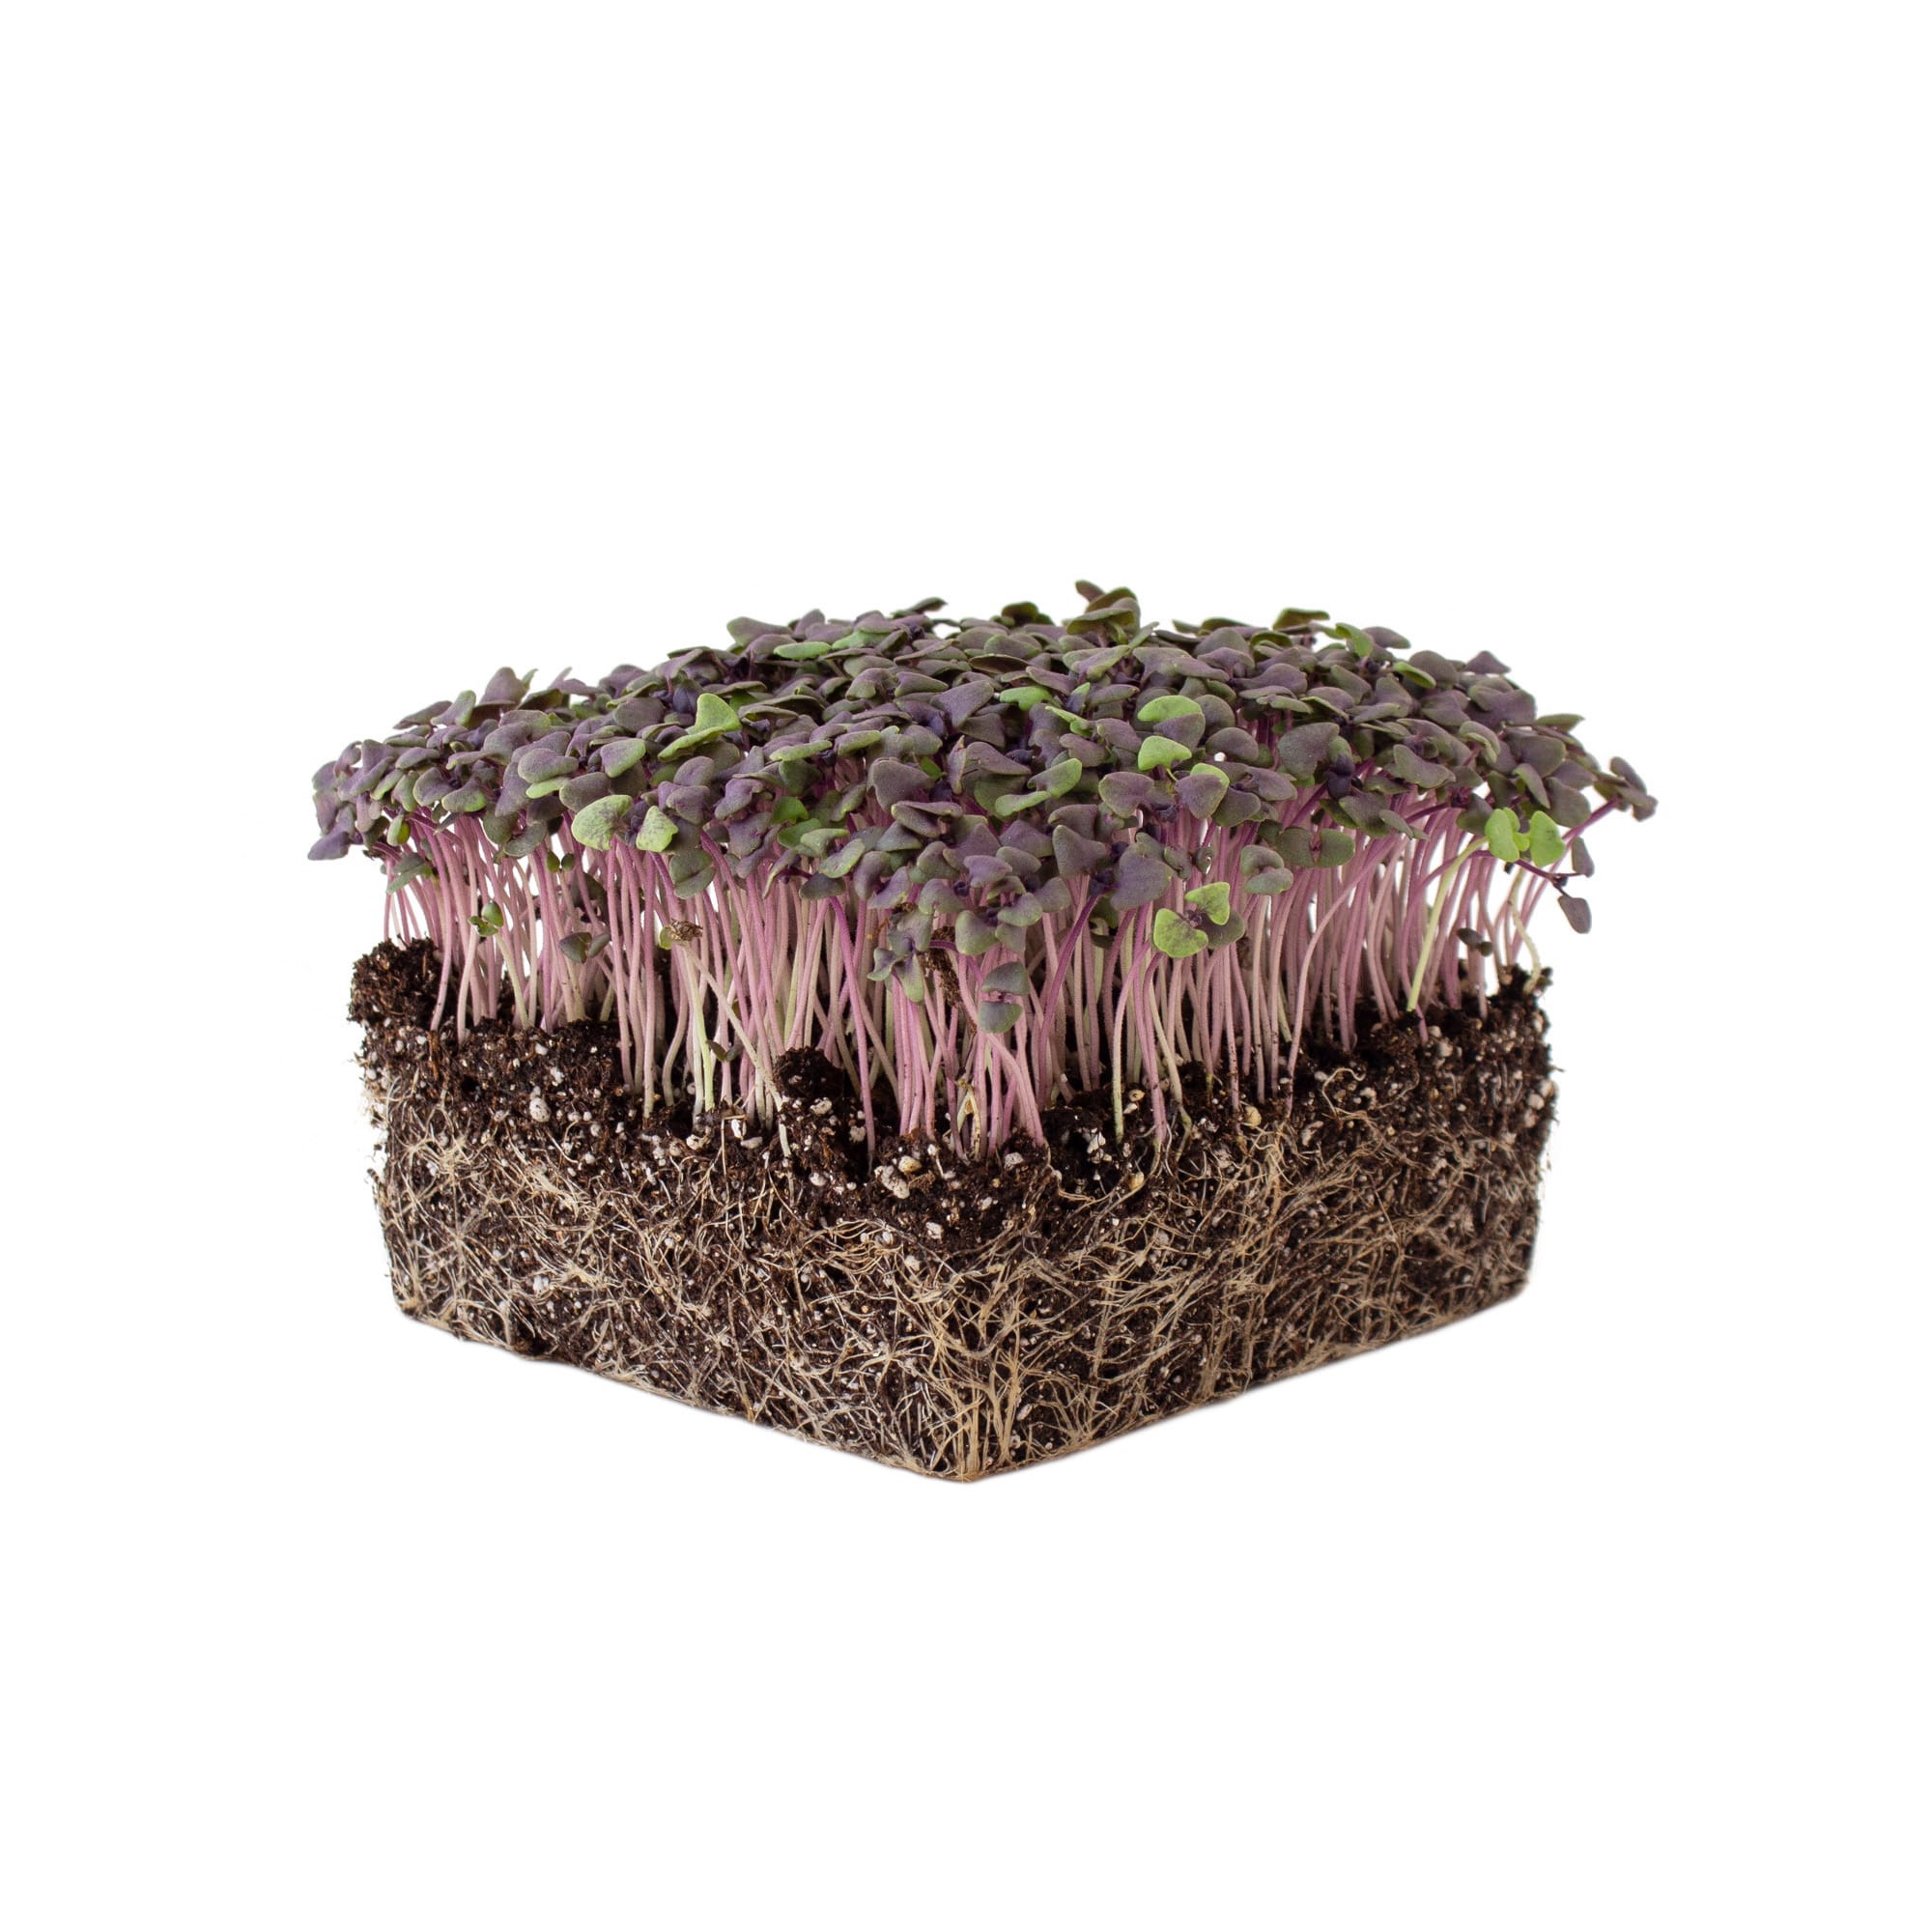
| Basil, Opal | 10g | Coco Coir | None | No | 5 days | 5 days | 21-28 days |
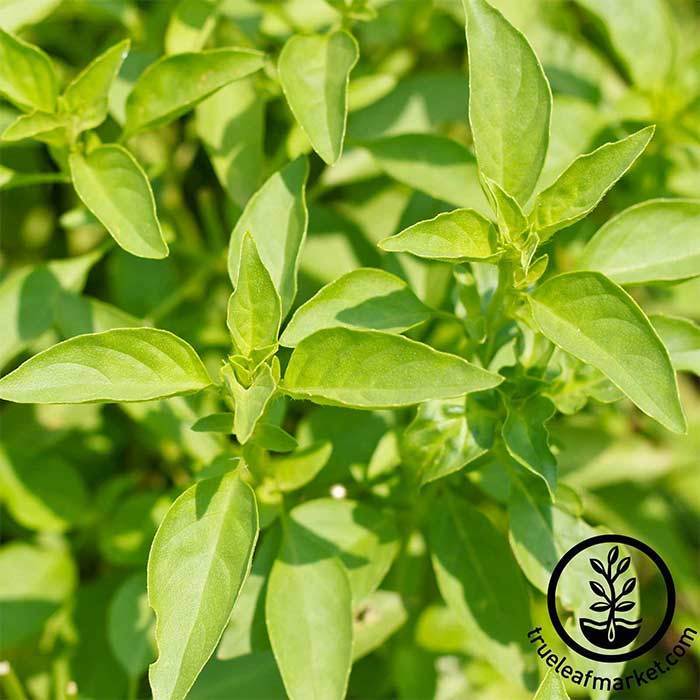
| Basil, Lemon | 10g | Coco Coir | None | No | 5 days | 5 days | 21-28 days |
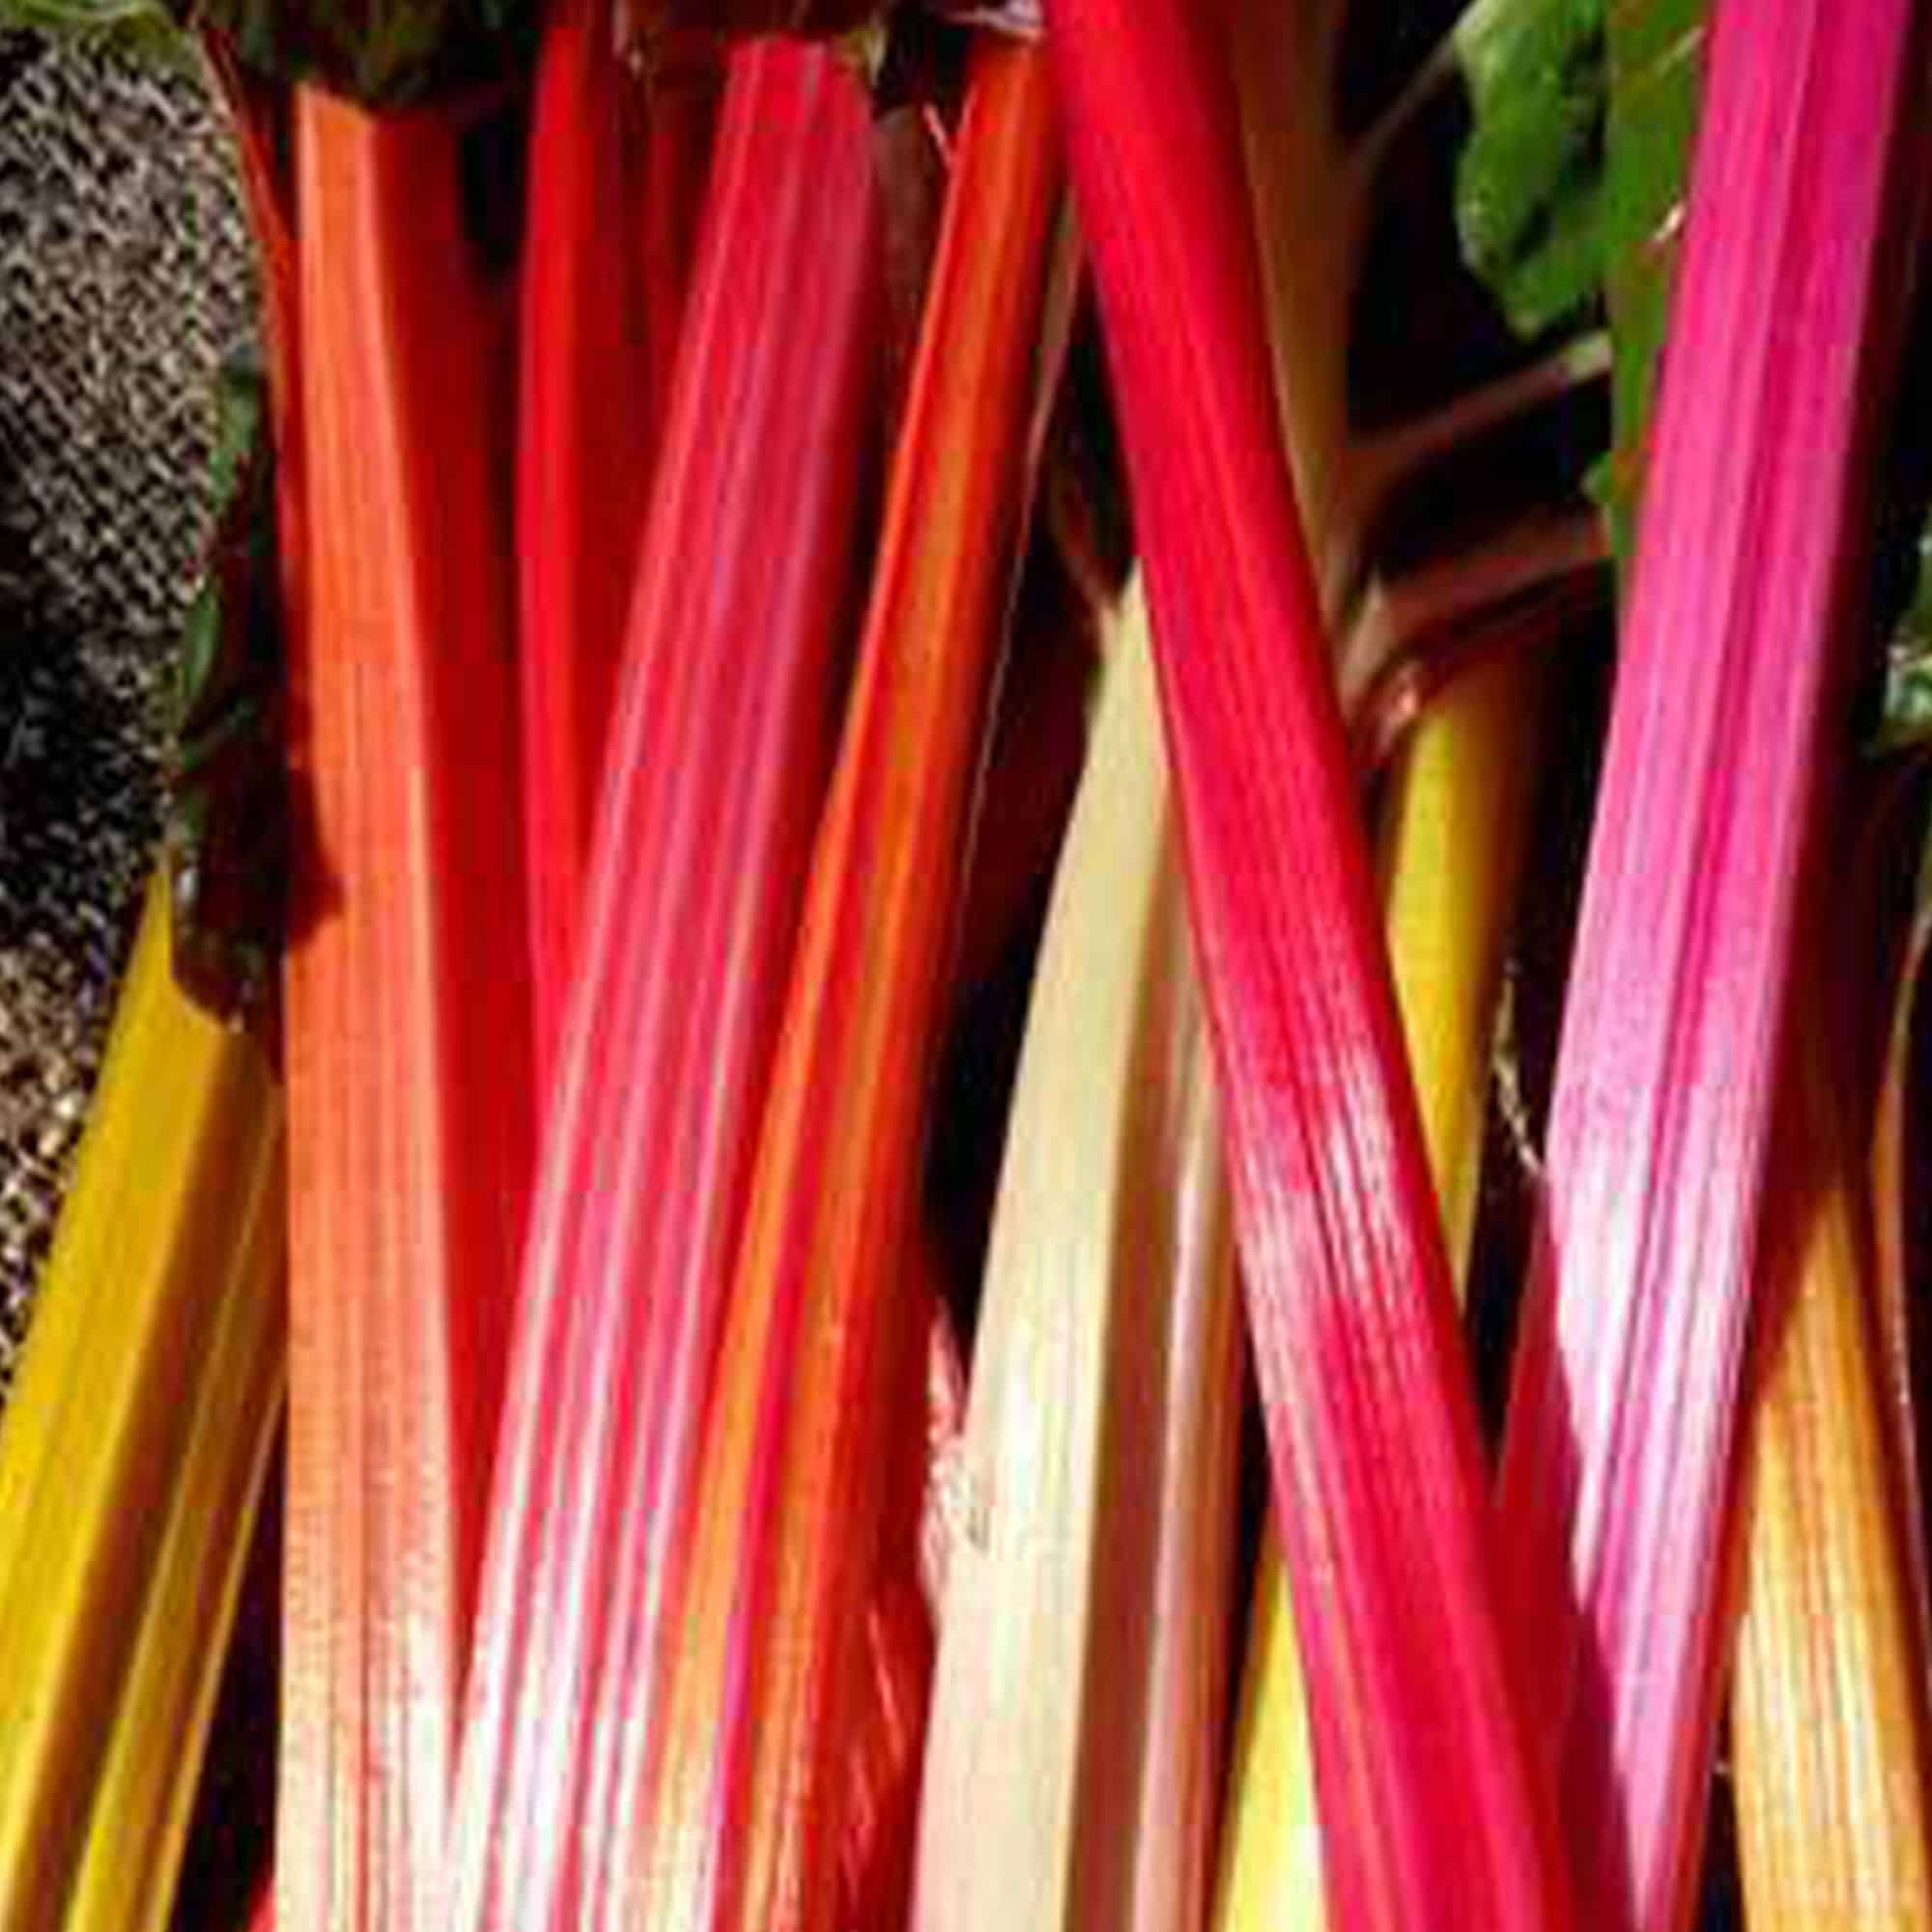
| Chard, Rainbow Swiss | 60g | Coco Coir | None | Yes | 5 days | None | 10 days |
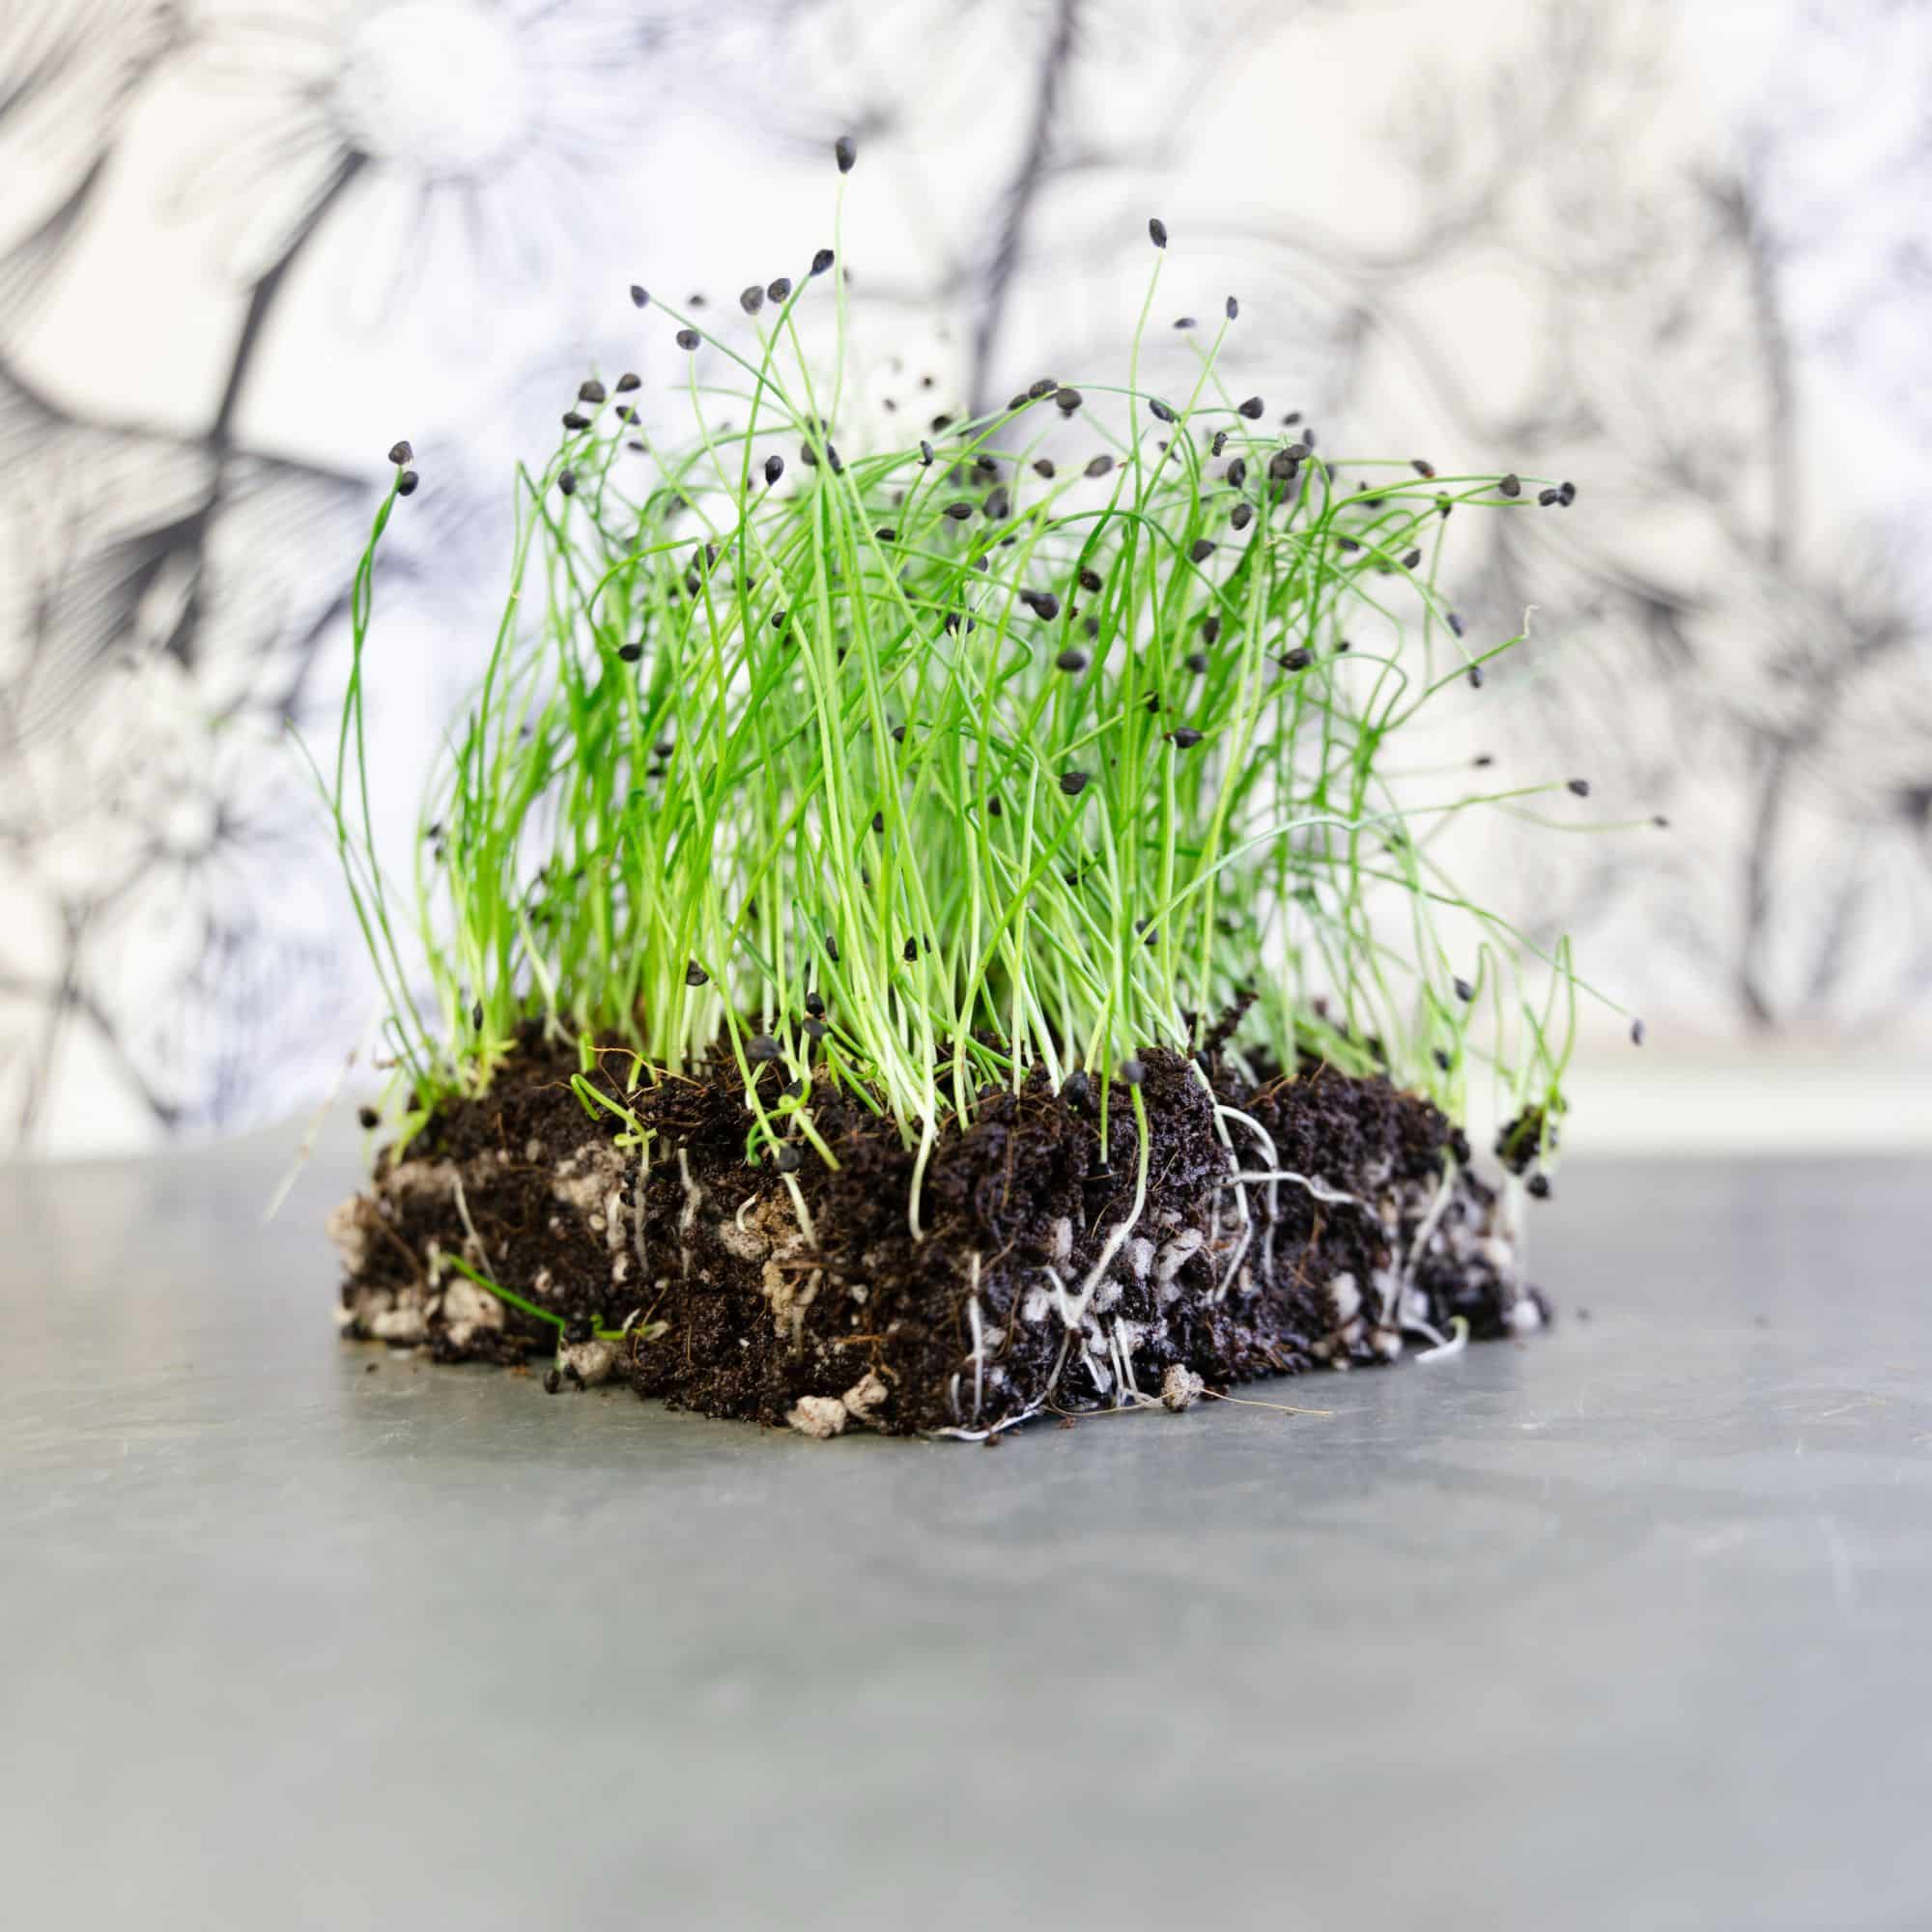
| Chives | 60g | Coco Coir | None | No | 10 days | None | 21 days |
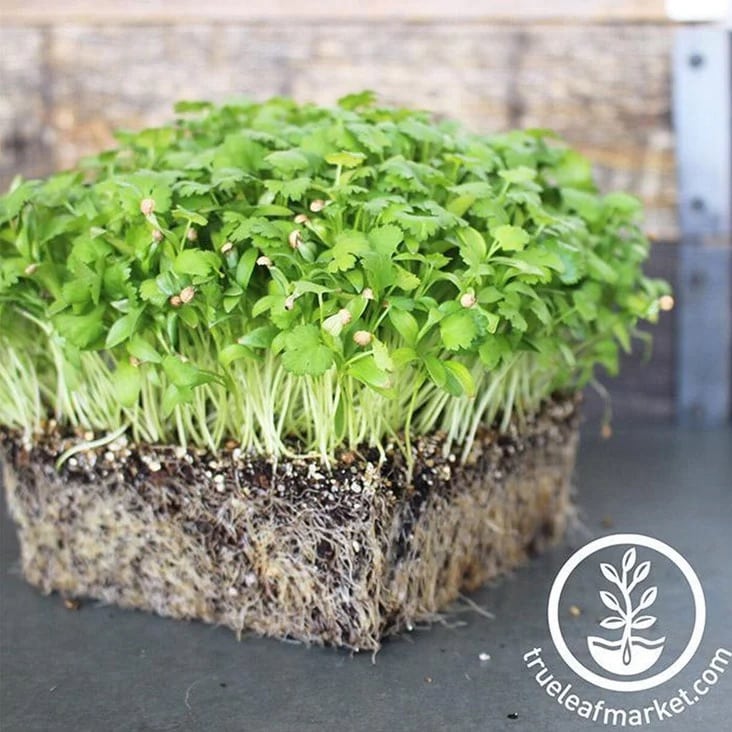
| Cilantro | 30g | Coco Coir | 12 hours | Yes | 10 days | None | 15 days |
| Cress, Upland | 8g | Coco Coir | None | No | 3 days | 2 days | 10 days |
| Cress, Curled | 12g | Coco Coir | None | No | 3 days | 2 days | 10 days |
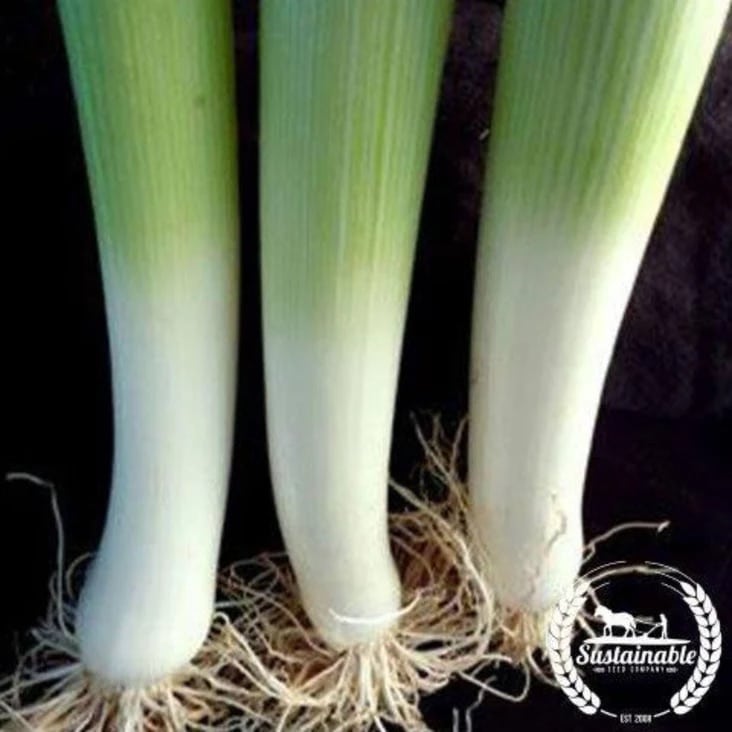
| Leek | 60g | Coco Coir | None | No | 10 days | None | 21 days |
Specialty Microgreens Growing Guide
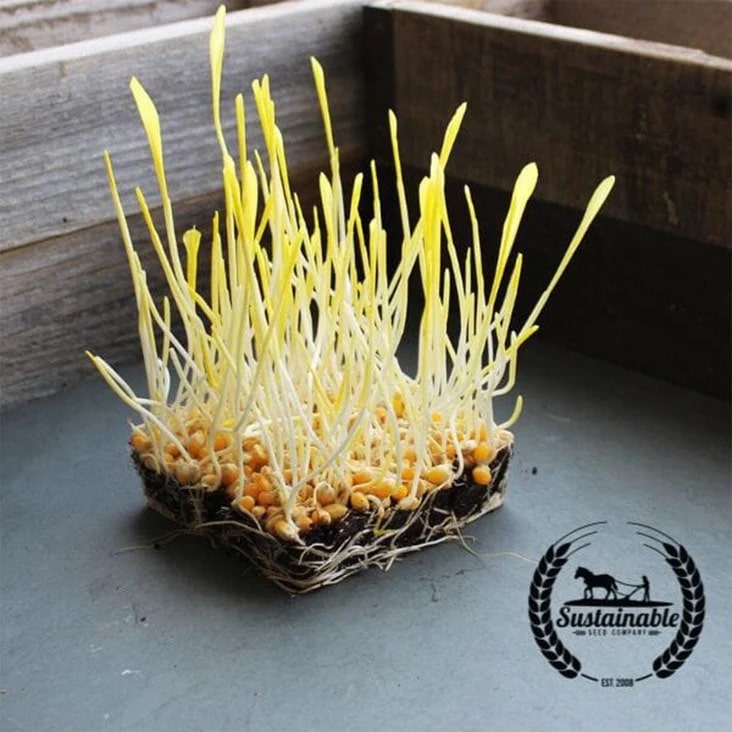
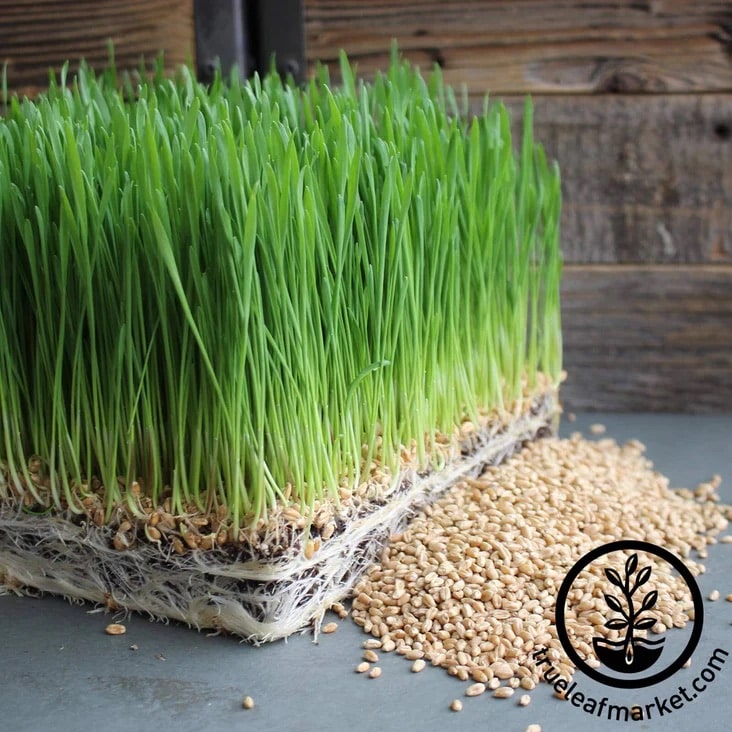
Specialty varieties add unique options to your lineup. Popcorn requires burying seeds to prevent mold. Wheatgrass is ideal for juicing and can regrow. Nasturtium is prone to mold-use H2O2 if needed. Wheatgrass should not be stacked and requires minimal water.
| Crop | Sowing Density | Medium | Soak Time | Bury Seed | Germination | Blackout | Grow Time |
|---|---|---|---|---|---|---|---|
| Chia, Black | 12g | Coco Coir | None | No | 3 days | 2 days | 8 days |
| Nasturtium, Jewel Mix | 50g | Coco Coir | None | Yes | 7 days | None | 14 days |
| Popcorn | 200g | Coco Coir | 12 hours | Yes | 5 days | 3 days | 8 days |
| Wheatgrass | 200g | Coco Coir | 8 hours | No | 3 days | None | 8 days |
Root Vegetables Growing Guide
Root vegetables require longer germination times. Bury seeds to prevent hull sticking on beets. Celery requires daily misting during germination.
| Crop | Sowing Density | Soak | Bury Seed | Germination | Black Out | Grow |
|---|---|---|---|---|---|---|
| Beet, Detroit Dark Red | 45g | 12 Hr. | No | 4 Days | 2 Days | 10 days |
| Beet, Bulls Blood | 45g | 12 Hr. | No | 4 Days | 2 Days | 10 days |
| Carrot | 20g | |||||
| Celery | 20g |
Peas & Shoots Buying Guide
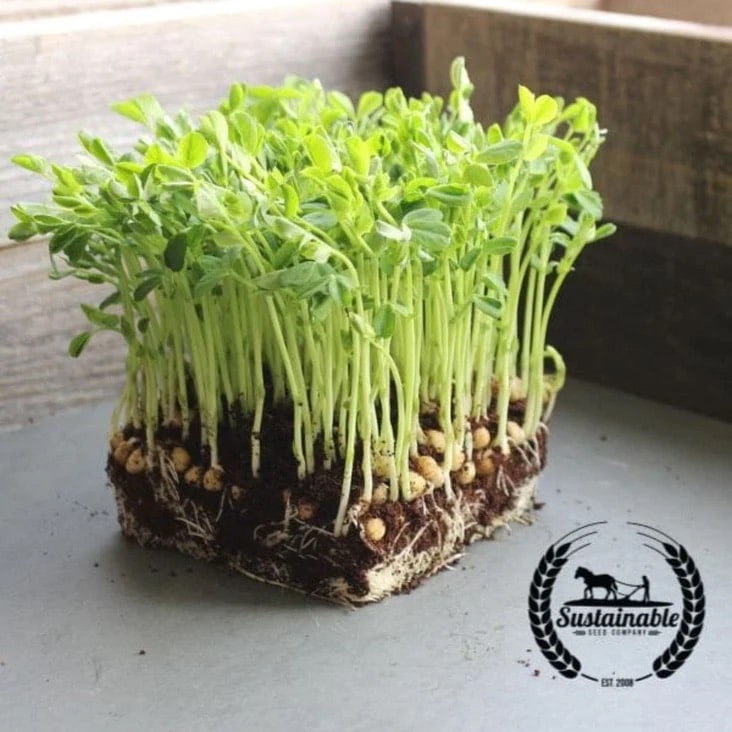
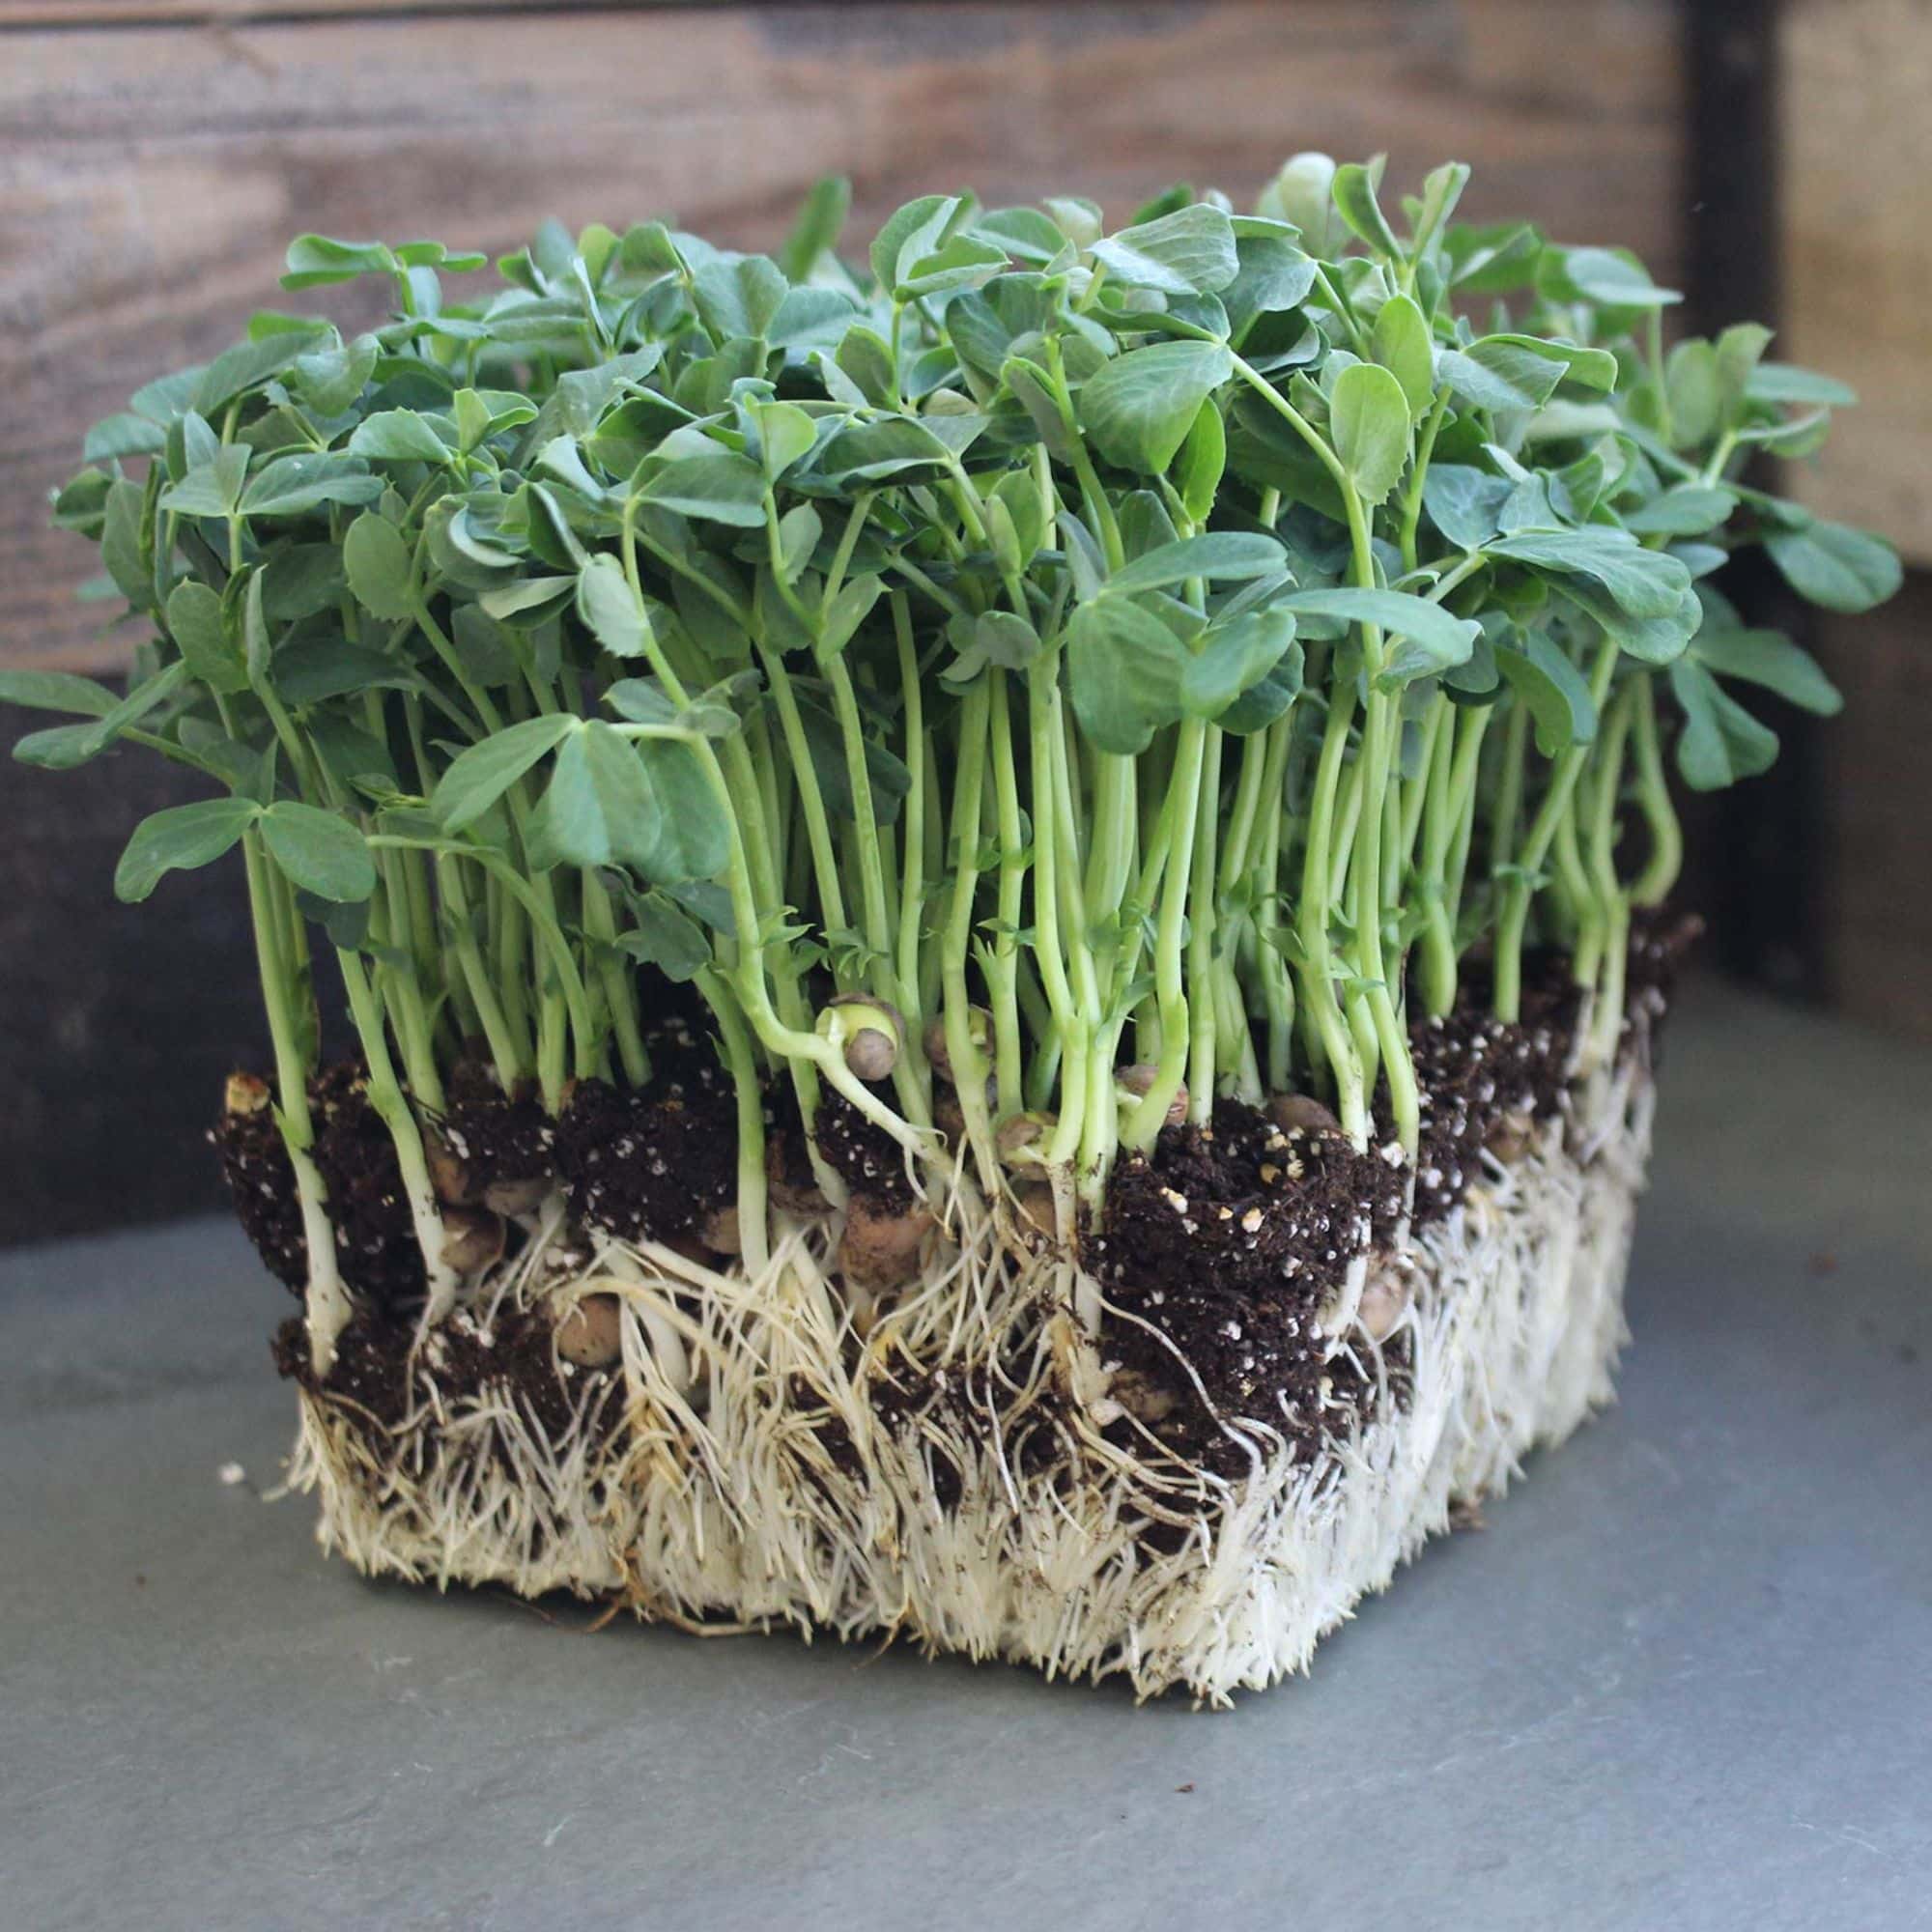
Peas & Shoots Growing Guide
Peas provide hearty, nutrient-dense shoots. Both varieties require soaking before planting for optimal germination.
| Crop | Sowing Density | Soak | Bury Seed | Germination | Black Out | Grow |
|---|---|---|---|---|---|---|
| Pea, Dun | 300g | 12 Hr. | No | 4 Days | 2 Days | 10 days |
| Pea, Speckled | 300g | 12 Hr. | No | 4 Days | 2 Days | 10 days |
Peas & Shoots Buying Guide
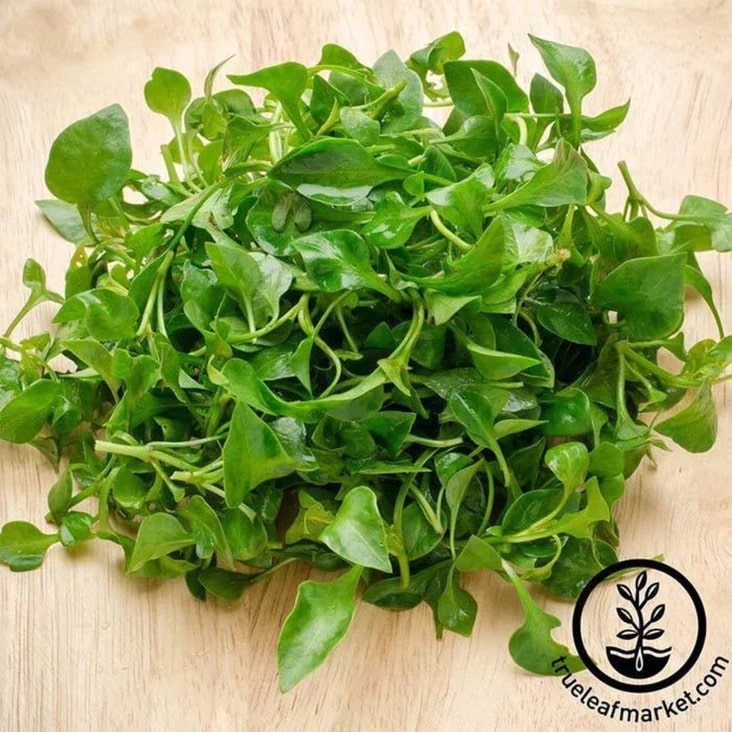
Herbs & Specialty Greens Growing Guide
Herb and specialty green varieties offer diverse flavors and extended harvest windows. Basil and cilantro are popular culinary options. Weight helps root development for basil varieties.
| Crop | Sowing Density | Soak | Bury Seed | Germination | Black Out | Grow |
|---|---|---|---|---|---|---|
| Amaranth, Red | 8g | None | No | 3 Days | 2 Days | 14-28 days |
| Basil, Genovese | 10g | None | No | 5 Days | 5 Days | 21-28 days |
| Basil, Opal | 10g | None | No | 5 Days | 5 Days | 21-28 days |
| Basil, Lemon | 10g | None | No | 5 Days | 5 Days | 21-28 days |
| Chard, Rainbow Swiss | 60g | None | No | 10 Days | None | 10 days |
| Chives | 60g | None | No | 10 Days | None | 21 days |
| Cilantro | 30g | 12 Hr. | Yes | 10 Days | None | 15 days |
| Cress, Upland | 8g | None | No | 3 Days | 2 Days | 10 days |
| Cress, Curled | 12g | None | No | 3 Days | 2 Days | 10 days |
| Leek | 60g | None | No | 3 Days | None | 21 days |
Herbs & Specialty Greens Buying Guide
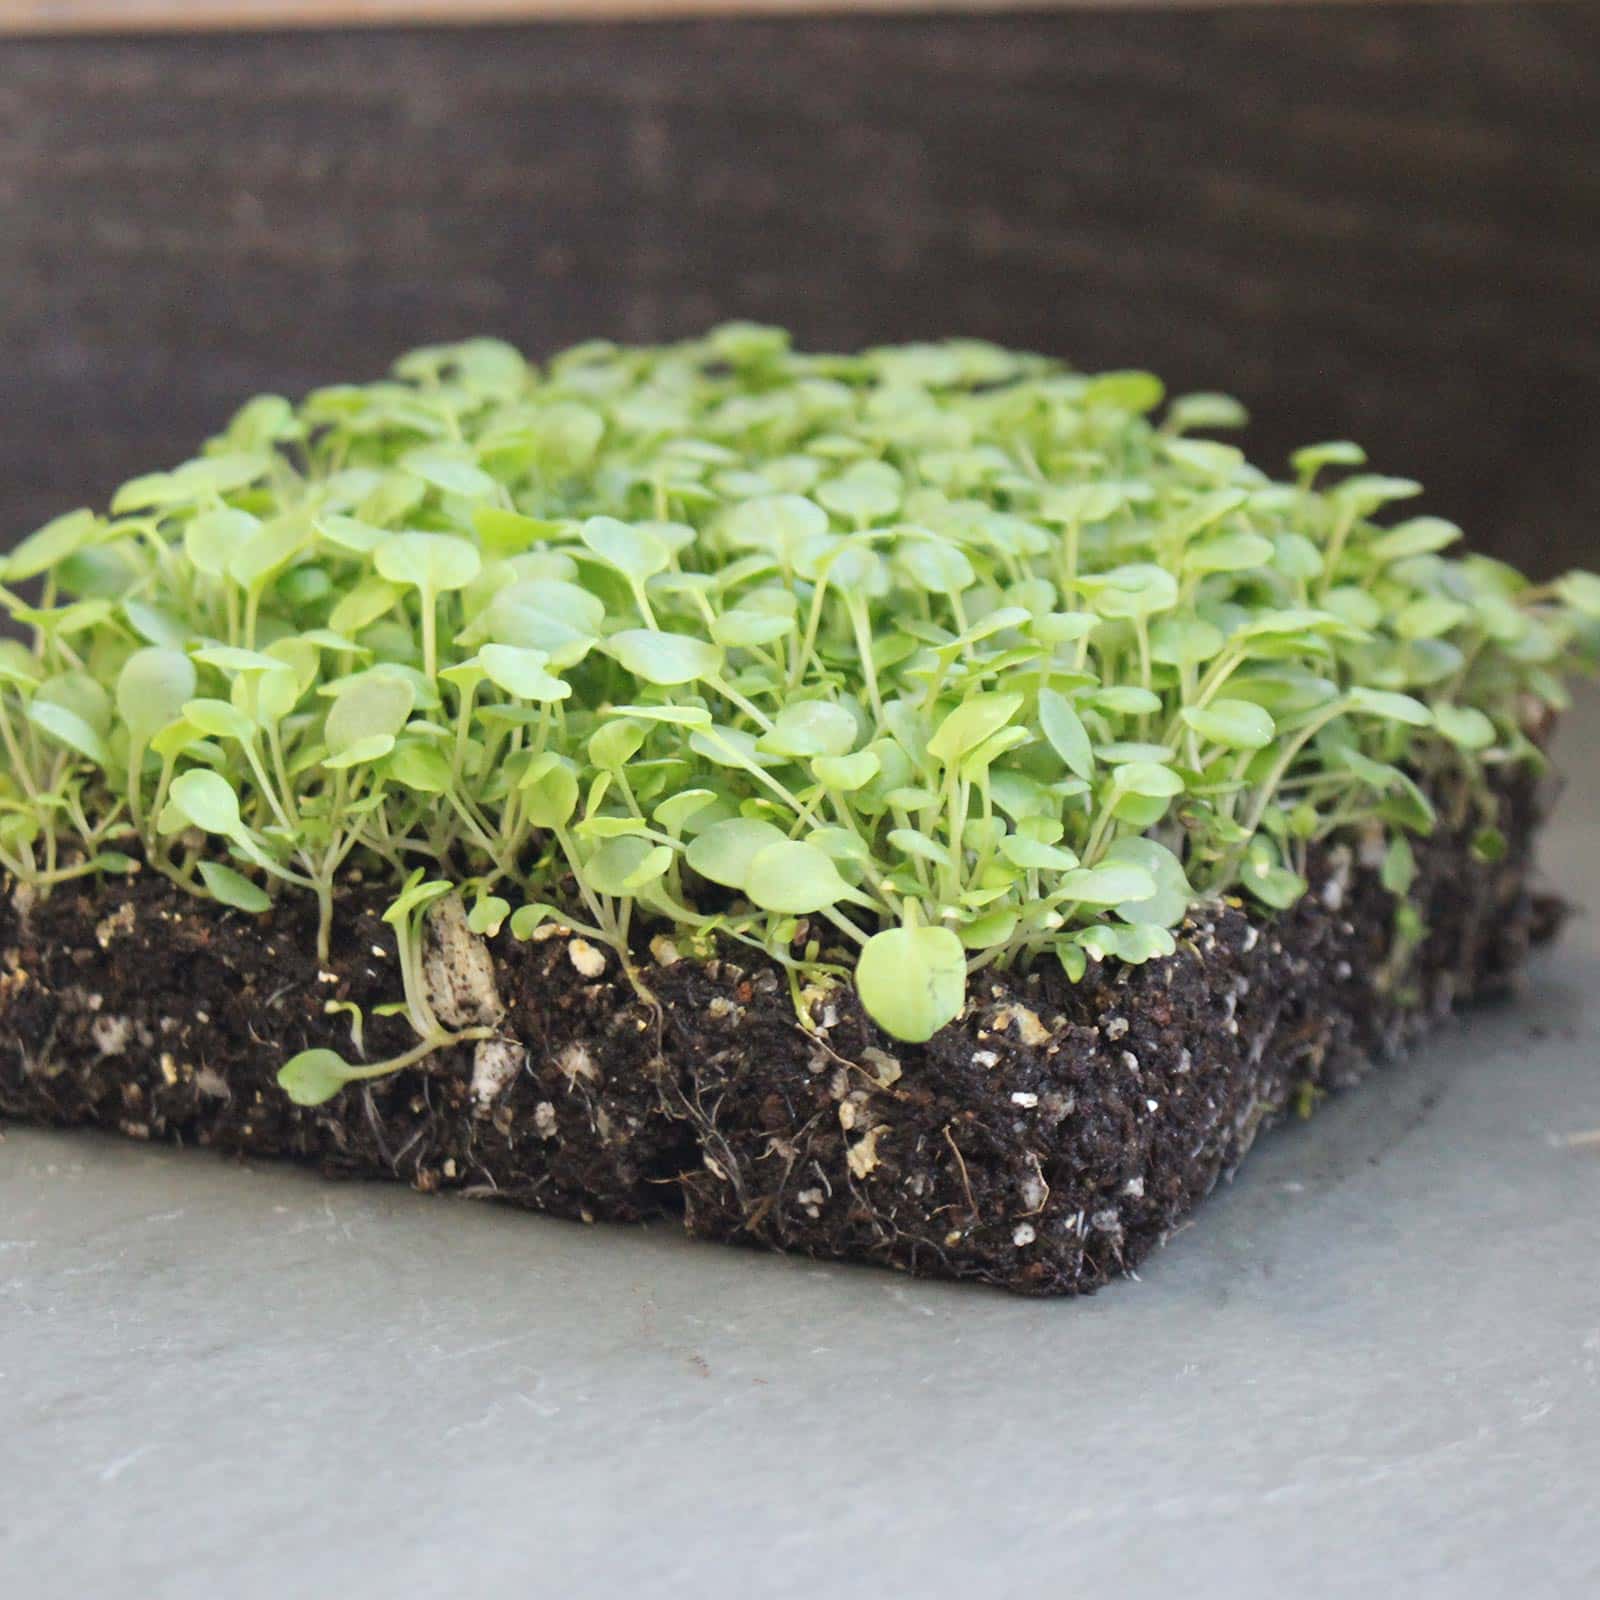
Specialty Microgreens Growing Guide
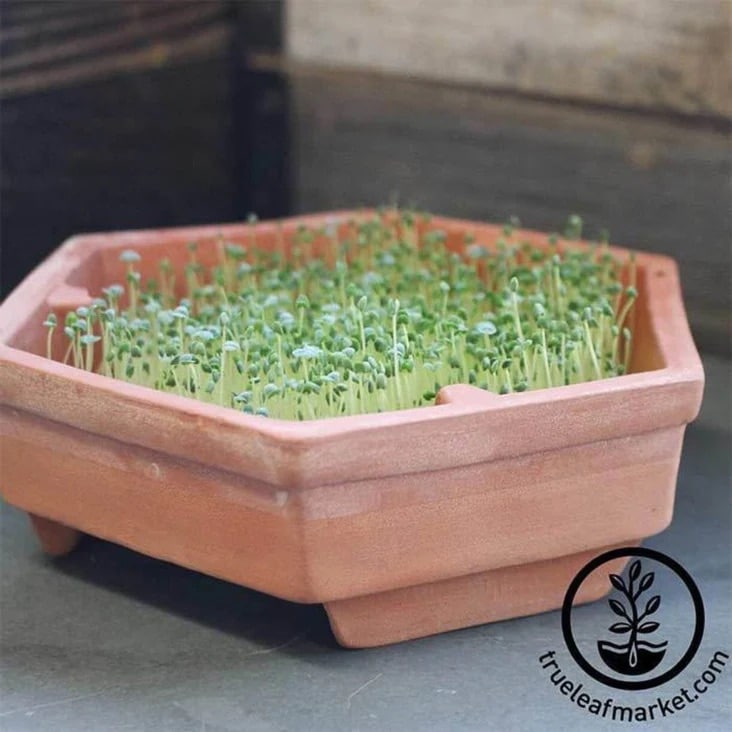
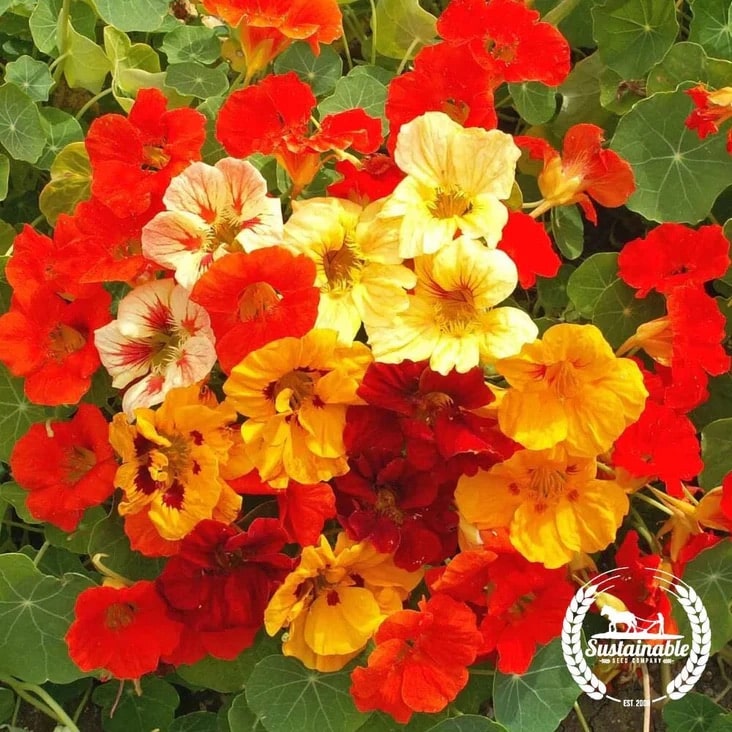
Specialty varieties add unique options to your lineup. Popcorn requires burying seeds to prevent mold. Wheatgrass is ideal for juicing and can regrow. Nasturtium is prone to mold-use H2O2 if needed. Wheatgrass should not be stacked and requires minimal water.
| Crop | Sowing Density | Soak | Bury Seed | Germination | Black Out | Grow |
|---|---|---|---|---|---|---|
| Chia | 12 g | None | No | 3 Days | 2 Days | 8 Days |
| Nasturtium | 50 g | None | Yes | 7 Days | None | 14 Days |
| Popcorn | 200 g | 12 Hr. | Yes | 5 Days | 3 Days | 8 Days |
| Wheatgrass | 200 g | 8 Hr. | No | 3 Days | None | 8 Days |
Specialty Microgreens Buying Guide
Seasonal Favorite

This is my award-winning Crisco pie crust recipe; flaky, tender, and made with simple ingredients you already have.
How to Use Microgreens in Cooking
- Add to Sandwiches and Wraps - Sunflower and pea shoots add crunch and mild flavor.
- Toss Into Salads - Use alone or mix with lettuce for extra texture.
- Finish Soups and Pasta - Sprinkle on top just before serving.
- Upgrade Breakfast - Great on avocado toast, sous vide eggs, or breakfast sandwiches.
Microgreens vs Sprouts
Microgreens and sprouts may look similar, but they are grown and used very differently.
Microgreens
- Grown in soil or a growing medium.
- Cut above the soil line.
- Harvested after the first leaves appear.
- More flavor, texture, and variety.
- Used as a fresh ingredient or garnish.
Sprouts
- Grown in water (no soil).
- Entire plant is eaten, including the seed.
- Harvested very early (just after sprouting).
- Softer texture and milder flavor.
The biggest difference comes down to how they're grown and how they're used in food.
Microgreens are treated more like a leafy green, while sprouts are often added for crunch.
Do Microgreens Regrow After Harvest?
Most microgreens do not regrow after cutting.
Once you harvest them, the plant has used up the energy stored in the seed and won't produce a second crop.
- Best practice: compost the soil (or refresh it) and reseed
- Exception: pea shoots may give a small second harvest, but it's usually weaker
For consistent results, it's better to start a fresh tray each time.
Frequently asked questions, answers and tips:
While I try to share all the information you need to make this recipe in your home with restaurant-quality results, there still may be a question or two. Or these are questions I have received from the community about this recipe. I do my best to answer them as clearly as I can. I hope this helps.
A bright window works, but a grow light gives more consistent results.
Yes, you can use grow mats or coco coir instead of traditional soil.
Check daily. Add water when the tray feels light or dry underneath.
Yes-fast harvest, small space, and they add fresh flavor to everyday meals.
Radish and broccoli are the fastest and most beginner-friendly.

I am Sarah Mock. Welcome!
Sarah Mock is a classically trained Chef and a graduate of Johnson & Wales University. A culinary blogger for 17 years, Sarah helps the home cook prepare her recipes with professional results.


Comments
No Comments