

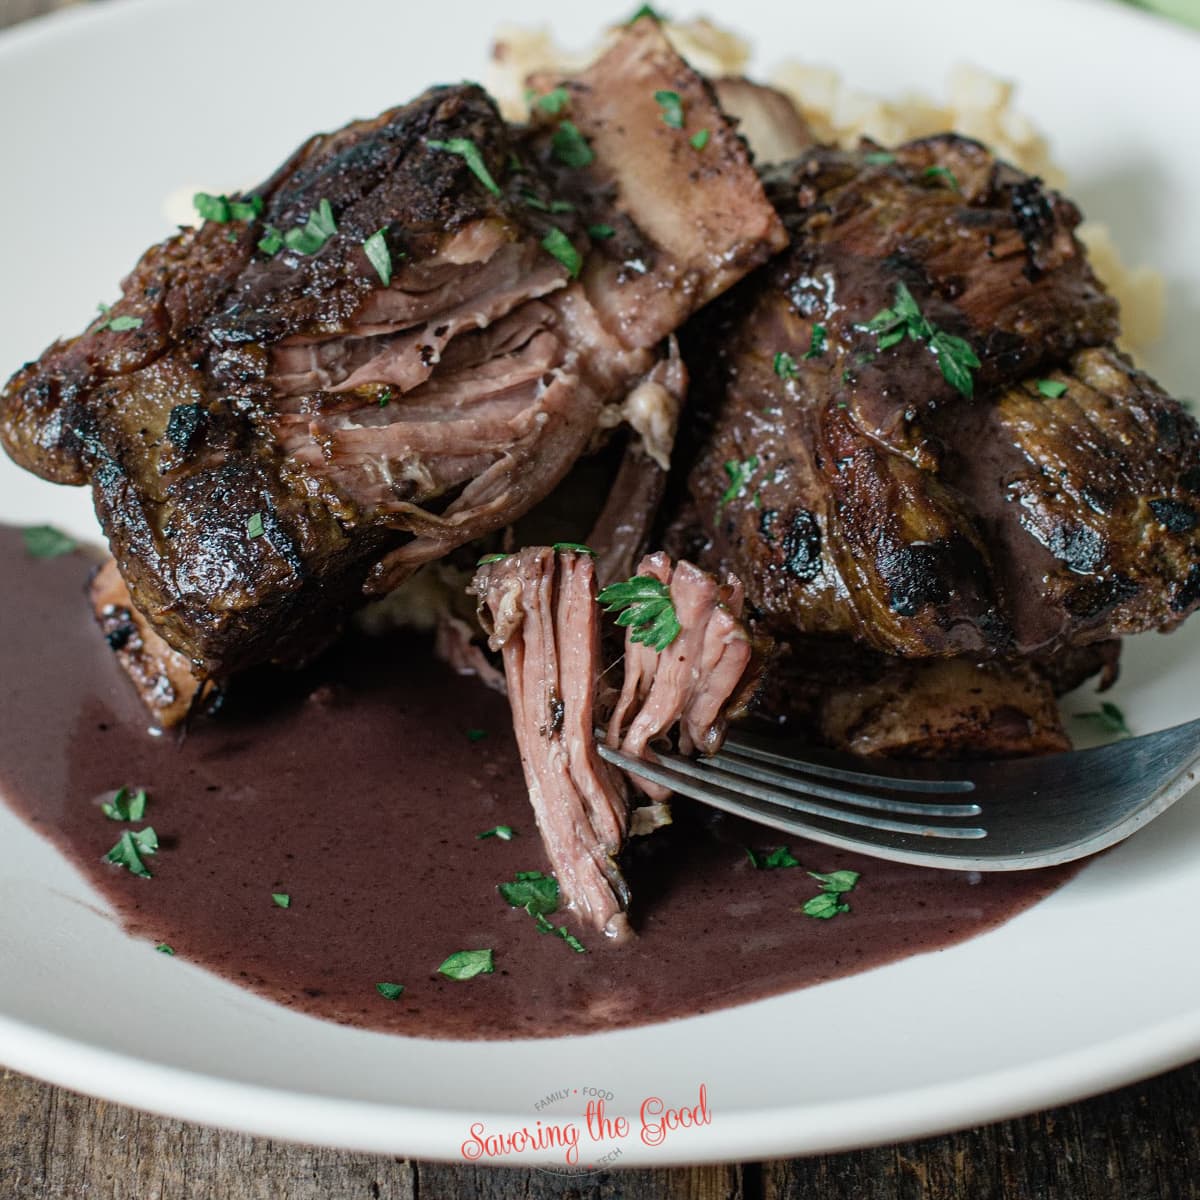
Sous vide short ribs are a game-changer for tender, fall-off-the-bone beef. This 48-hour cooking method breaks down tough connective tissue, resulting in melt-in-your-mouth ribs with a flavorful crust from a quick sear. Perfect for meal prep or a special dinner!
Benefits of this 48 hour sous vide cooking:
- 48 hours of cooking will give you the most tender, fall apart, slide off the bone beef short ribs you have EVER had!
- Cook the ribs and sear them off at a later date. A great recipe for your weekly meal prep.
- Searing the sous vide cooked short ribs will give you the most amazing, flavorful crust and the most tender ribs you have ever enjoyed.
- If you love a long, low-and-slow sous vide project, my 24-hour sous vide brisket is another one worth the wait.
This was hands-down the best beef short ribs I've ever had, and one of the best meals I've had in months. The only thing I changed was cooking them for about 22 hours versus 72.
★★★★★ ~ Terry
Ingredients needed:
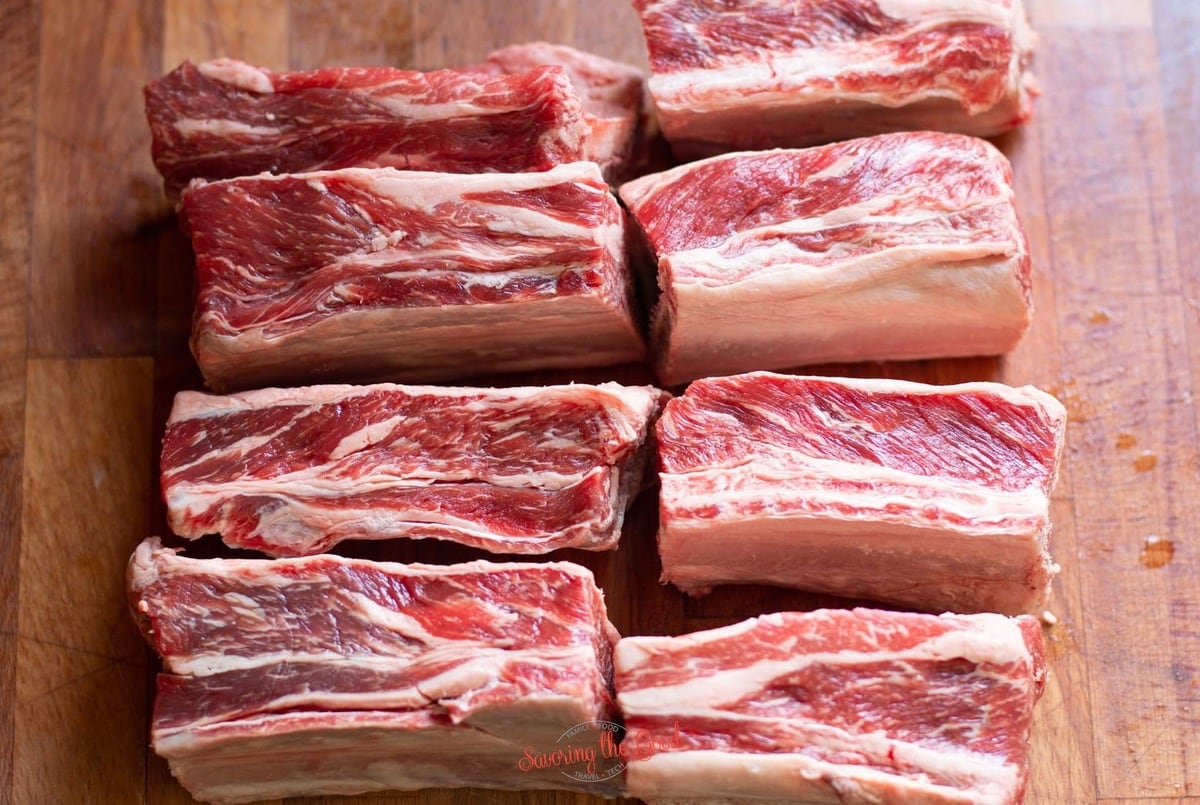
These ribs have a deliberately short ingredient list - the sous vide method does the work, so you do not need a long list of additions to get there. Good quality short ribs and a dry red wine are the two places worth spending a little more.
Recipe Card?
To find the full printable recipe with specific measurements and directions CLICK HERE to go to the recipe card.
Ingredient Substitutions
The ingredient list for these short ribs is deliberately short - the sous vide does the heavy lifting. That said, here are the swaps that work without compromising the result.
- Bone-in short ribs → boneless short ribs: Boneless works, but expect slightly less flavor depth. The bone contributes to the richness of the bag juices you'll use for the sauce. Reduce cook time by 4-6 hours.
- Red wine → beef broth: A dry red is strongly preferred for the reduction. If you need to skip the wine, use a good-quality beef broth and add a splash of red wine vinegar for acidity. The sauce will be thinner and less complex but still serviceable.
- Flake salt → kosher salt: Use half the volume. Flake salt has a larger crystal and dissolves more slowly, which is why it draws moisture without over-seasoning the surface. This is my favorite flake salt that I bought in France but now I'm excited it is found on Amazon!
- Unsalted butter (sauce) → salted butter: Reduce or eliminate additional salt in the sauce. Taste before adding any.
- Fresh thyme (sauce) → dried thyme: Use one-third the amount. Dried thyme is significantly more concentrated.
Let's go shopping!
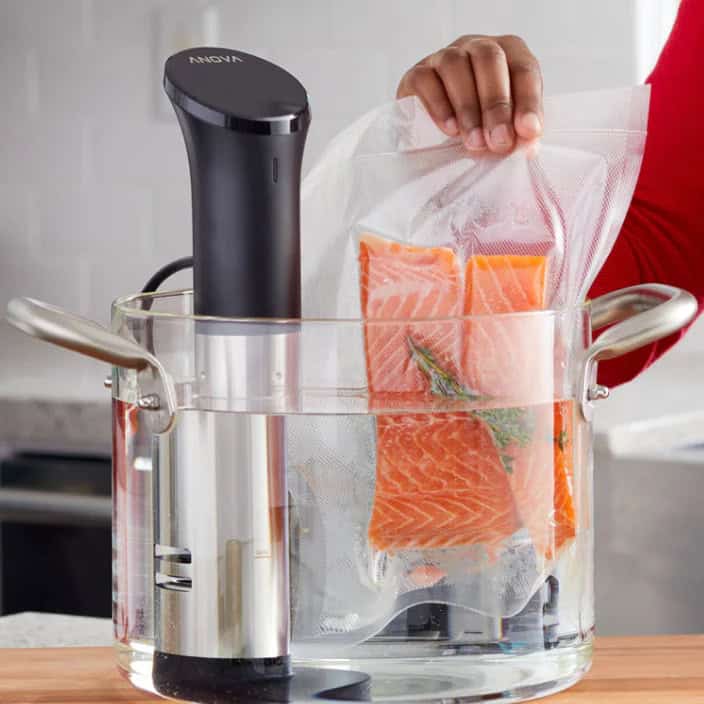
ANOVA
This third generation sous vide circulator includes dual-band WiFi and a two-line touchscreen display.
How to make sous vide beef short ribs recipe
There are two phases to these short ribs: the long, hands-off sous vide cook and the fast, high-heat finish. The sous vide does all the actual cooking - the sear at the end is purely about crust, color, and flavor. Read through all the steps before you start, so the timing makes sense.
Phase 1: Before the Sous Vide
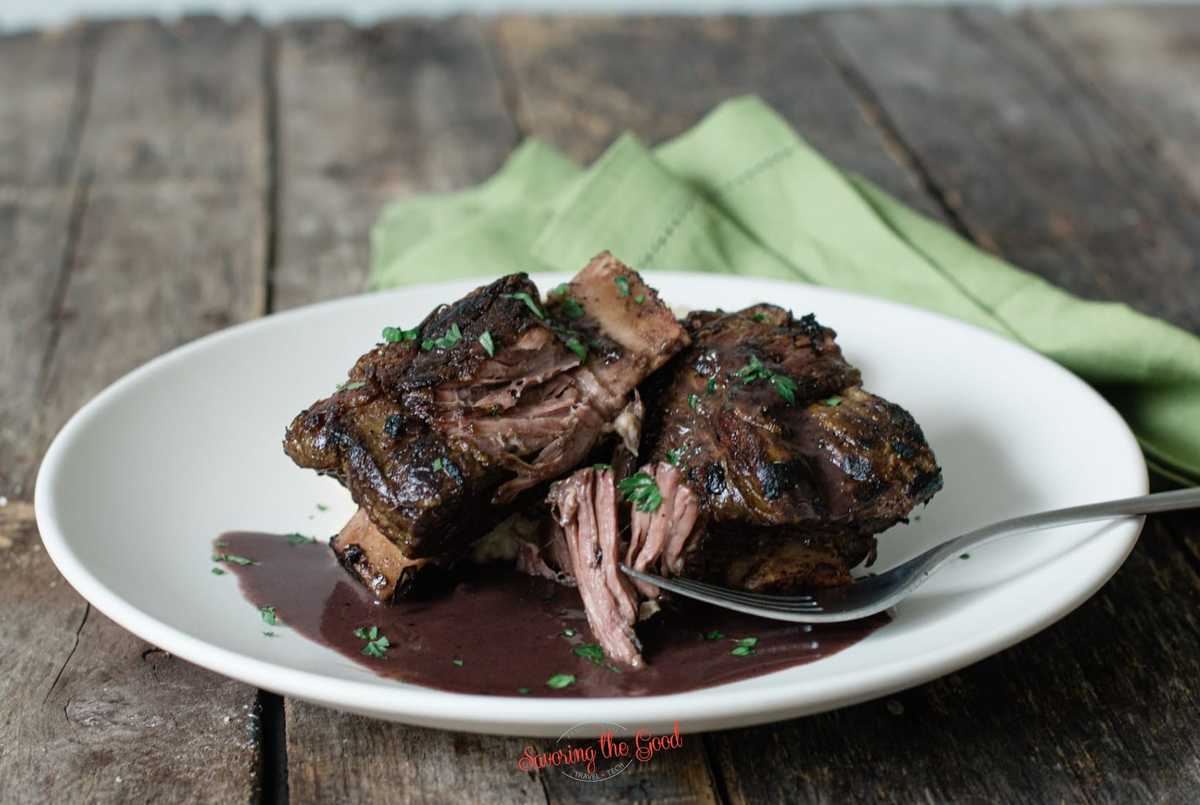
Two phases, one incredible result. The sous vide handles the cooking - the sear at the end is all about that crust.
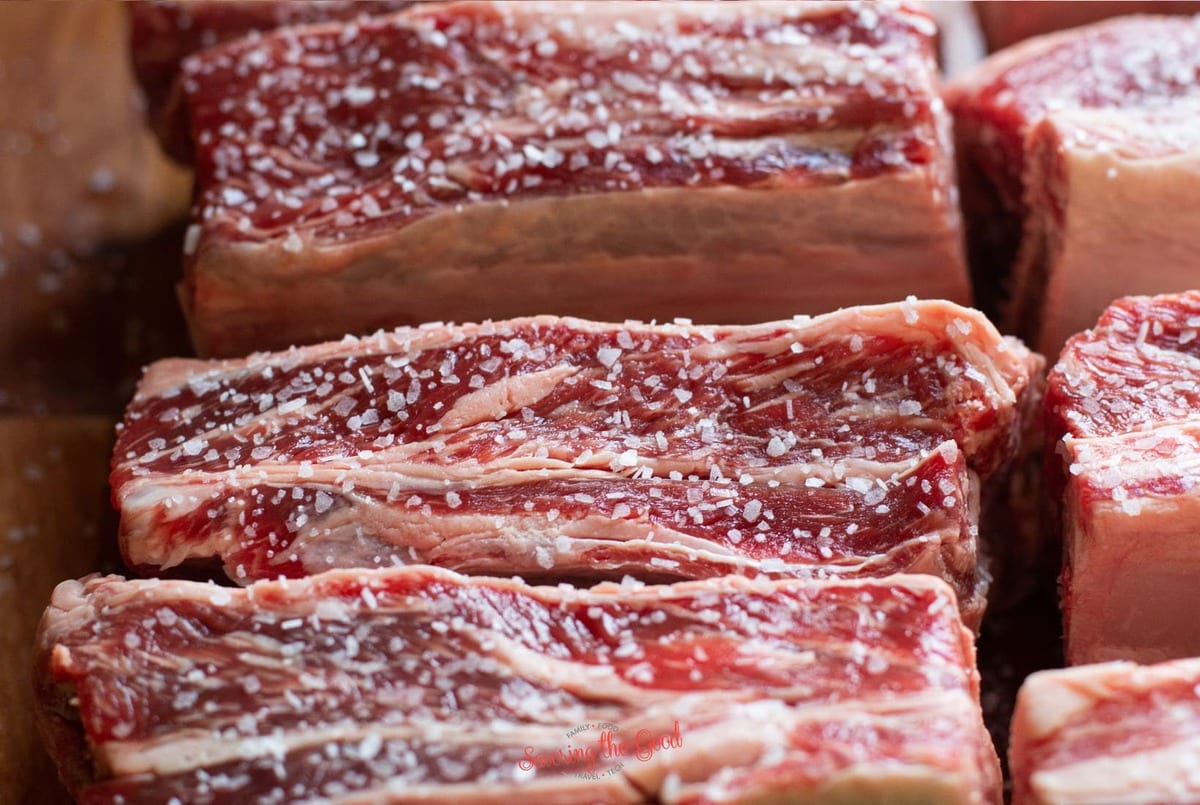
Season the ribs
Pat the short ribs completely dry with paper towels. Season all surfaces generously with flake salt. Set aside for 15 minutes - the salt will draw out surface moisture, which is exactly what you want before searing.
Preheat your pan
Set a cast iron skillet over high heat and let it heat until it just begins to smoke. This takes longer than you think - give it 3 to 4 minutes. A properly hot pan is the difference between a deep brown crust and grey steamed meat.
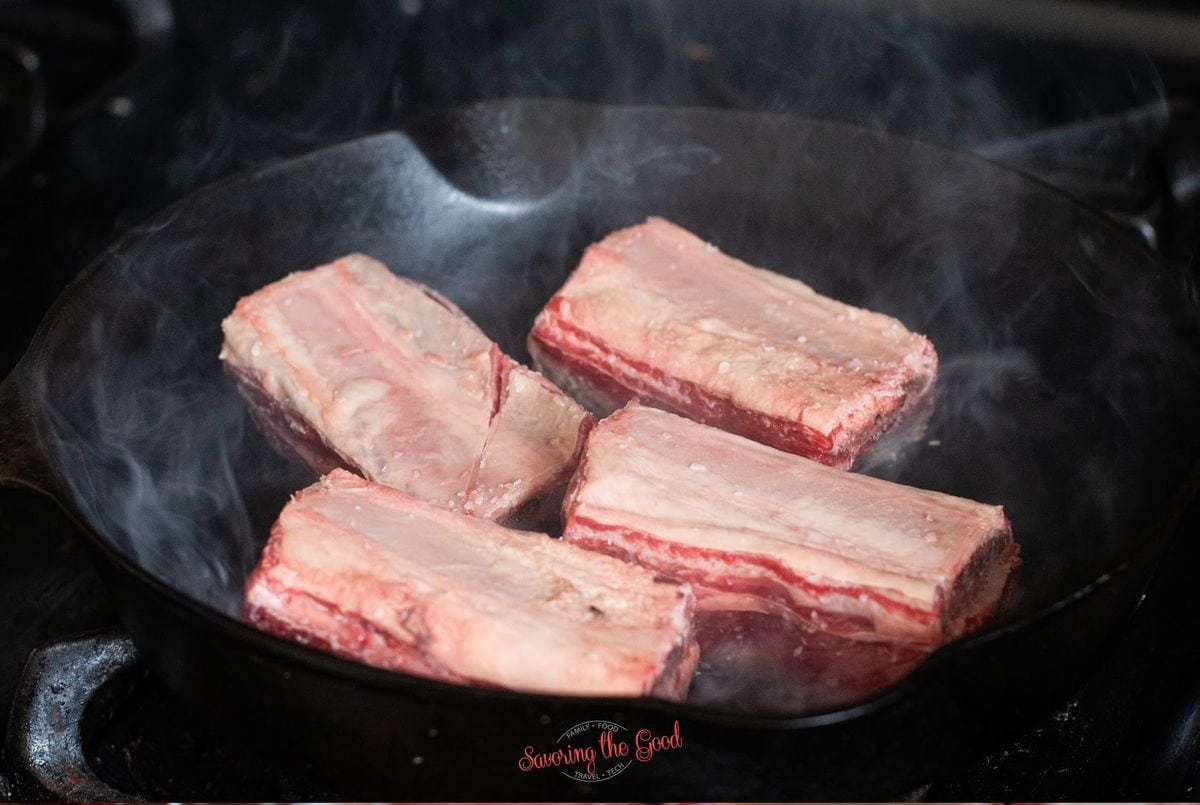
Sear the short ribs
Pat the ribs dry one more time - any remaining moisture will steam the meat instead of searing it. Add a thin layer of high smoke-point oil to the pan and sear the ribs on all sides, about 1 to 2 minutes per side, until deeply browned. Work in batches if needed. Do not crowd the pan.

Cool the ribs completely
Transfer the seared ribs to a clean plate and let them cool to room temperature, about 20 minutes. Placing warm meat directly into a vacuum bag traps steam, which can compromise the seal and affect the cook.

Bag and seal
Place the cooled short ribs in a vacuum-seal bag in a single layer. Remove all air and seal. If using a zip-top freezer bag, use the water displacement method to remove as much air as possible - but note that at 155°F, a proper vacuum seal bag is strongly recommended over zip-top bags, as the heat can compromise zip-top seals at this temperature.
Phase 2: The Sous Vide Cook
Set your water bath
Fill your sous vide container and set the immersion circulator to 155°F (68°C). Allow the water to come fully up to temperature before adding the ribs.
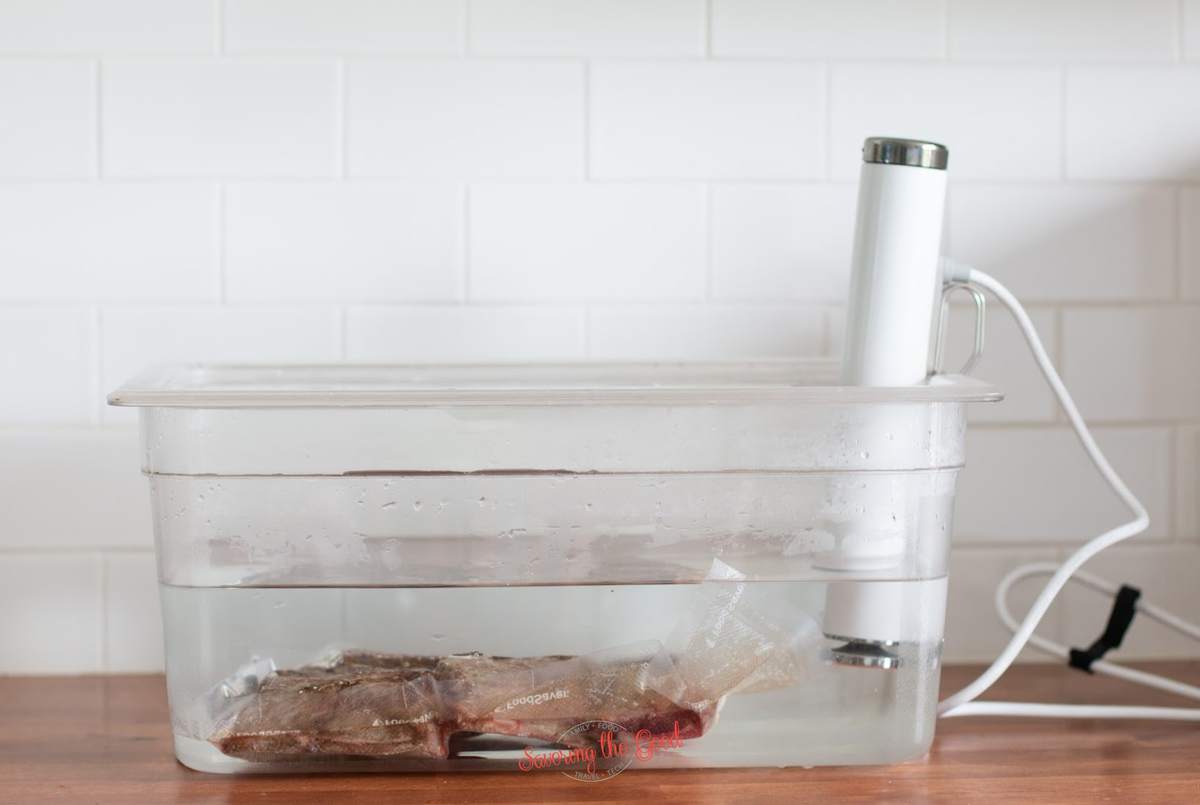
Cook for 48 hours
Submerge the sealed bag and clip it to the side of the container to keep it fully submerged. Cover the container with foil or a lid to reduce evaporation over the long cook. Set a timer and walk away - that's the whole point.
Phase 3: The Finish
Ice bath
When the cook is complete, remove the bag from the water bath. If serving immediately, proceed to Step 10. If making ahead, transfer the sealed bag to an ice bath and chill completely before refrigerating for up to 7 days.
Reserve the bag juices
Open the bag carefully over a bowl. Reserve all of the juices - this is the foundation of your sauce and is loaded with concentrated beef flavor.
Pat dry and season
Remove the ribs from the bag and pat completely dry with paper towels. Season lightly with salt and pepper. Dry surface = good sear. Wet surface = steam.

Final sear
Heat a cast iron skillet over high heat until smoking. Add a thin layer of oil. Sear the ribs on all sides, 1 to 2 minutes per side, until a deep mahogany crust forms. Work in batches. Do not move the ribs while they are searing.
Rest
Transfer the seared ribs to a plate and rest for 5 minutes while you make the sauce.
Phase 4: The Red Wine Reduction

Build the sauce base
In the same skillet used for searing, reduce heat to medium. Add diced shallots and minced garlic and cook until softened, about 2 minutes, scraping up any browned bits from the pan. Add a small amount of flour and stir for 1 minute to cook out the raw flour taste and form a light roux.
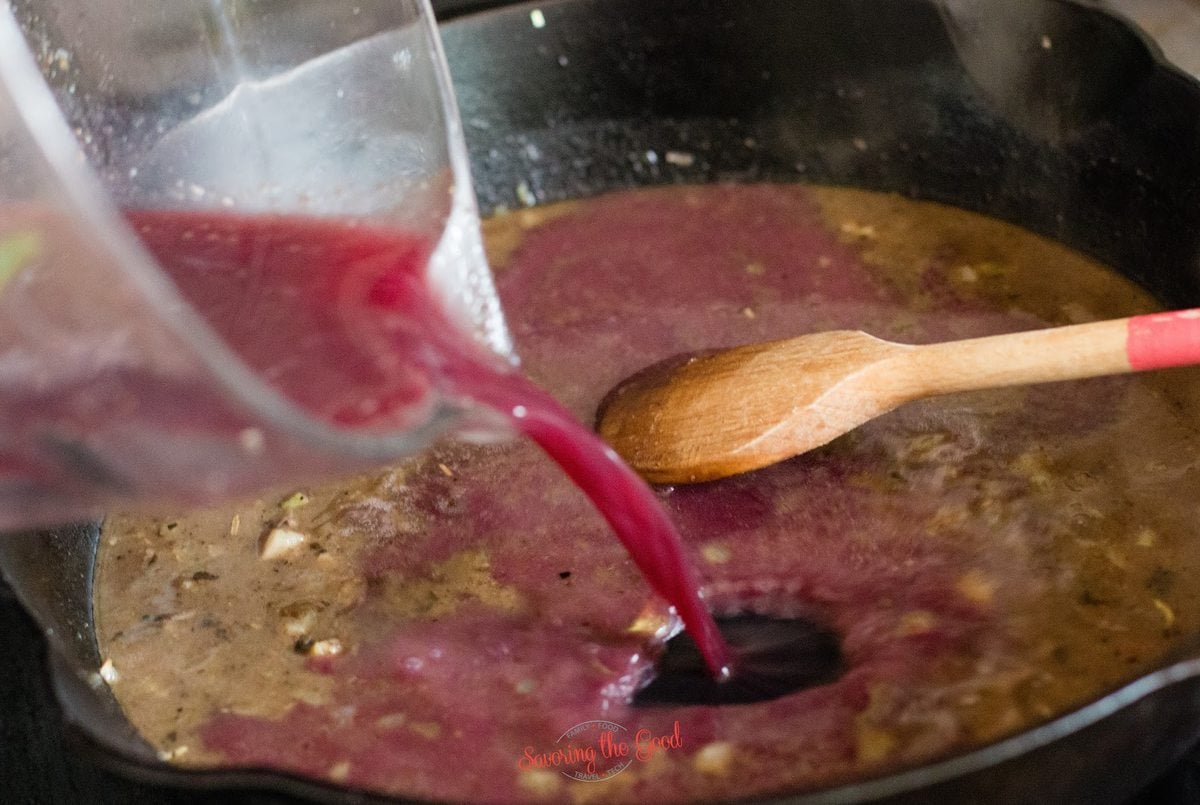
Deglaze and reduce
Add the reserved bag juices and deglaze the pan, scraping up any remaining bits. Add the red wine and beef broth. Bring to a simmer and reduce until the sauce coats the back of a spoon, about 15 to 20 minutes. Taste and adjust salt.

Finish with butter
Remove the pan from heat. Add cold butter in small pieces, swirling the pan to emulsify the butter into the sauce. This gives the sauce its silky, glossy texture. Serve immediately over the short ribs.
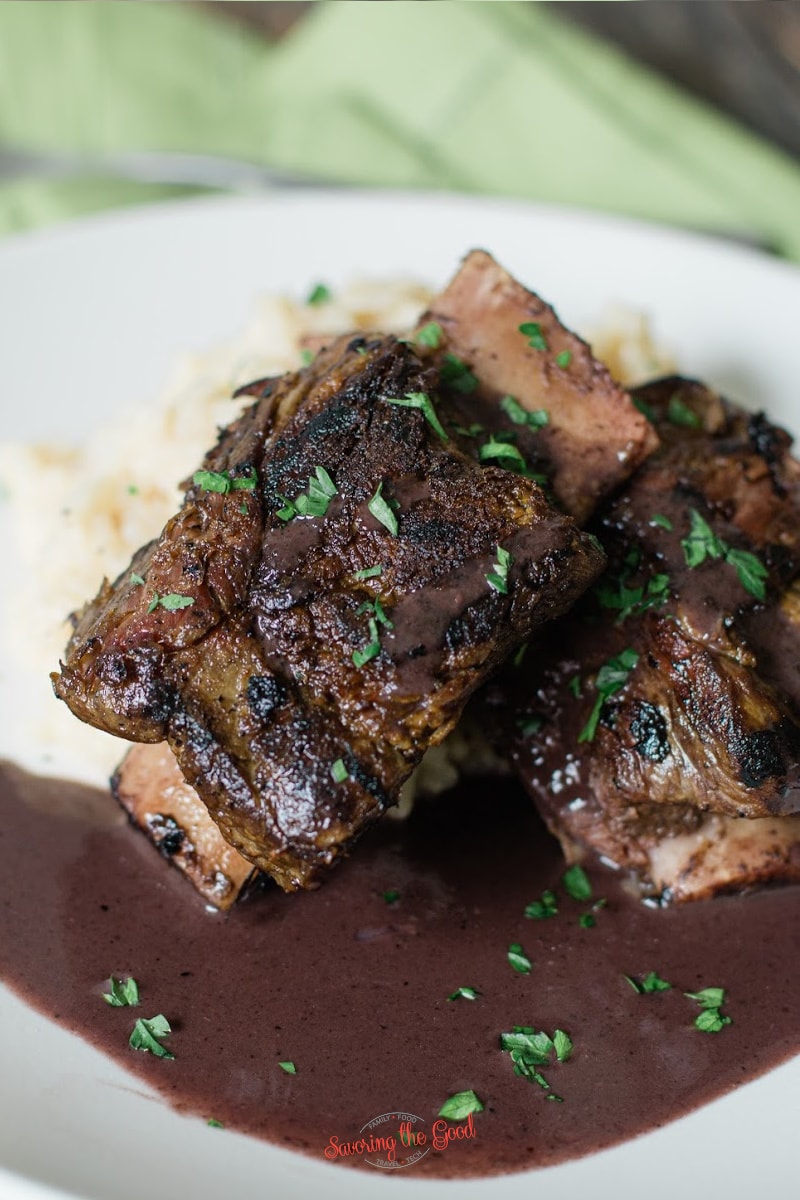
My sauce is too thin. How do I fix it?
Keep reducing. The most common reason for a thin red wine reduction is pulling it off the heat too early. It should coat the back of a spoon and leave a clean line when you drag your finger through it. If you are in a hurry, a small knob of cold butter whisked in off the heat will thicken and gloss the sauce quickly. You can also add a teaspoon of flour to the shallots and garlic before deglazing to build in a light roux from the start, which is what this recipe does.
Did you make this recipe?
Do you have feedback that would be helpful to others? If so can help this small business owner by leaving a rating and a review in the comments section? Thank you for being part of the Savoring The Good Community. ~ Sarah
Make Ahead Tip
If not eating the short ribs at the end of the cook, plunge the closed bag into an ice bath to chill them down.
Make-Ahead Instructions
This is one of those recipes that is genuinely better when made ahead - the ribs firm up in the refrigerator, which means they sear more cleanly and hold together beautifully when you're ready to finish them.
- Complete the full 48-hour sous vide cook as directed.
- Do not open the bag. Transfer the sealed bag directly into an ice bath - a large bowl filled with ice and cold water - and chill for at least 30 minutes until the ribs are fully cold.
- Refrigerate in the sealed bag for up to 7 days. The ribs are fully cooked and safe. The sealed bag keeps all the juices intact and the flavor developing.
- When ready to serve, remove the ribs from the bag, reserve the juices for your sauce, pat completely dry, and sear over high heat. Cold ribs straight from the refrigerator actually sear better than warm ones - the surface dries out faster and you get a deeper crust.
Storage Instructions
These ribs store exceptionally well, which makes them a solid make-ahead choice for dinner parties or weekly meal prep.
- Refrigerator: Cooled, fully cooked short ribs keep in an airtight container for up to 4 days.
- Freezer: Seal in a vacuum bag or airtight freezer bag and freeze for up to 3 months. Thaw overnight in the refrigerator before reheating.
- Reheating: Place the ribs in a 300°F oven on a rack set over a sheet pan for 15 to 20 minutes until warmed through, then finish with a quick sear in a hot skillet to re-crisp the crust. Avoid microwaving - it softens the crust and unevenly heats the meat.
- Sauce: Store separately in an airtight container in the refrigerator for up to 4 days. Reheat gently in a small saucepan over medium-low heat, adding a splash of broth if it has thickened too much.
Frequently asked questions, answers and tips:
Absolutely, yes! Boneless short ribs will work well for this recipe. But know that a bone will give you an extra layer of flavor to the meat and a bit more stability when searing the beef.
These short ribs can be cooked up to a week ahead of serving. Just be sure to properly cool them down before storing them in the refrigerator.
Both methods work, and you will find strong opinions on both sides. Pre-searing builds a layer of deeply browned, caramelized flavor on the surface before the long cook, which means those flavors get time to infuse into the meat over 48 hours. Post-searing gives you a crisper, fresher crust right before serving. This recipe uses both - a pre-sear for flavor development and a post-sear for the final crust. The double sear is the move for maximum flavor.
Yes! Completely safe. The USDA minimum for beef is 145°F, and 155°F exceeds that. At this temperature, beef is fully pasteurized well within the first few hours of cooking. The remaining time is purely about texture and collagen breakdown, not food safety. The concern with extended low-temperature sous vide cooks applies to temperatures below 130°F, not at 155°F.
For this recipe, a vacuum seal bag is strongly recommended. At 155°F, zip-top bag seals can be compromised by the sustained heat over a long cook. A failed seal means the bag fills with water, which dilutes your juices and gives you uneven results. If you do not have a vacuum sealer, use the water displacement method with a heavy-duty freezer bag and monitor it during the first hour of cooking.
Temperature is what separates two completely different results. At 140°F, the short ribs hold together more firmly, the fat renders less completely, and you get a texture closer to a well-done steak - still tender, but with more structure. At 155°F, more collagen converts to gelatin, more fat renders out, and the result is closer to a classic braise - soft, yielding, and almost falling off the bone. Neither is wrong. This recipe targets the braised texture at 155°F.
Yes, with a small adjustment. Boneless short ribs work well sous vide, but expect slightly less depth of flavor in your bag juices - the bone contributes significantly to the sauce. Reduce the cook time by about 4 to 6 hours since boneless cuts are typically thinner. Everything else in the recipe stays the same.


Ingredients
- 2 lbs (907 ⅕ g) Short ribs bone in
Red Wine Sauce ingredients:
- ¼ Cup (40 g) Onion finely chopped
- 2 cloves (2 cloves) Garlic finely chopped
- 2 Tablespoons (2 Tablespoons) Olive oil extra virgin
- 1 Tablespoon (1 Tablespoon) Flour, All Purpose all purpose
- 1 Cup (236 ⅗ ml) Red wine cabernet savigon
- 1 Tablespoon (1 Tablespoon) Butter
- Salt and pepper
Instructions
- Season the ribs with flake salt on all surfaces. Allow the salt to pull out the excess moisture for 15 minutes.2 lbs (907 ⅕ g) Short ribs, Salt and pepper
- Heat a cast-iron skillet on high to the point of smoking. Pat the meat dry with paper towels to absorb the excess moisture. Sear the ribs on all sides.2 Tablespoons Olive oil
- Remove the ribs from the pan and allow to cool on a clean plate.
- Place the cooled short ribs in a vac and seal bag and remove all the air or a gallon zip-top bag and use water displacement to remove the air from the bag before clipping it to the side of the sous vide container.
- Set the sous vide water to 155 F and cook for 48 hours.
- If not eating the short ribs at the end of the cook, plunge the closed bag into an ice bath to chill them down. Finish the meat and make the sauce when you are ready to eat.
Finishing the meat and making the wine sauce.
- Remove the cooked short ribs from the sous vide bag, reserving the juices in the bag to make the wine sauce.
- In a heavy bottom or cast iron pan, sauté the onions and garlic until they are soft and start to take on a bit of color.¼ Cup (40 g) Onion , 2 cloves Garlic
- Dust the flour to the cooked onions and garlic and stir for 1 minute. This will make a roux and help thicken the sauce.1 Tablespoon Flour, All Purpose
- Deglaze the pan with the purge, or juices, from the bag scraping the bits from the bottom of the pan.
- Add the wine to the pan, stirring to combine, bring to a simmer and reduce until thickened. About 4 minutes.1 Cup (236 ⅗ ml) Red wine
- Add the butter to the sauce and stir until melted and incorporated.1 Tablespoon Butter
- Transfer the sauce to a serving dish, straining it through a fine-mesh strainer to remove the onions from the sauce.
- Pat the meat dry with paper towels. Heat a heavy bottom or cast iron pan over high heat to the point of smoking.
- Sear the short ribs for 1 minute on all sides to get an amazing crust.
- Serve with the red wine reduction sauce.
Nutrition
Notes

I am Sarah Mock. Welcome!
Sarah Mock is a classically trained Chef and a graduate of Johnson & Wales University. A culinary blogger for 18 years, Sarah helps the home cook prepare her recipes with professional results.



Terry says
This was hands-down the best beef short ribs I've ever had, and one of the best meals I've had in months. The only thing I changed was cooking them for about 22 hours versus 72. The ribs were incredibly tender and a uniform pink color throughout the meat. The sauce was absolutely amazing, but I only used two cups of wine (because I ran out) instead of three. This is definitely worth making, but there won't be nearly enough for a family of four if you follow the recipe. I tripled it, and it turned out fantastic. This has made me consider getting a larger sous vide cooker so I can make an even larger portion.
Lynndee says
I have never tried preparing short ribs with wine. I will have to give your recipe a try. Looks good!
Sarah Mock says
Give it a try! Be sure to use a wine that you would want to drink. In fact, I drink a glass while the sauce is reducing.
Marysa says
My husband would love this recipe. It would be a treat to make this sometime!
Kathy says
This looks really good. I have been wanting to try out sous vide. I even have the product, I just haven't really used it much.
Sarah Mock says
Kathy this will be the PERFECT recipe to start your sous vide journey. You will appreciate the long cook and the good that comes from it.
Sarah
MELANIE EDJOURIAN says
My parents love eating ribs. They normally have them with bbq sauce though. I'm sure they would enjoy your recipe.
Sarah Mock says
You can definitely serve sous vide ribs with BBQ sauce. Just do the cook for and then coat with the sauce at the finish.
Tasheena says
This looks so savory. I can’t wait to try this recipe.
Sarah Mock says
thanks for finding it here! Please let me know what you think when you make it.
Sarah