

Drying chives is one of the simplest ways to preserve herbs from your garden so you have them on hand all year long. I harvest mine when they hit their peak in early summer, then dry or freeze them depending on how much I have and how long I want them to last. Let me walk you through four drying methods plus freezing, so you can pick the one that works for your setup.
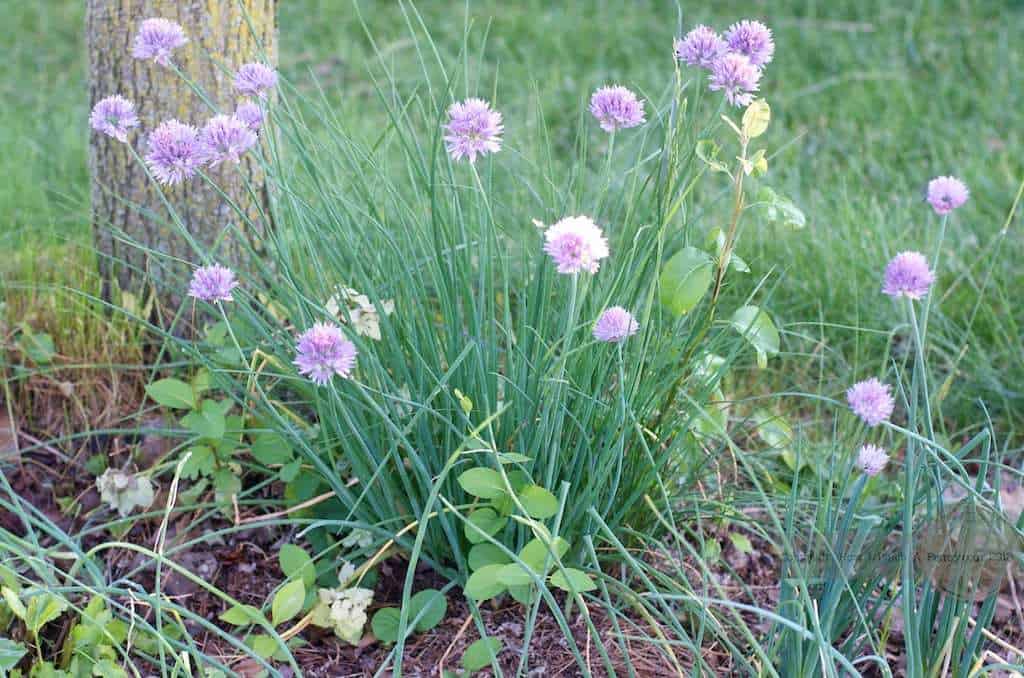
If you grow a full herb garden, you will also want to know how to dry sage leaves - the process is similar, just a longer drying time. And once you have a jar of dried chives on your shelf, they are perfect in my easy Mexican corn dip recipe.
What You Need to Know Before You Start
Chives are a high-moisture herb, which means they need either heat or air movement to dry properly. If you skip this and just leave them in a pile on the counter, they will mold before they dry - especially in a humid kitchen.

The good news is that chives are forgiving. They are thin enough that they dry faster than most herbs, and all four of the methods below will give you a good result. The difference is mostly time and equipment.
One note on timing: harvest in the morning. Chives are most flavorful before the afternoon sun draws out their moisture. If you wait until evening, you are working with an already-stressed plant.
How to Harvest Chives
You only need a pair of scissors. Kitchen scissors, herb scissors, or a sharp knife all work fine.

Cut the chive stalks down to about 1 inch above the soil. Leaving that inch is not just habit; the plant needs some green above ground to absorb sunlight and continue growing. Cut all the way to the base and you will slow regrowth significantly.
Pull out any flower stalks before you bring them inside. The purple flowers are pretty and fully edible, but the stalk attached to the flower head is tough and woody, and it will not dry the same way the tender green stalks do.
Shake the bundle gently outdoors to knock off any insects, then bring them inside.
How to Prepare Chives for Drying
Rinse the chives under cool running water and shake off the excess. Then spread them in a single layer on a clean kitchen towel and pat them dry. You want as little surface moisture as possible going into the drying process; water on the outside slows everything down and increases the risk of mold.
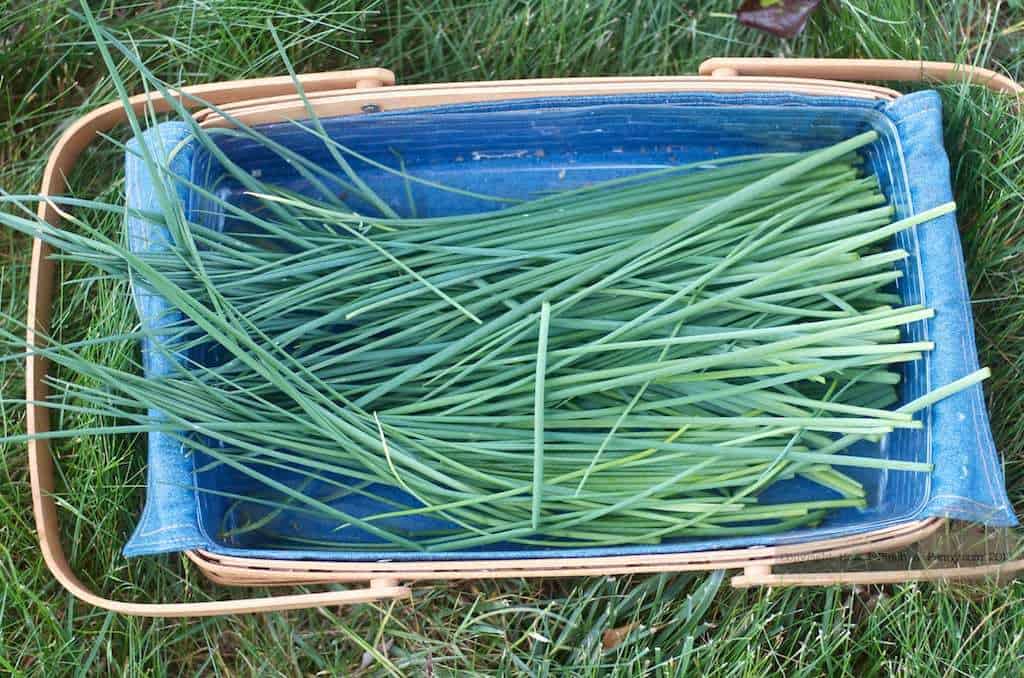
Once they are dry to the touch, snip them into small pieces. I aim for pieces no larger than ¼ inch. Smaller pieces mean more surface area exposed, which speeds up drying time and gives you a more consistent texture in the finished product.

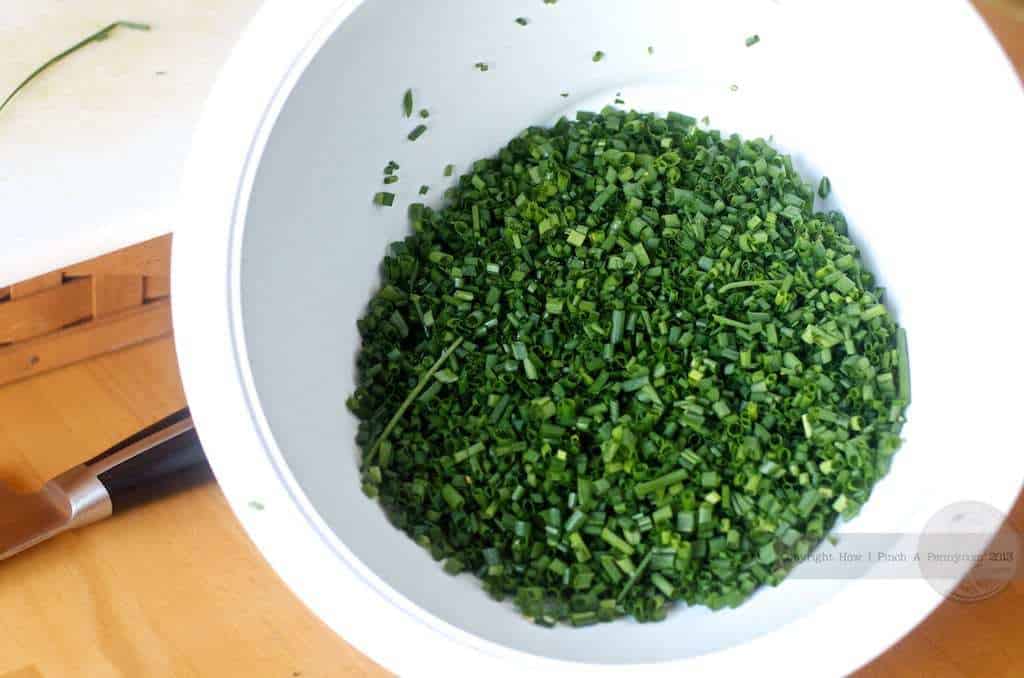
You will end up with more chopped chives than you expect from a small bundle. That is normal. They shrink significantly during drying.
4 Ways to Dry Chives
Each of these methods works. Which one you choose depends on how much time you have and what equipment is available in your kitchen.
Method 1: Sun Drying
Sun drying is the most hands-off method and it costs nothing. The trade-off is that you need a dry, hot day with low humidity.

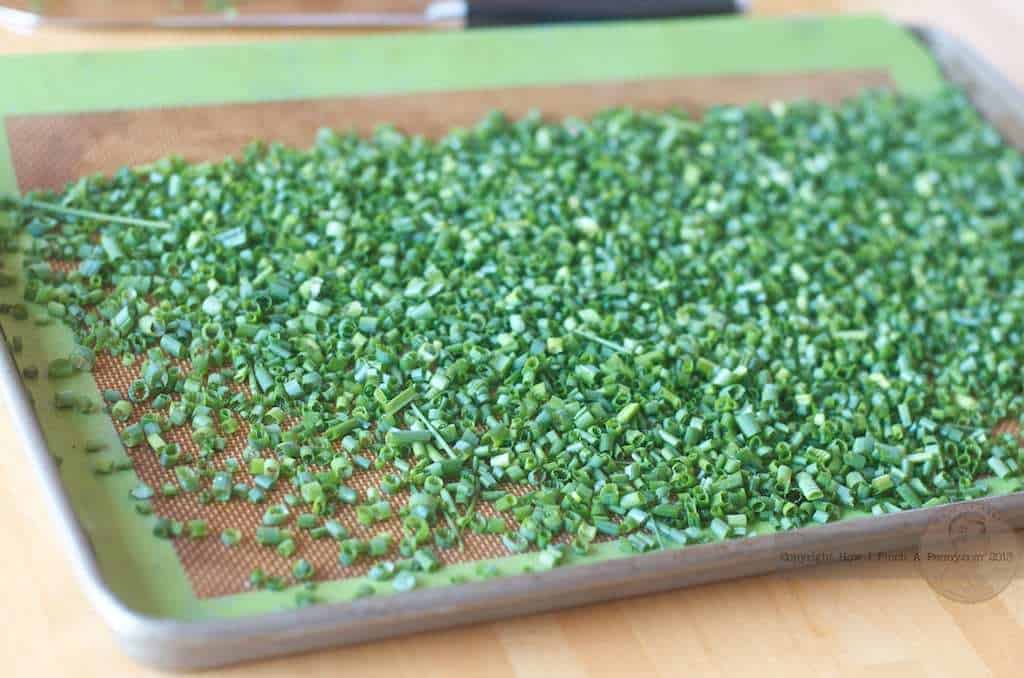
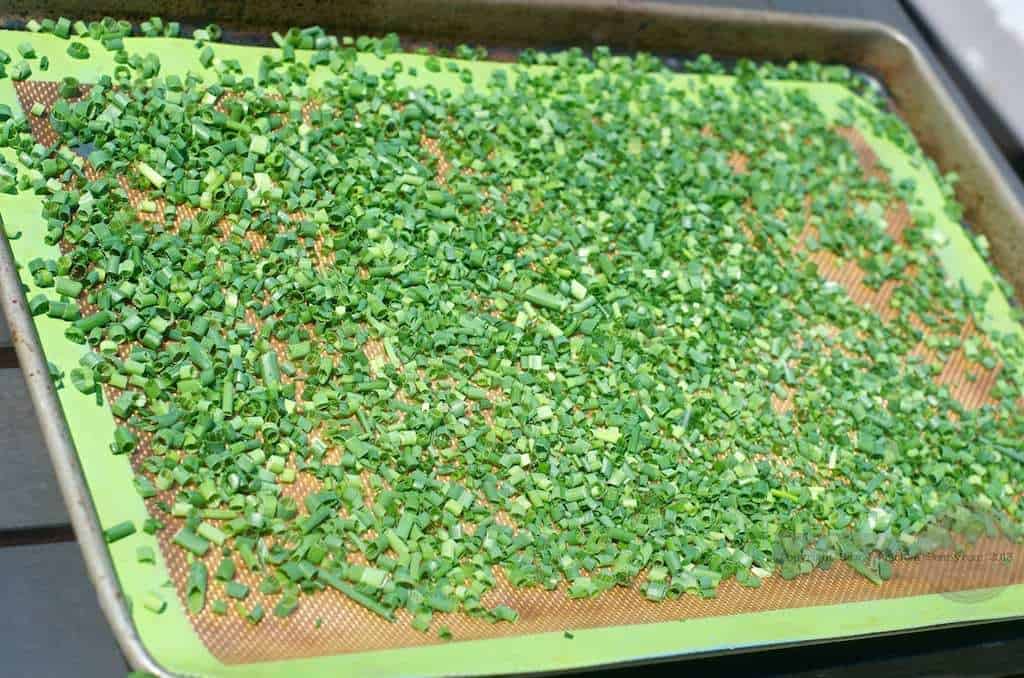
Spread your chopped chives in a single layer on a parchment-lined baking sheet or a silicone mat. The liner matters here; you will use it to funnel the dried chives into a jar at the end, so do not skip it.
Set the tray outside in direct sunlight. Every 30 minutes or so, give the chives a gentle toss so they dry evenly on all sides.
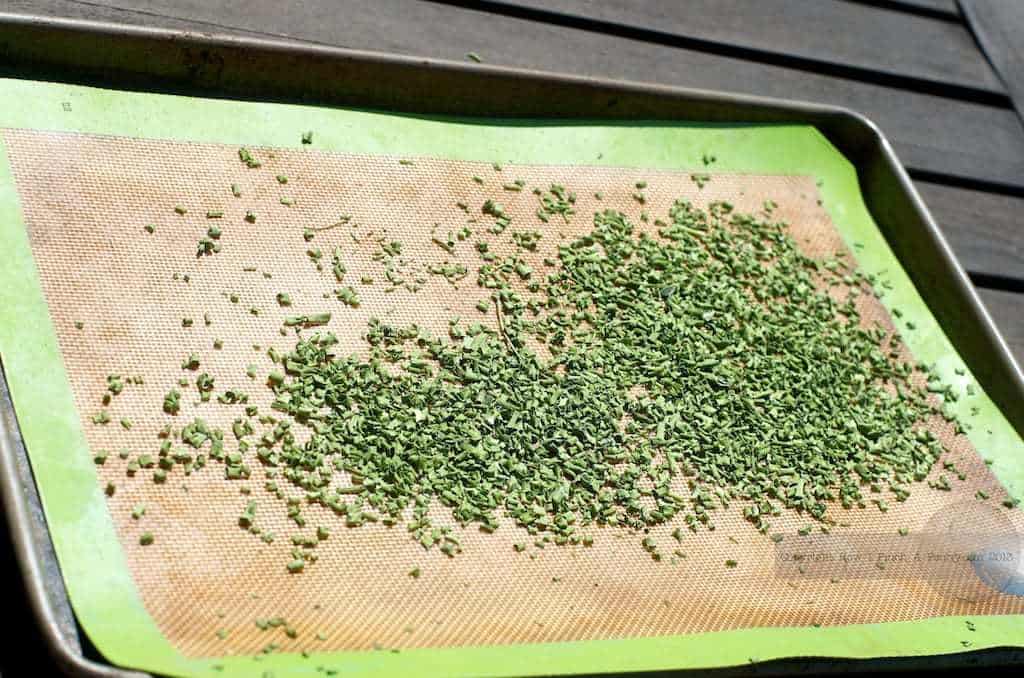
At 90F with low humidity, my chives were fully dry in about 6 hours. In cooler or more humid conditions, you are looking at 8-12 hours, possibly longer. You will know they are ready when they feel papery and crumble between your fingers with no flex. If they bend instead of crumble, they need more time.
Do not leave them outside overnight. Humidity and dew will undo everything.
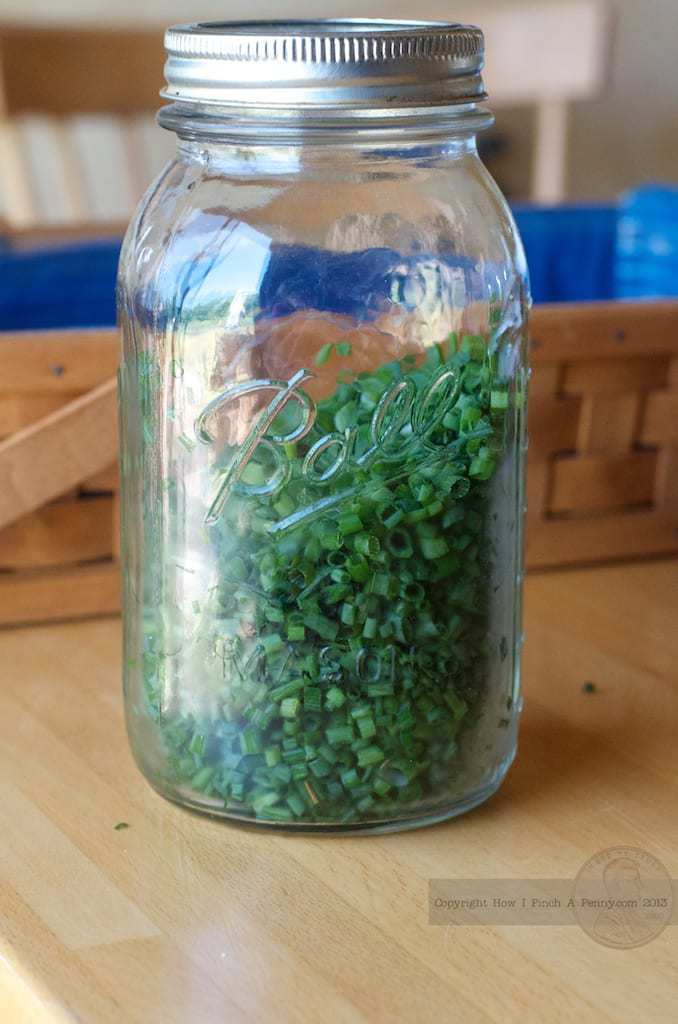
This is how many chopped chives that bundle pictured in the basket turned out to be.
Method 2: Oven Drying
Oven drying is the right choice when it is humid outside or when you need to move faster.

Line a baking sheet with parchment paper and spread your chopped chives in a single layer. Set your oven to its lowest temperature; this is usually between 170F and 200F depending on your oven. If your oven only goes down to 200F, crack the door open slightly to keep the temperature from climbing.
Check them every 10 minutes. Chives are thin and they can go from drying to burning faster than you would think. You are looking for the same result as sun drying: papery texture, crumbles without any resistance. Most ovens will get there in 45 minutes to 1 hour.
Let them cool completely on the pan before transferring to storage. Storing warm herbs in a closed container traps steam, which brings moisture back in.
If drying herbs at home has you hooked, my guide to drying figs in the oven uses the same technique for fruit.
Method 3: Food Dehydrator
A food dehydrator is the most consistent method, especially if you dry herbs regularly. The controlled temperature and airflow give you an even result every time.
Spread the chopped chives across the dehydrator trays in a single layer with a little space between pieces. Set the temperature to 95F-115F; most herb settings on a dehydrator fall in this range. Higher temperatures will dry them faster but can cook off some of the volatile oils that give chives their flavor.
Drying time in a dehydrator is typically 1-4 hours depending on the moisture content of your chives and the humidity in your kitchen. Check them at the 1-hour mark and every 30 minutes after that.
Method 4: Air Drying
Air drying works best when you have whole chive stalks rather than chopped pieces. It takes the longest of the four methods, but requires zero equipment.
Gather the stalks into a loose bundle; not too tight, or the ones in the center will not get enough airflow. Tie the bundle at the base with kitchen twine and hang it upside down in a dry spot with good air circulation. A pantry with a window, a covered porch, or a dry mudroom all work well.
Keep the bundle away from direct sunlight during air drying. Sunlight at this stage will fade the color and degrade the flavor. The goal is warm, moving air; not heat.
Air drying takes 1-2 weeks. The chives are ready when the stalks feel crispy and crumble when you press them. Once dried, chop them to your preferred size before storing.
How to Freeze Chives
Freezing is a better choice than drying when you want to preserve the color and fresh flavor of chives for use in cooked dishes. Dried chives have a more concentrated, mellow flavor; frozen chives taste closer to fresh.
Spread your chopped chives in a single layer on a parchment-lined baking sheet. Place the sheet flat in the freezer for at least 30 minutes, until the pieces are individually frozen. This step is important; if you skip it and go straight to the jar, the chives will clump together in a solid block and you will have to chip pieces off every time you need them.
Once frozen solid, work quickly. If your kitchen is warm, the chives will start to soften in under a minute. Pick up the parchment by the edges and fold it into a funnel shape, then pour the frozen chives directly into a freezer-safe container or mason jar with a tight-fitting lid. Seal and return to the freezer immediately.
Frozen chives keep their quality for up to 12 months.
How to Store Dried Chives
Transfer fully dried chives to a clean, dry glass jar with a tight-fitting lid. Mason jars work well; the seal is reliable and you can see at a glance how much you have left.
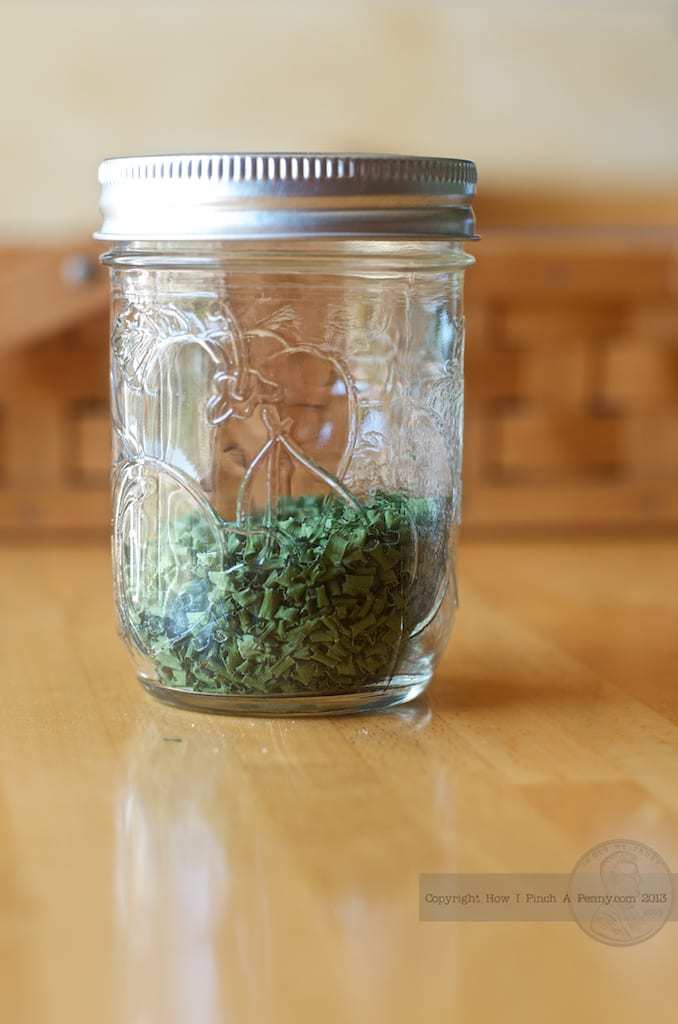
Before you seal the jar, press a pinch of the chives between your fingers. If they crumble cleanly and you feel no moisture, you are good. If there is any softness or flex, spread them back out and give them another hour of drying time. Sealing even slightly damp herbs is how mold gets started, and there is no saving a jar once that happens.
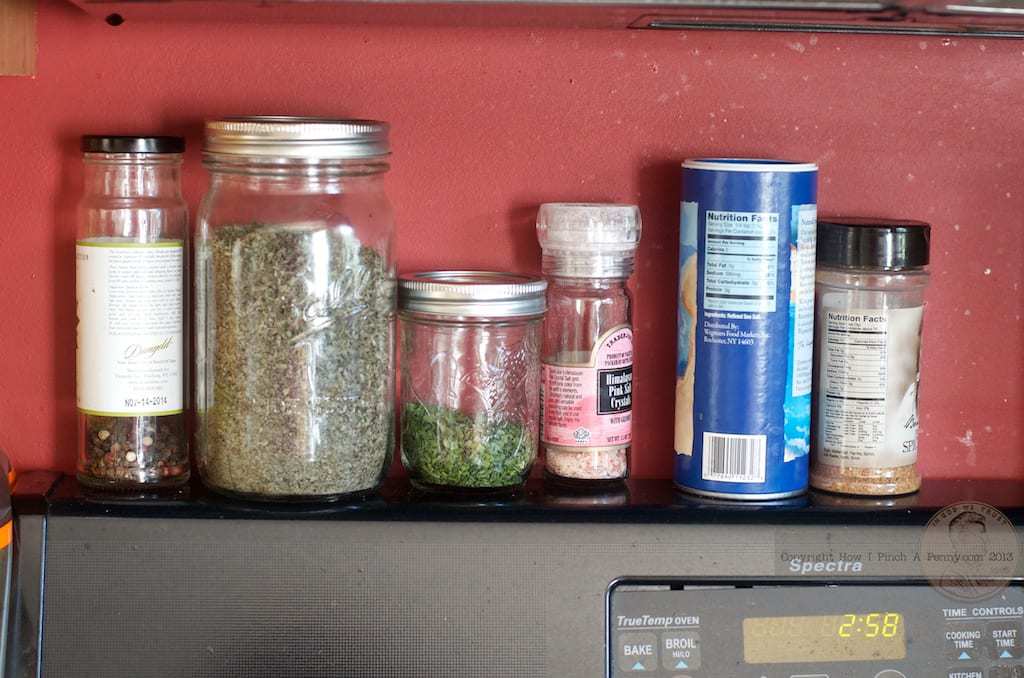
Store the jar in a cool, dry spot away from heat and direct light. The cabinet above your stove looks convenient, but the heat from cooking degrades dried herbs faster than almost anything else. A cabinet on the opposite side of the kitchen is a better choice.
Properly dried and stored chives will hold their flavor for 1 year. After that they are still safe to use, but the flavor fades and you will need to use more to get the same result.
Freezing vs. Drying: Which Is Better?
Neither is better; they serve different purposes.
Dried chives work well in anything where the herb will be cooked into the dish: soups, baked potatoes, dips, compound butter, eggs. The drying process concentrates the flavor, so a little goes a long way. As a general guide, 1 tablespoon of fresh chives equals about 1 teaspoon of dried.
Frozen chives are better when raw herb flavor matters, or when you want to add them as a garnish at the end of a dish. They will not have the crisp texture of fresh chives, but the flavor is much closer.
One practical note on storage space: dried chives take up about half the volume of frozen chives for the same amount of herb. If freezer space is tight, drying makes more sense.
Frequently asked questions, answers and tips:
While I try to share all the information you need to make this recipe in your home with restaurant-quality results, there still may be a question or two. Or these are questions I have received from the community about this recipe. I do my best to answer them as clearly as I can. I hope this helps.
Yes, and it is one of the best ways to preserve them. Chop the chives, freeze them in a single layer on a lined baking sheet first, then transfer to a freezer-safe container. They keep for up to 12 months and taste much closer to fresh than dried chives do.
Properly dried and stored in an airtight container away from heat and light, dried chives will hold their flavor for about 1 year. After that they are still safe to use but the flavor will have faded noticeably.
Yes. Line a baking sheet with parchment, spread chopped chives in a single layer, and set your oven to its lowest temperature (usually 170F-200F). Check every 10 minutes. Most ovens will have them dry in 45 minutes to 1 hour. Let them cool completely before storing.
A food dehydrator set to 95F-115F is the fastest method with the most consistent results; usually 1-4 hours. Oven drying at low heat is the fastest option if you do not have a dehydrator.
Press a pinch between your fingers. Fully dried chives will crumble cleanly with no flex or give. If they bend at all, they need more time. Do not seal them in a jar until they pass this test.
Some flavor is lost in the drying process, but not as much as you might expect. The key is low, slow drying. High heat will cook off the volatile compounds that give chives their oniony bite. For the strongest flavor in dried chives, use the lowest oven temperature or a dehydrator set under 115F.
The flowers themselves can be dried, but the flower stalks are too woody to be useful as a dried herb. I pull the flower heads off and set the stalks aside. The flower heads can be dried separately and used as a garnish, or used fresh to make chive blossom vinegar.
Dried chives work anywhere you would use fresh chives in a cooked dish; baked potatoes, sour cream, soups, dips, omelets, and compound butter. Use roughly 1 teaspoon of dried for every 1 tablespoon of fresh called for in a recipe. For raw applications like a garnish on top of a dish, frozen chives are a better substitute for fresh.

I am Sarah Mock. Welcome!
Sarah Mock is a classically trained Chef and a graduate of Johnson & Wales University. A culinary blogger for 18 years, Sarah helps the home cook prepare her recipes with professional results.
as seen in:


This post originally posted Jun 2, 2013


Susan says
How long can I keep dried chives?
Sarah Mock says
I say at least a year. Keep them away from light.
Susan Hershey says
This method made it so easy to dry. I have an oven with a dehydrating feature. They turned out beautiful and still had a green color.
Sarah Mock says
Susan,
Thank you for sharing your success! I would LOVE to have an oven with a dehydrating feature. That would make light work of all the dehydrating I do.
Cheers!