

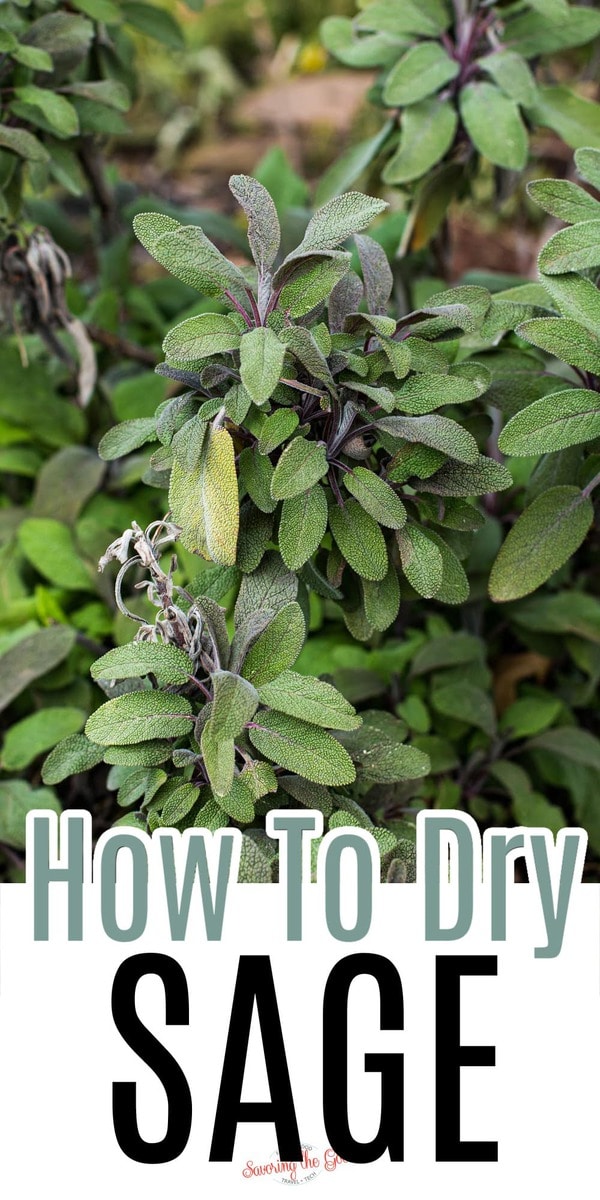
Learning how to dry sage will ensure you will have dried sage for use in your favorite recipes without going to the store when you need it most.

Do you have basil in your herb garden? Harvest about ⅓ cup of leaves to make my favorite basil salt.
Here is why drying your own sage is a good idea:
- A sage plant will regenerate year after year.
- If harvested smartly, the plant will give you multiple pickings a year.
- Drying your own sage will give you confidence that you know exactly what happened to your dried herb before you add it to your recipe.
🌱 Ingredients needed:
- Freshly picked sage
How to air dry fresh sage:
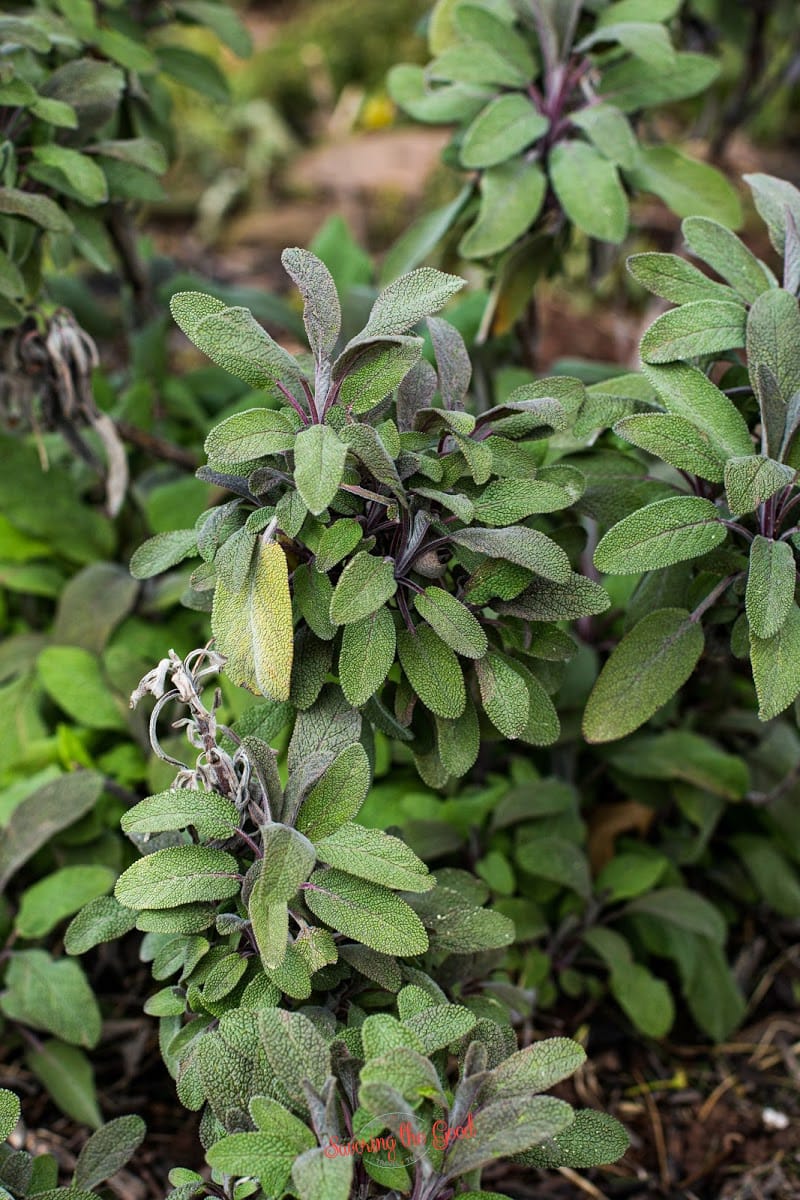
The simplest and easiest way to dry sage is to allow it to dry naturally in a clean, dry location with good air circulation. When you air dry sage it is helpful to tightly wrap the stems with twine or string to make a bundle and hang the sage bundles in a place that has good air flow and low humidity.
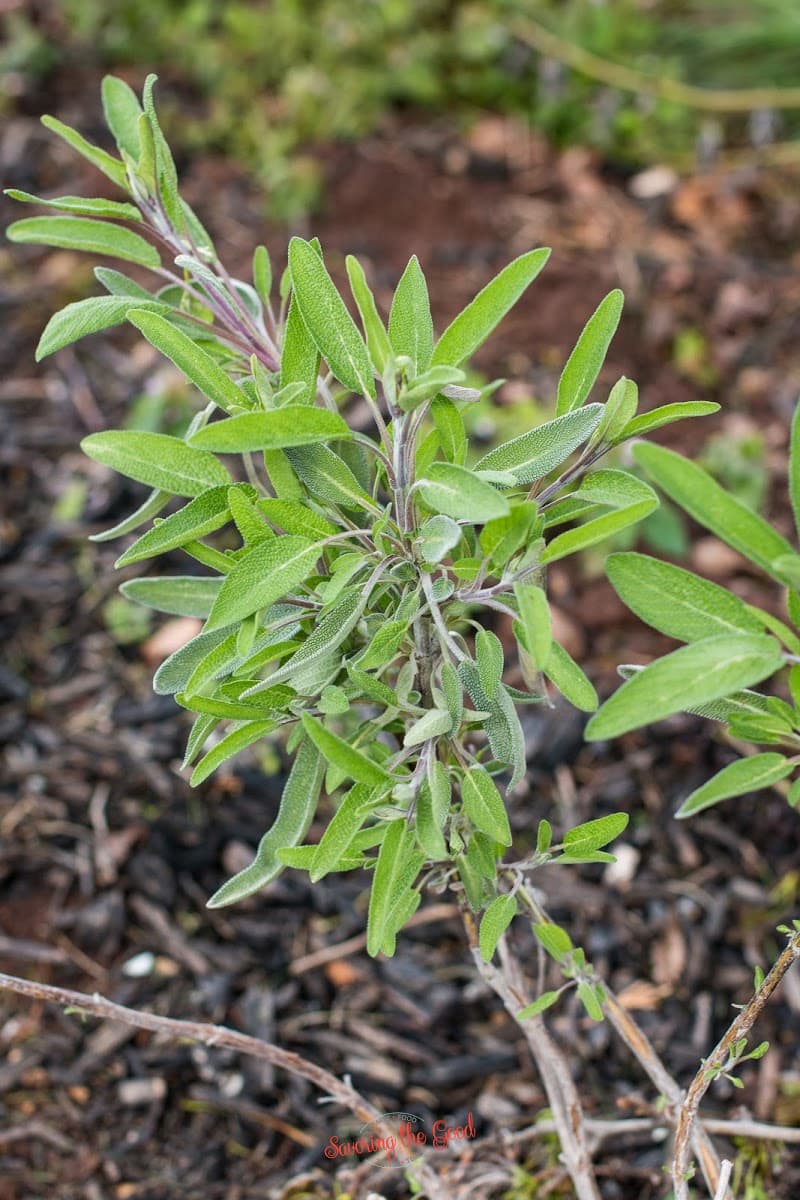
🤏 How to harvest sage for drying:
- When it is time to harvest sage, be sure to pick sage in the morning, after the dew has dried off the leaves.

- Watch for and remove any insects or bugs.

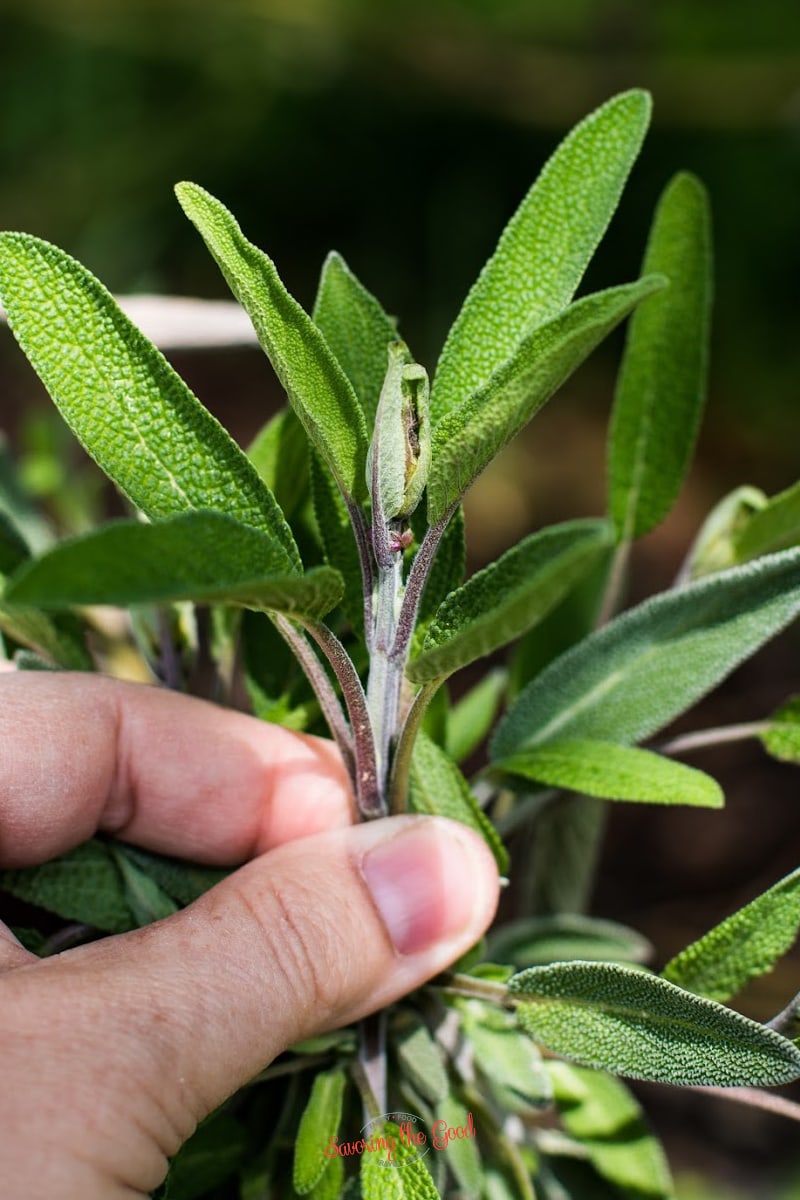
- Pinch off the sage where the leaf meets the leaf stem.
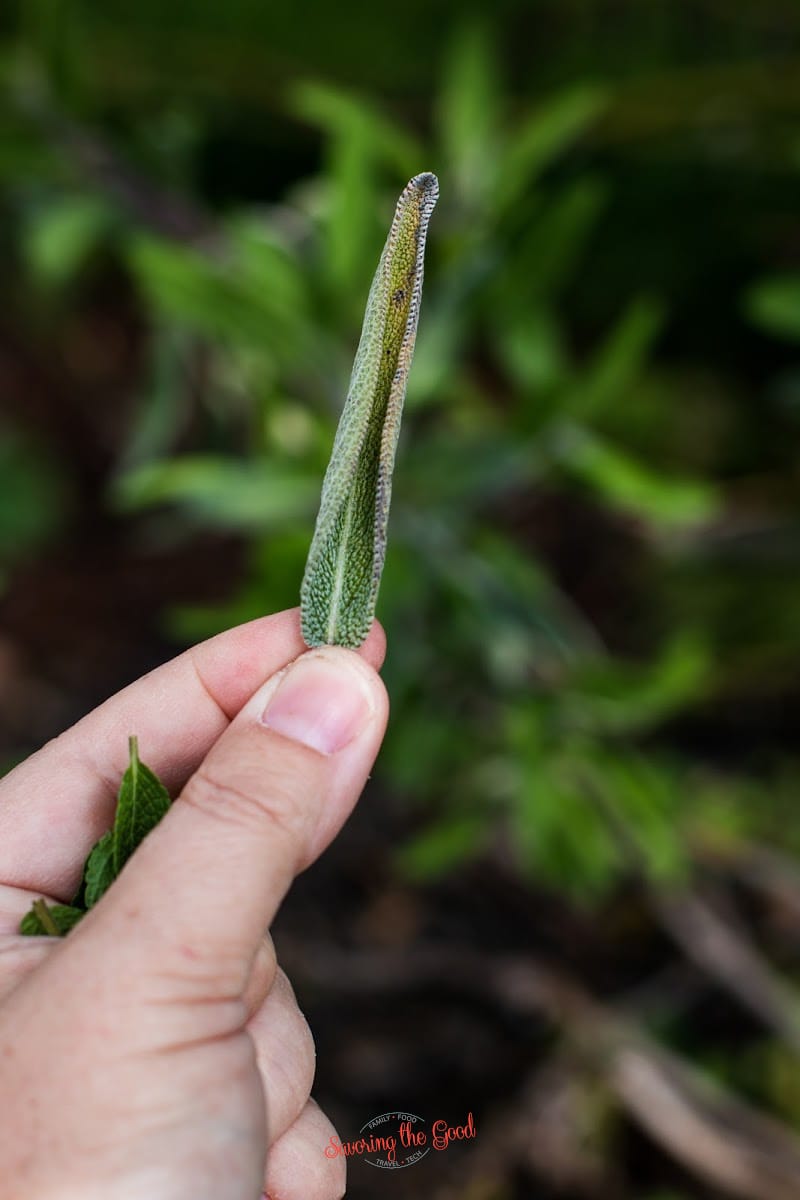
- Don't include leaves that are shriveled, damaged, or yellowing. See the image above.
- Only remove about ⅓ of the mature leaves allowing the rest of the plant to recover and regenerate.
- In the first few pickings, pinch off the sage flower bud to keep the plant from going to seed and continue to produce for the rest of the season.
- Collect the sage leaves. Wash and dry the leaves before proceeding to drying them.

⏲️ How To Dry Sage In The Oven
- Turn the oven to the lowest temperature. (mine was 170).
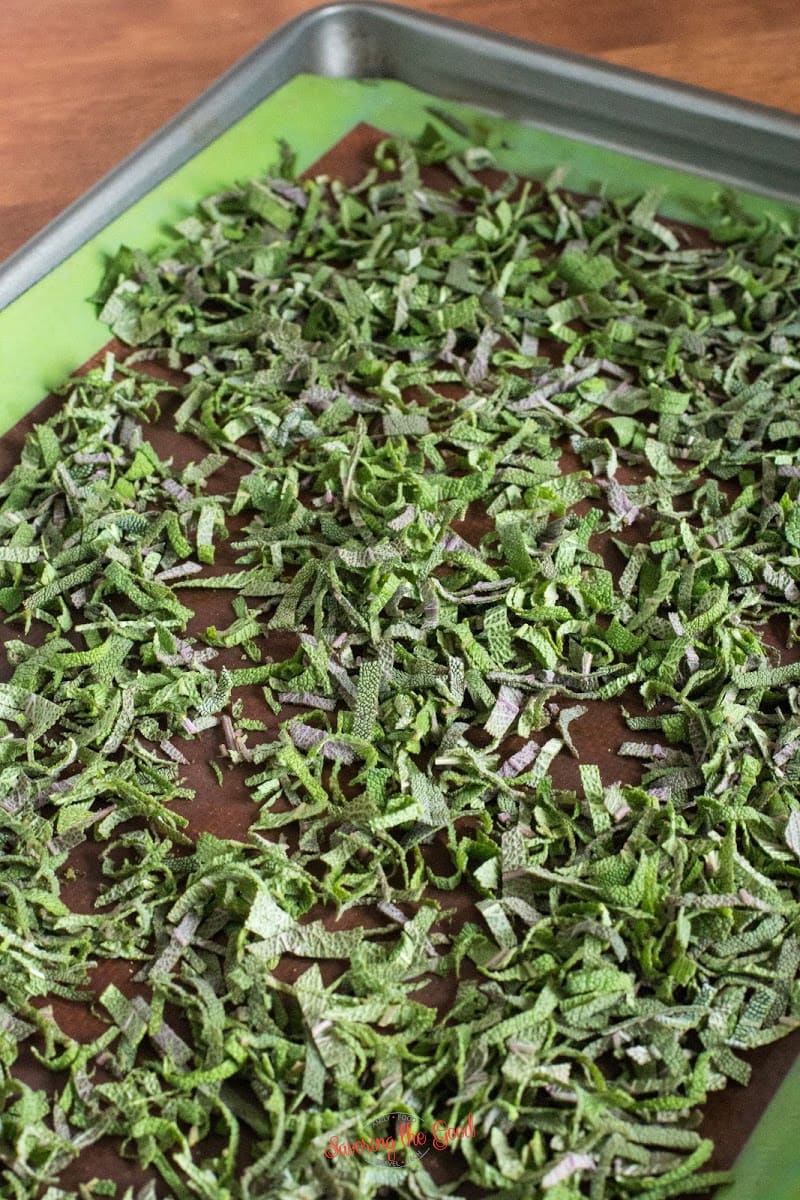
- Remove the stems from the leaves and stack clean sage leaves for slicing.
- Using a sharp knife, slice the sage into thin strips.
- Place a nonstick baking mat, or piece of parchment on an oven tray or use a nonstick baking sheet.
- Spread the sliced sage leaves in a single layer on the tray.
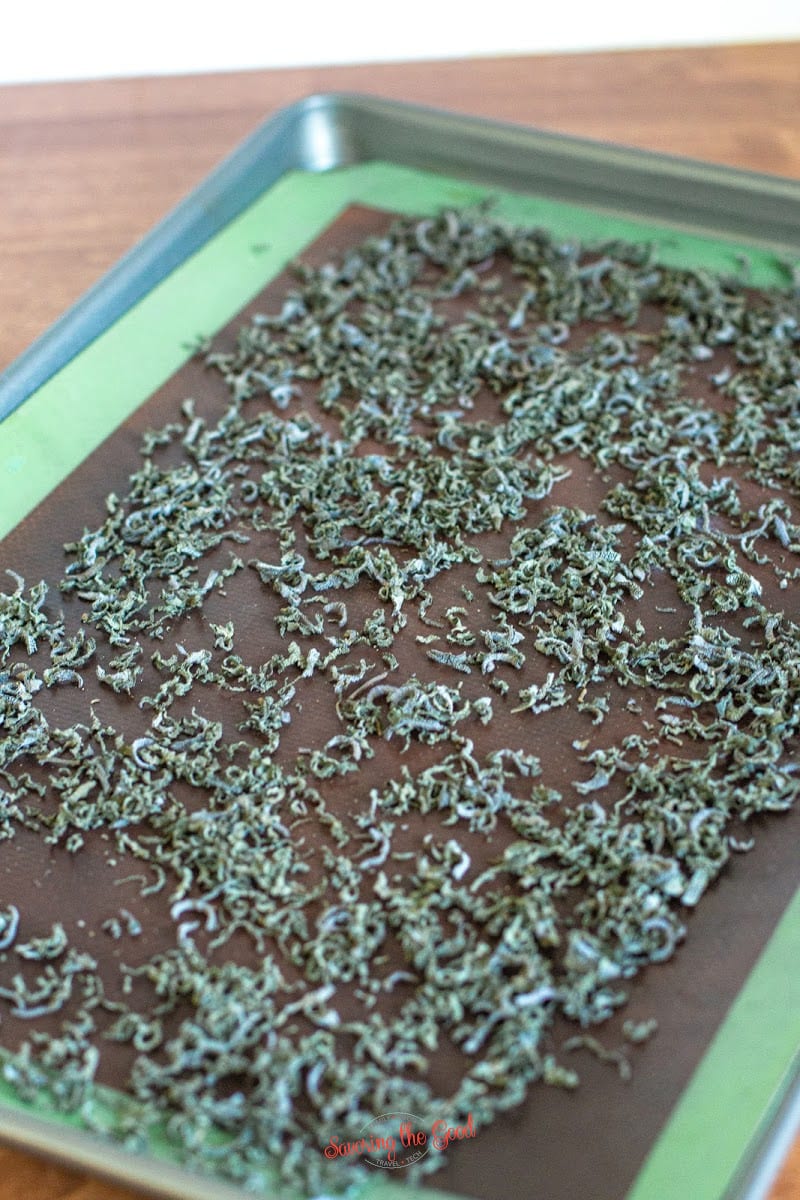
- Bake in 15 minute increments checking for dryness and repeat baking until dry to the touch. If you feel the oven is still to hot, prop open the door of the oven with a wooden spoon or spatula to allow good airflow.
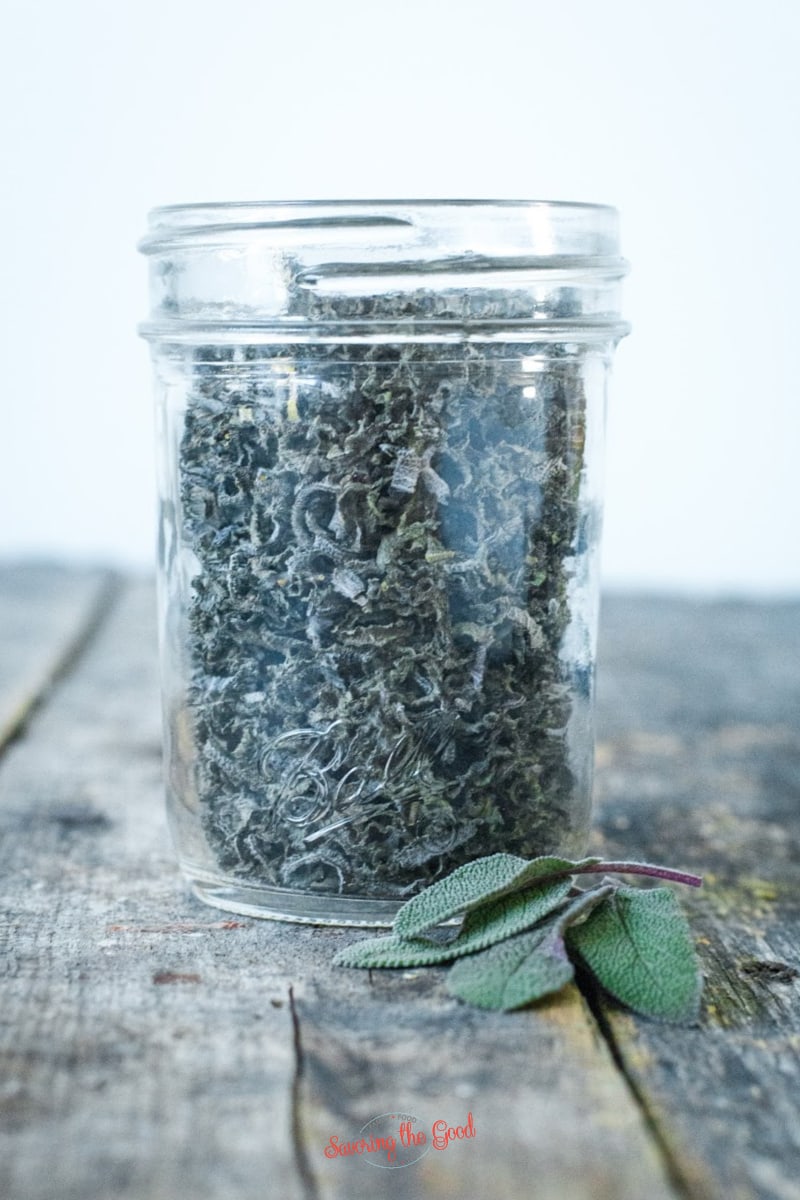
- Remove the pan from the oven and allow the dried leaves to cool before storing in a closed container.


⏳ Dry Sage Leaves in the Dehydrator
- Pick sage leaves as directed above.
- If your food dehydrator has a solid surface, slice the sage as directed above. If it is a grid surface, leave the leaves whole and crush after drying.
- Pre-heat dehydrator with the thermostat set to 95°F to 115°F.
- In areas with higher humidity, temperatures as high as 125°F may be needed.
- After rinsing under cool, running water and using a salad spinner or shaking to remove excess moisture, place the herbs in a single layer on dehydrator trays.
- Drying times may vary from 1 to 4 hours. dehydrator instructions source: NCHFP
💥 Dry Sage In The Microwave
- Pick and process the sage leaves as directed above.
- Spread the leaves in a single layer on a microwave-safe plate. Try not to let the leaves overlap or touch.
- Microwave on full power in 30-second intervals.
- Check the sage leaves to see if they feel fully dry.
- If they feel crisp and are easily broken, they are done, but if they feel moist or are giving off steam, microwave them for a few more seconds.
- Let the dried herbs cool completely, crush them, and store them in an air-tight container.
- Store in a cool dark place and use within 6 months.
Ways To Use Dry Sage
Now that you have learned to dry sage at home, it is time to use it in some delicious recipes. There are so many recipes that I can't list them here. I have a whole post on the best sage recipes.
🗒️ FREQUENTLY ASKED QUESTIONS AND TIPS:
It can take up to a week to properly dry out fresh sage in a well-ventilated room, depending on the moisture level but sage can also be quickly dried in the oven in less than an hour.
I found the best way to keep fresh sage from turning bad is to wrap it in a slightly damp paper towel and store it in a partially closed zip top bag in the refrigerator. Use it within a week.
I like to pinch off mature sage leaves leaving the stem on the plant. It saves me chopping time later in the day. Check each leaf for insects, dirt, eggs (flip it over and look close) and make sure the sage leaf is not damaged, yellowing or shriveled.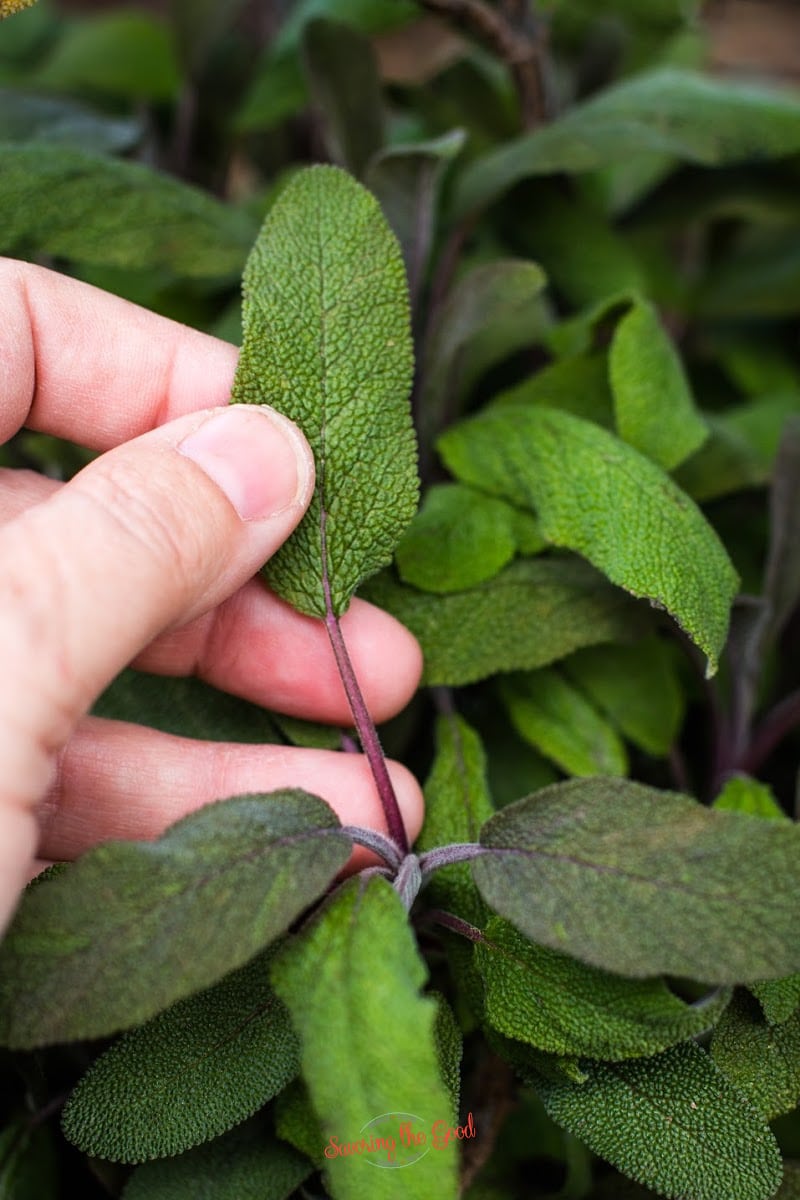
Rubbed sage started out as dried sage. They are similar but not the exact same. I will rub dried sage between my palms until it becomes light, fluffy and fuzzy. Rubbed sage has a less intense flavor compared to fresh sage or dried sage.
I will lightly pack 2 cups of fresh, clean sage and after chopping and drying, it will yield approximately ¾ of a cup of dried sage.
If you have a large harvest of fresh sage and want to save time, dry sage leaves whole and then crumble the leaves between your fingers, and pulse in a food processor or blender. The sage pieces may be irregular but they will still be dried and in small pieces.
Combining thyme, marjoram and savory can closely replicate sage flavor too.
Here are some good spice substitutes for sage:
Thyme - This Mediterranean herb has a very similar pungent, earthy flavor profile to sage. Use the same amount as sage called for in the recipe.
Rosemary - Another pungent herb that provides an evergreen, woodsy flavor like sage. Use about ¾ of the amount of sage.
Marjoram - Closely related to oregano, marjoram has a faintly sweet, aromatic flavor that approximates sage. Use about ¾ the amount.
Savory - Both winter and summer savory have peppery, sage-like flavors good for substitution. Use equal amounts.
Poultry Seasoning - Since sage is a key ingredient in many poultry seasoning blends, you can use 1 teaspoon of poultry seasoning in place of 1 teaspoon of dried sage.
Nutmeg - Surprisingly, a small amount of nutmeg can mimic sage's earthiness. Use just ¼ teaspoon for every teaspoon of sage.
Oregano or basil - In a pinch, these Mediterranean herbs can work. The flavors won't be authentic but can fill the role. Use only ½ the amount of sage called for.
More homemade ingredients and kitchen tips:
- How to dry chives
- How to roast red pepper
- How to roast beets
- Make garlic confit

How To Dry Sage
Ingredients
- 2 Cups (64 g) sage leaves fresh, washed, dried, chopped
Method
- The simplest and easiest way to dry sage is to allow it to dry naturally in a clean, dry location with good ventilation.2 Cups (64 g) sage leaves
- Turn the oven on the lowest setting. (mine was 170).
- Remove the stems from the leaves and stack clean sage leaves for slicing.
- Using a sharp knife, slice the sage into thin strips.
- Place a nonstick baking mat, piece of parchment on an oven tray or use a non stick baking sheet.
- Spread the sliced sage leaves in an even layer on the tray.
- Bake in 15 minute increments checking for dryness and repeat baking until dry to the touch.
- Remove the pan from the oven and allow to cool before storing in a closed container.
- Pick sage leaves as directed above.
- If your dehydrator has a solid surface, slice the sage as directed above. If it is a grid surface, leave the leaves whole and crush after drying.
- Pre-heat dehydrator with the thermostat set to 95°F to 115°F. In areas with higher humidity, temperatures as high as 125°F may be needed.
- After rinsing under cool, running water and shaking to remove excess moisture, place the herbs in a single layer on dehydrator trays.
- Drying times may vary from 1 to 4 hours.
- Pick and process the sage leaves as directed above.
- Lay them out in a single layer on a microwave safe plate.
- Microwave on full power in 30 seconds intervals.
- Check the sage leaves to see if they feel dry.I f they feel crisp and are easily broken, they are done, but if they feel moist or are giving of steam, microwave them for a few more seconds.
- Let the dried herbs cool completely, crush them, and store them in an air-tight container.
- Store in a cool dark place and use within 6 months.
Nutrition
Notes

Nutrition Discolure
Nutritional facts are estimates and are provided as a courtesy to the reader. Please utilize your own brand nutritional values to double check against our estimates. Nutritional values are calculated via a third party. Changing ingredients, amounts or cooking technique will alter the estimated nutritional calculations.

I am Sarah Mock. Welcome!
Sarah Mock is a classically trained Chef and graduate of Johnson & Wales University. A culinary blogger for 16 years Sarah helps the home cook prepare her recipes with professional results.


Cathy says
Best way to store dried sage?
Renee says
Appreciated your drying recipe! So easy. How long can dried sage last on the shelf?
Sarah Mock says
I have had it as long as 2 years but the flavor starts to lose its punch. I would say for SURE 1 year and if you are lucky 2 years.
Sarah
S says
Step 6 “incriminates”! Lol. Surmised no one else caught the typo.
Jere Cassidy says
I love to add sage to my chicken dishes but the dried sage I buy at the stores is not great. I have planted sage before but just used it when needed and never thought to dry it myself. So glad you posted this!!!
Sarah Mock says
you are welcome Jere! Fresh is best but freshly dried works just as well when you dry it yourself.
Jaclyn says
This makes drying sage easy, thank you!!!
Kathy says
This was super easy to do - thank you for all the detailed instructions! No more wasting sage at my house!!