

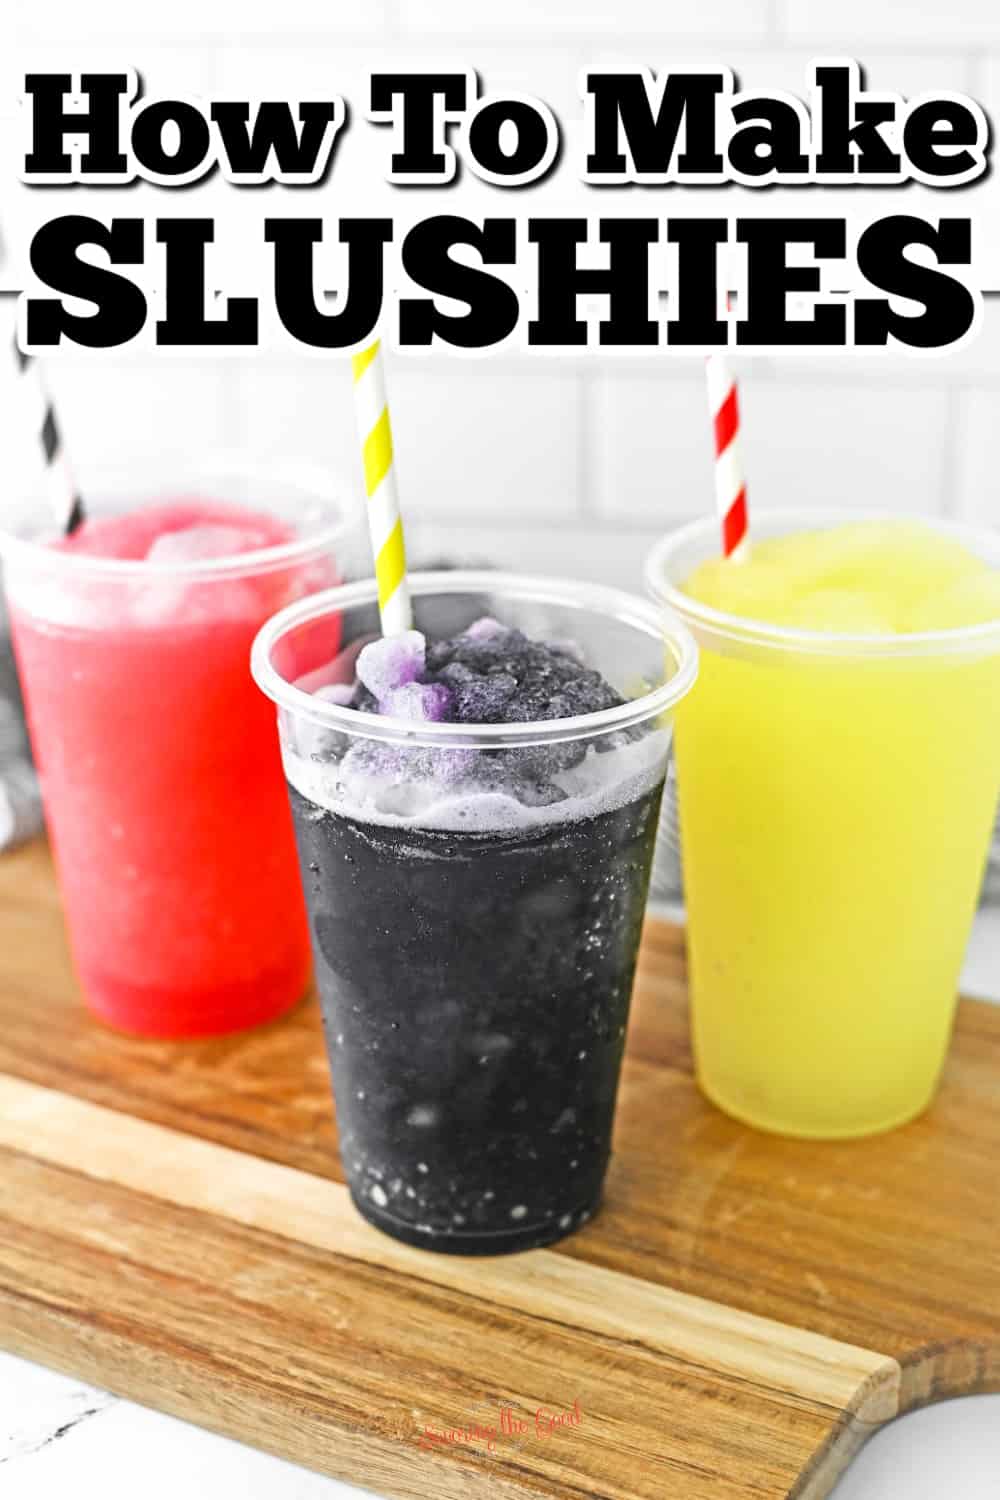

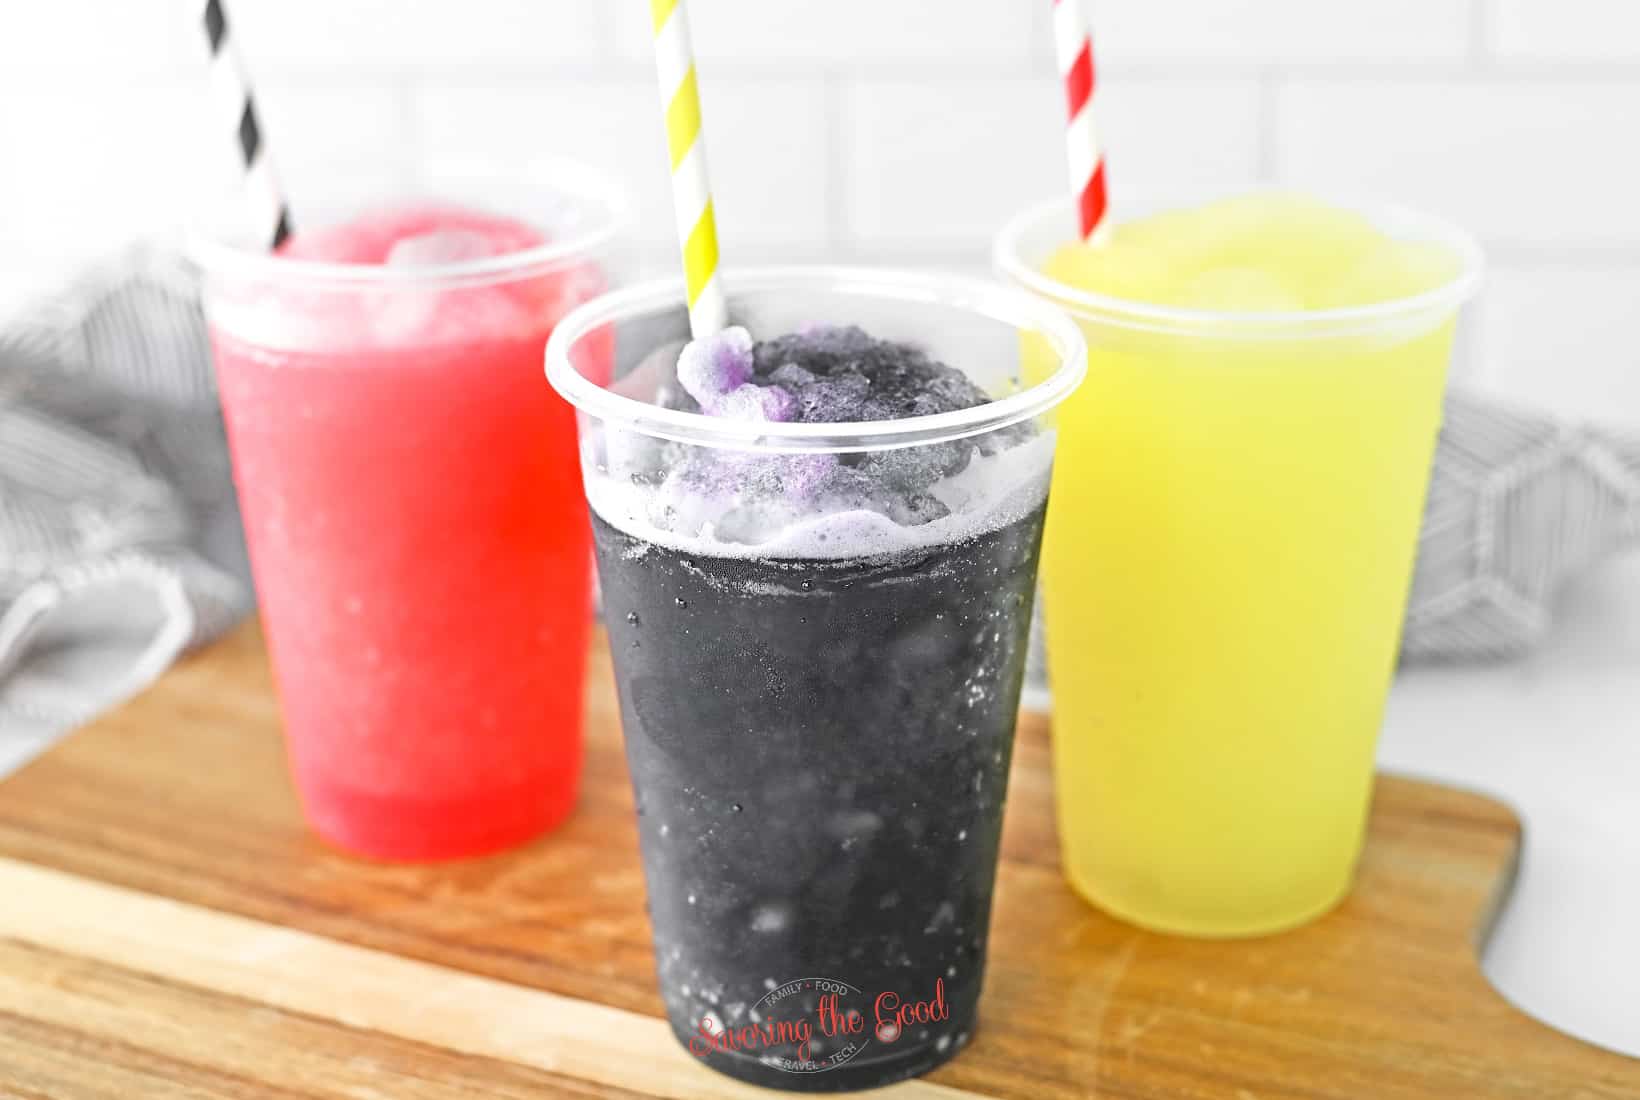
Making a slushie at home is easier than you think, and let me tell you, it's way better than anything you'll get from the gas station. My homemade slushie recipe comes together in about 5 minutes using just 4 simple ingredients. Whether you're making a Kool-Aid slushie in the blender, a frozen fruit slushy, or a no-blender version straight from your freezer, you've got options and they're all delicious.

Why You'll Love This Recipe
- Kids absolutely love them - making slushies is a fun family activity, especially on a hot summer day. Little ones can help measure, pour, and blend.
- Way cheaper than the gas station - store-bought slushies add up fast. A whole batch at home costs pennies per serving.
- Totally customizable - adjust the sweetness, swap flavors, mix and match Kool-Aid packets, or toss in fresh fruit. No two slushies have to be the same.
- Done in 5 minutes - no special slushie machine needed. Your blender handles everything.
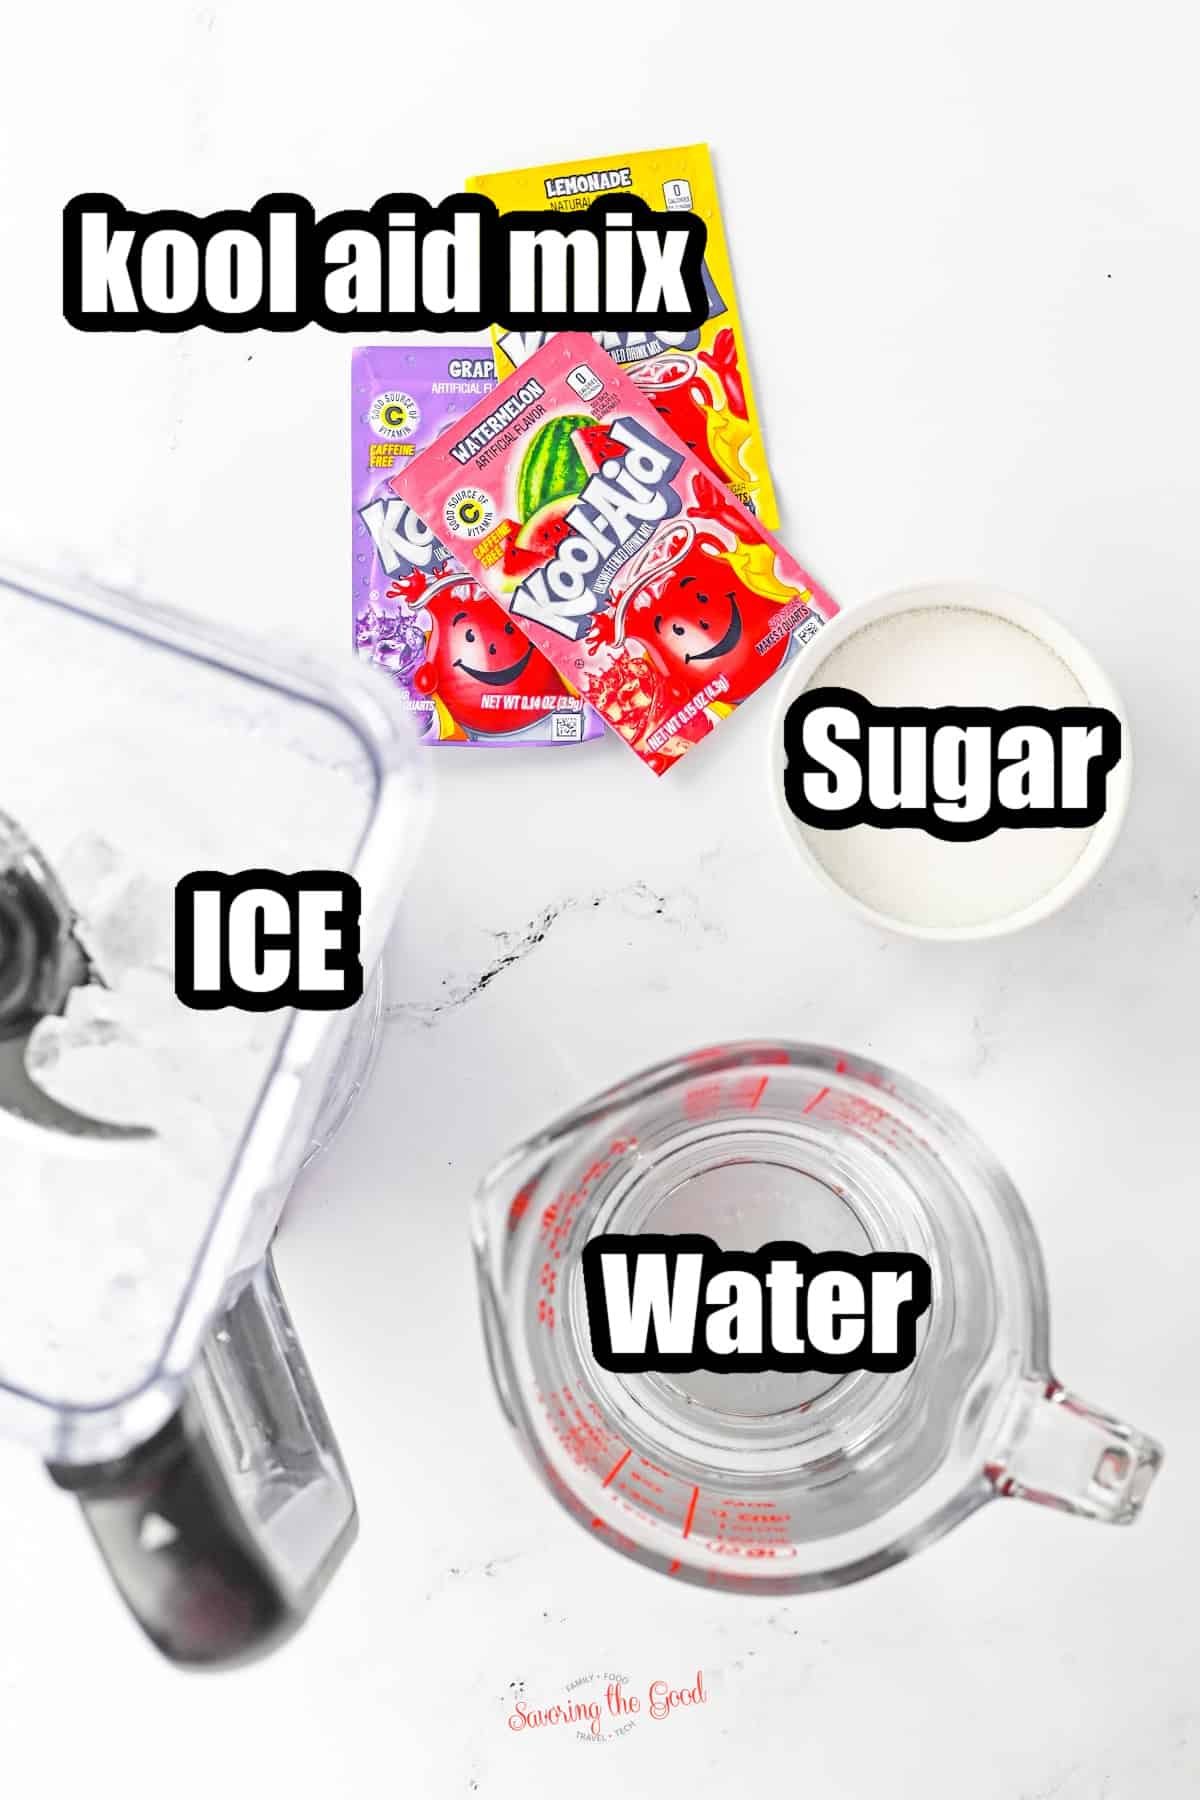
Ingredients:
You only need four simple things to make a classic Kool-Aid slushie at home. That's it! No fancy equipment, no weird ingredients, just pantry staples and a blender.
Ingredient Substitutions
Don't have Kool-Aid on hand - or just want to switch things up? No worries. This recipe is super flexible.
| Ingredient | Substitution Options |
|---|---|
| Kool-Aid packet | Lemonade powder, Hawaiian Punch mix, sugar-free drink mix, powdered lemonade |
| Granulated sugar | Honey, agave syrup, simple syrup, stevia, or skip it entirely for unsweetened |
| Water | Club soda (adds fizz!), coconut water, white grape juice |
| Ice cubes | Frozen fruit (strawberries, mango, pineapple) - doubles as flavor AND chill |
Pro Tip
Start with 1 cup of water and add more as you blend to control the consistency. Want it thicker? Less water. Want it pourable? Add a splash more.
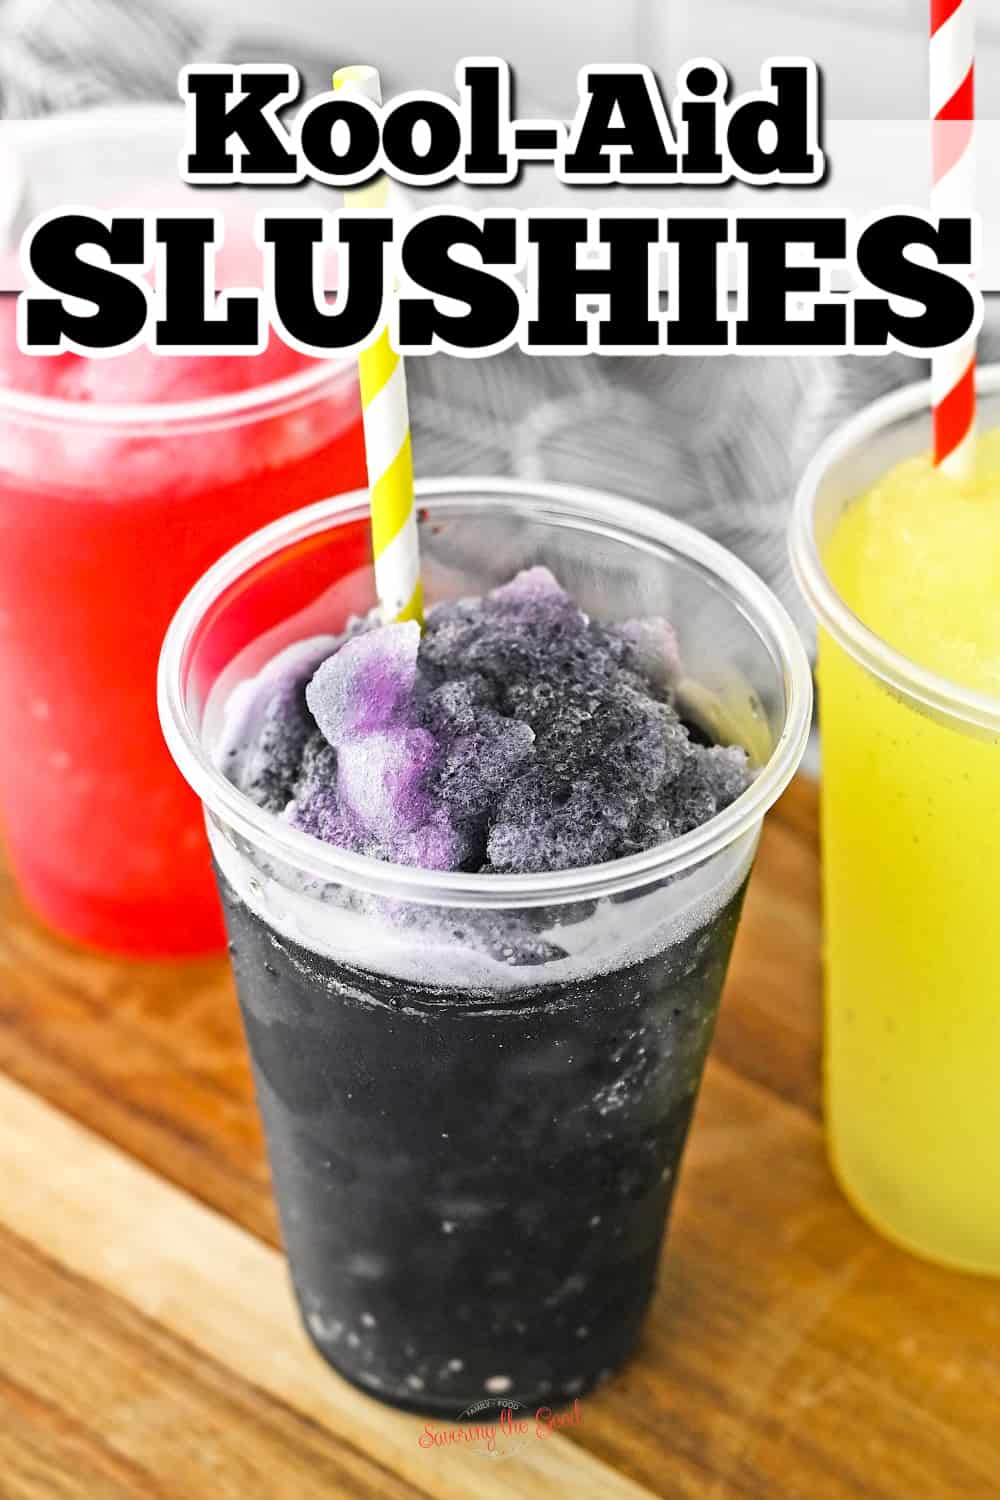
How to Make a Slushie (Kool-Aid Blender Method)
This is the fastest, most foolproof method; 5 minutes, one blender, done.
Add ingredients to the blender
Add 4 cups of ice, the Kool-Aid packet, and the sugar directly into your blender. No need to mix them first.

Add water and blend
Pour in 1 cup of cold water and blend on high. Add more water a little at a time until you hit your perfect slushie consistency, think thick and icy, not watery.
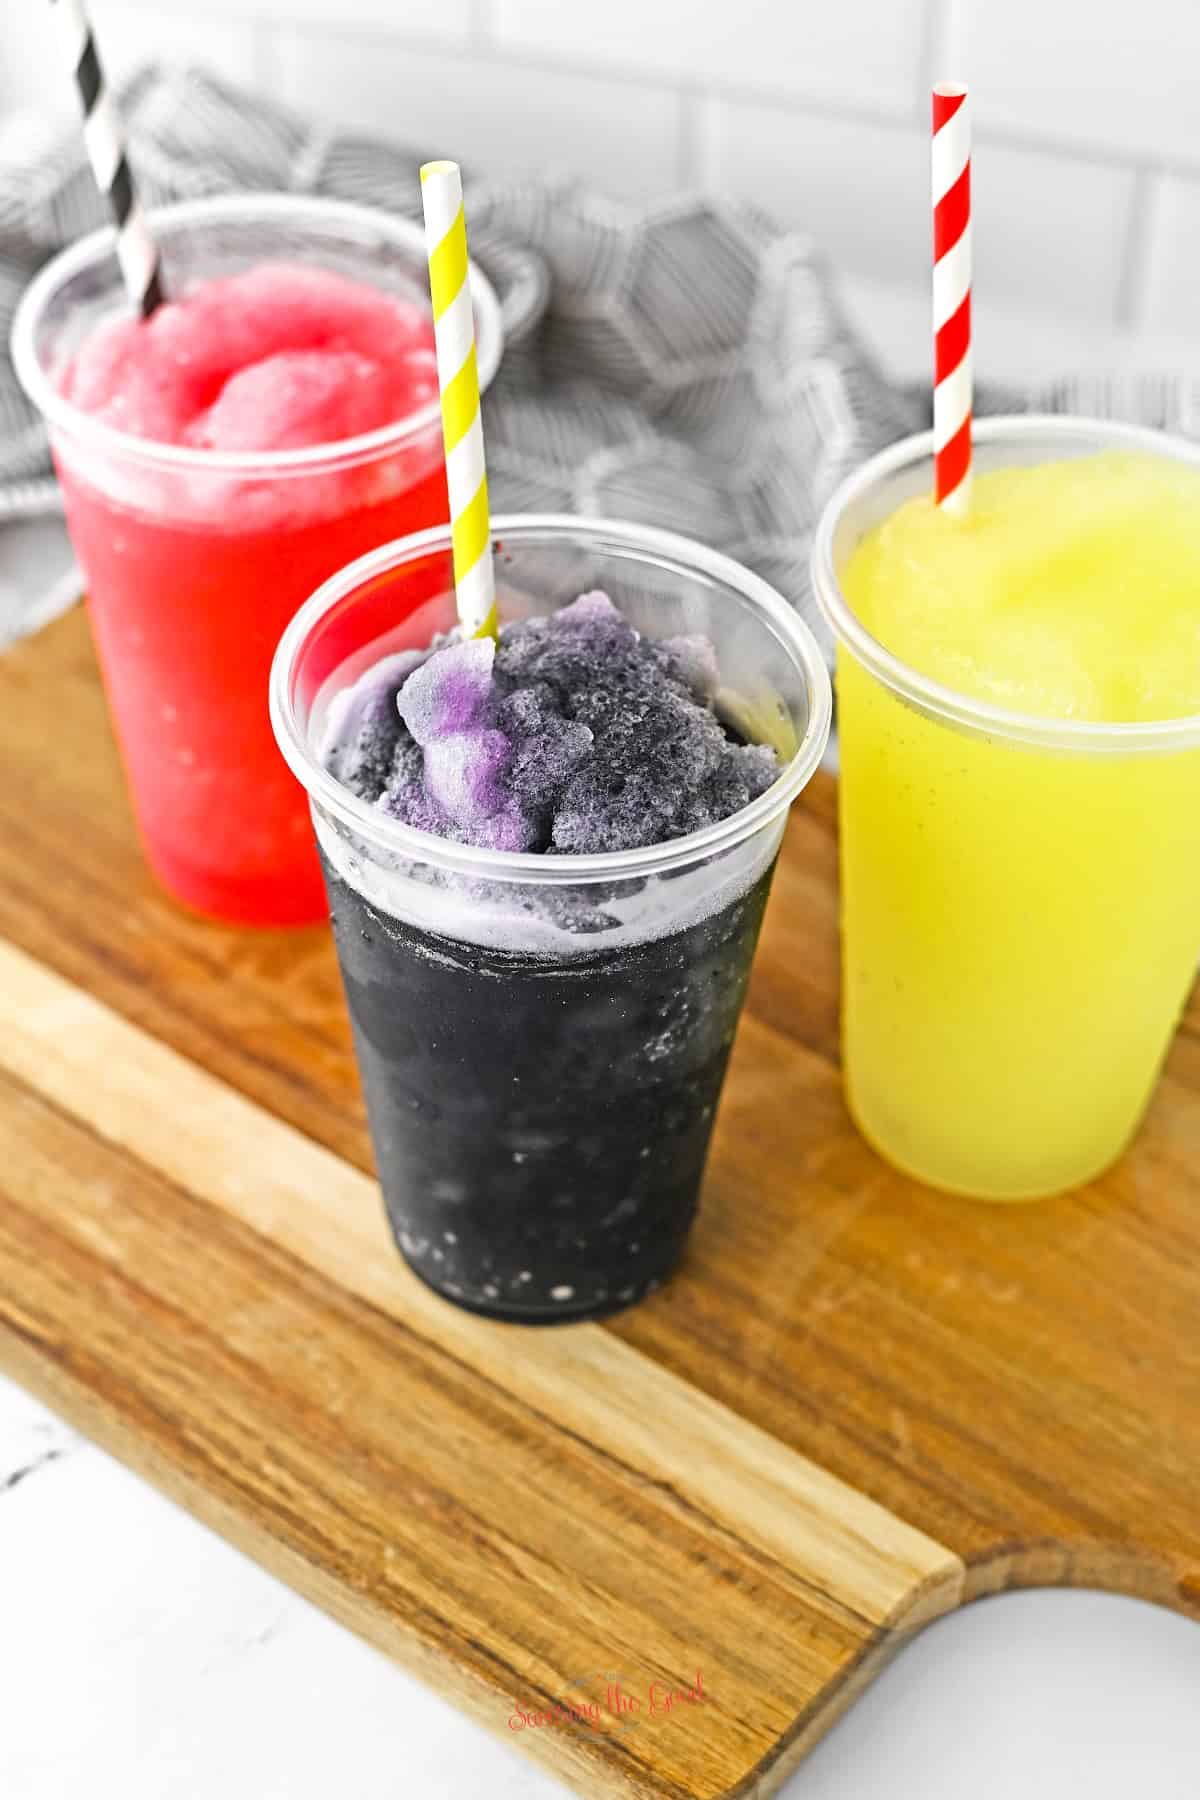
Taste and adjust
Give it a quick taste. Want it sweeter? Add sugar one tablespoon at a time. Happy with it? Pour into glasses and serve immediately with straws.
How to Make a Slushie Without a Blender (Zip-Top Bag Method)
You can also customize your slushie by adding fruit, syrup or other flavorings to the juice or soda before freezing. Have fun experimenting with different combinations!
- Pick your favorite juice or soda and pour it into a plastic zip-top bag.
- Seal the bag, making sure all the air is out.
- Place the bag in the freezer for about 2-3 hours.
- Take the bag out of the freezer and squeeze it until it becomes slushy.
- Pour the slushie into a cup and enjoy!
How to Make a Slushie Without Ice
No ice? No problem. Frozen fruit does double duty; it chills the slushie AND packs it with fresh flavor.
- 2 cups frozen fruit (strawberries, mango, mixed berries)
- ¼ cup sugar
- ½ cup water
- 1 tablespoon lemon juice
- Add all ingredients to a blender or food processor.
- Blend on high until smooth and slushy. If it's too thick, add water one splash at a time.
- Pour into glasses and serve immediately.
Sweetness Note
Different fruits have different sweetness levels. Taste before adding sugar; you may not need as much as you think.
How to Make a Slushie Without a Blender or Machine
No blender? You can still pull this off it just takes a little patience. This method uses your freezer and a fork to get that classic slushy texture.
- Mix your drink (juice, soda, or flavored water), sugar, and water in a small saucepan over low heat just until the sugar dissolves. Let it cool.
- Pour into a shallow baking dish or casserole dish. Cover and freeze for about 1 hour.
- Check the mixture - it should be starting to freeze at the edges. Use a fork to scrape the frozen edges toward the center.
- Return to the freezer. Repeat the scraping process every 30 minutes until you have a full, fluffy slushie consistency.
- Scoop into cups, add straws, and enjoy!
Total Time?
About 2-3 hours. Perfect to prep in the morning and enjoy after lunch.
Make-Ahead Tips
Life gets busy, and sometimes you want your slushies ready to go. Here's how to prep ahead without sacrificing texture.
- Freeze in zip-top bags: Mix your slushie base (Kool-Aid, sugar, water - no ice), pour into a zip-top freezer bag, and freeze flat. When ready to serve, break it up and blend with ice.
- Freeze the base in ice cube trays: Pour the flavored liquid into ice cube trays. When frozen, blend the cubes for an instant slushie - no measuring needed.
- Party hack: Blend a big batch, pour into a freezer-safe container, and store for up to 3 days. Stir or re-blend before serving.
Storage Tips
Made too much? Lucky you. Here's how to keep your slushie tasting great.
- Freeze it: Pour leftovers into an airtight container or zip-top bag and freeze. It will solidify - that's fine.
- Re-slush it: When ready to enjoy, let it sit at room temperature for a few minutes, then stir vigorously with a fork or give it a quick blend.
- Best within 3 days: Slushies are freshest within 2-3 days. After that, flavor starts to fade.
- Don't refreeze a thawed slushie: Once it's fully melted to liquid, the texture won't be the same if you refreeze it. Best to start fresh.
By following these simple tips, you can enjoy delicious Kool-Aid slushies anytime without compromising on taste or texture!
Frequently asked questions, answers and tips:
Slushies contain a high amount of sugar and/or syrup which lowers the freezing
point of water. This means that they will not freeze as solidly as plain water, resulting in a slushy texture instead of a solid ice block.
Here are three tips to help your slushies freeze:
Use plenty of sugar: Sugar lowers the freezing
point of water. So, using a lot of sugar or syrup in your slushie mixture can help it freeze better and create a smoother texture.
Stir frequently: Stirring the mixture frequently during the freezing process will prevent large ice crystals from forming and give you a smoother consistency.
Freeze it for longer: Slushies need more time to freeze than regular ice cubes or other fruit juice popsicles due to their sugary content. Leave them in the freezer for at least 2-3 hours or even overnight for best results.
You sure can! A standard blender works perfectly for homemade slushies. I'll walk you through it step-by-step.
Ingredients
- 4 Cups (946 ⅓ g) Ice
- 1 packet (1 packet) kool aid mix flavor of choice
- ⅓ Cup (66 ⅔ g) Sugar more or less to taste.
- 1-2 Cup (236 ⅗ ml) Water
Instructions
- To your blender, add 4 cups ice, sugar, and kool aid.⅓ Cup (66 ⅔ g) Sugar, 4 Cups (946 ⅓ g) Ice, 1 packet kool aid mix
- Add water, about 1 cup at a time and blend until you get your desired slushie consistency.1-2 Cup (236 ⅗ ml) Water
- Taste, and add additional sugar, if desired, about a tablespoon at a time. Enjoy!
Nutrition

I am Sarah Mock. Welcome!
Sarah Mock is a classically trained Chef and a graduate of Johnson & Wales University. A culinary blogger for 17 years, Sarah helps the home cook prepare her recipes with professional results.


Comments
No Comments