


Homemade garlic powder is one of those simple projects that instantly makes you feel like a more confident, intentional cook. With just fresh garlic, a bit of patience, and a few easy steps, you can create a fragrant, flavorful powder that leaves store-bought jars in the dust.

This recipe walks you through each stage from slicing to roasting, drying to grinding, so you end up with rich, aromatic garlic powder that brightens everything from weeknight dinners to special-occasion meals.
Making your own ingredients can be a great way to save money and stockpile pantry staples. The cost per ounce is usually lower when you make your own homemade ingredients. If you like preserving garlic in other ways, my fermented garlic honey recipe is a fun one to try next.
I will keep homemade bread crumbs, dried sage, tomato paste, and dried orange peels on hand when I find the freshest ingredients that I want to preserve.
- Just one ingredient is needed!
- A great way to use up extra garlic cloves.
- Always have garlic powder in the house.
Ingredients needed:
Once you get comfortable making your own pantry staples, making buttermilk at home is just as simple and saves a grocery trip.
Recipe Card?
To find the full printable recipe with specific measurements and directions CLICK HERE to go to the recipe card.
Chef Tip
Take advantage of the pre-peeled garlic found at the grocery store to save time peeling garlic cloves.
Helpful Kitchen Tools
- Silpat mat - this is a non-stick mat and will help peel the garlic off.
- Blendtec - this is the highspeed blender that I have and LOVE.
- Air Fryer - I used my air fryer on the dehydrate setting. An oven will also work.
How to make Garlic Powder

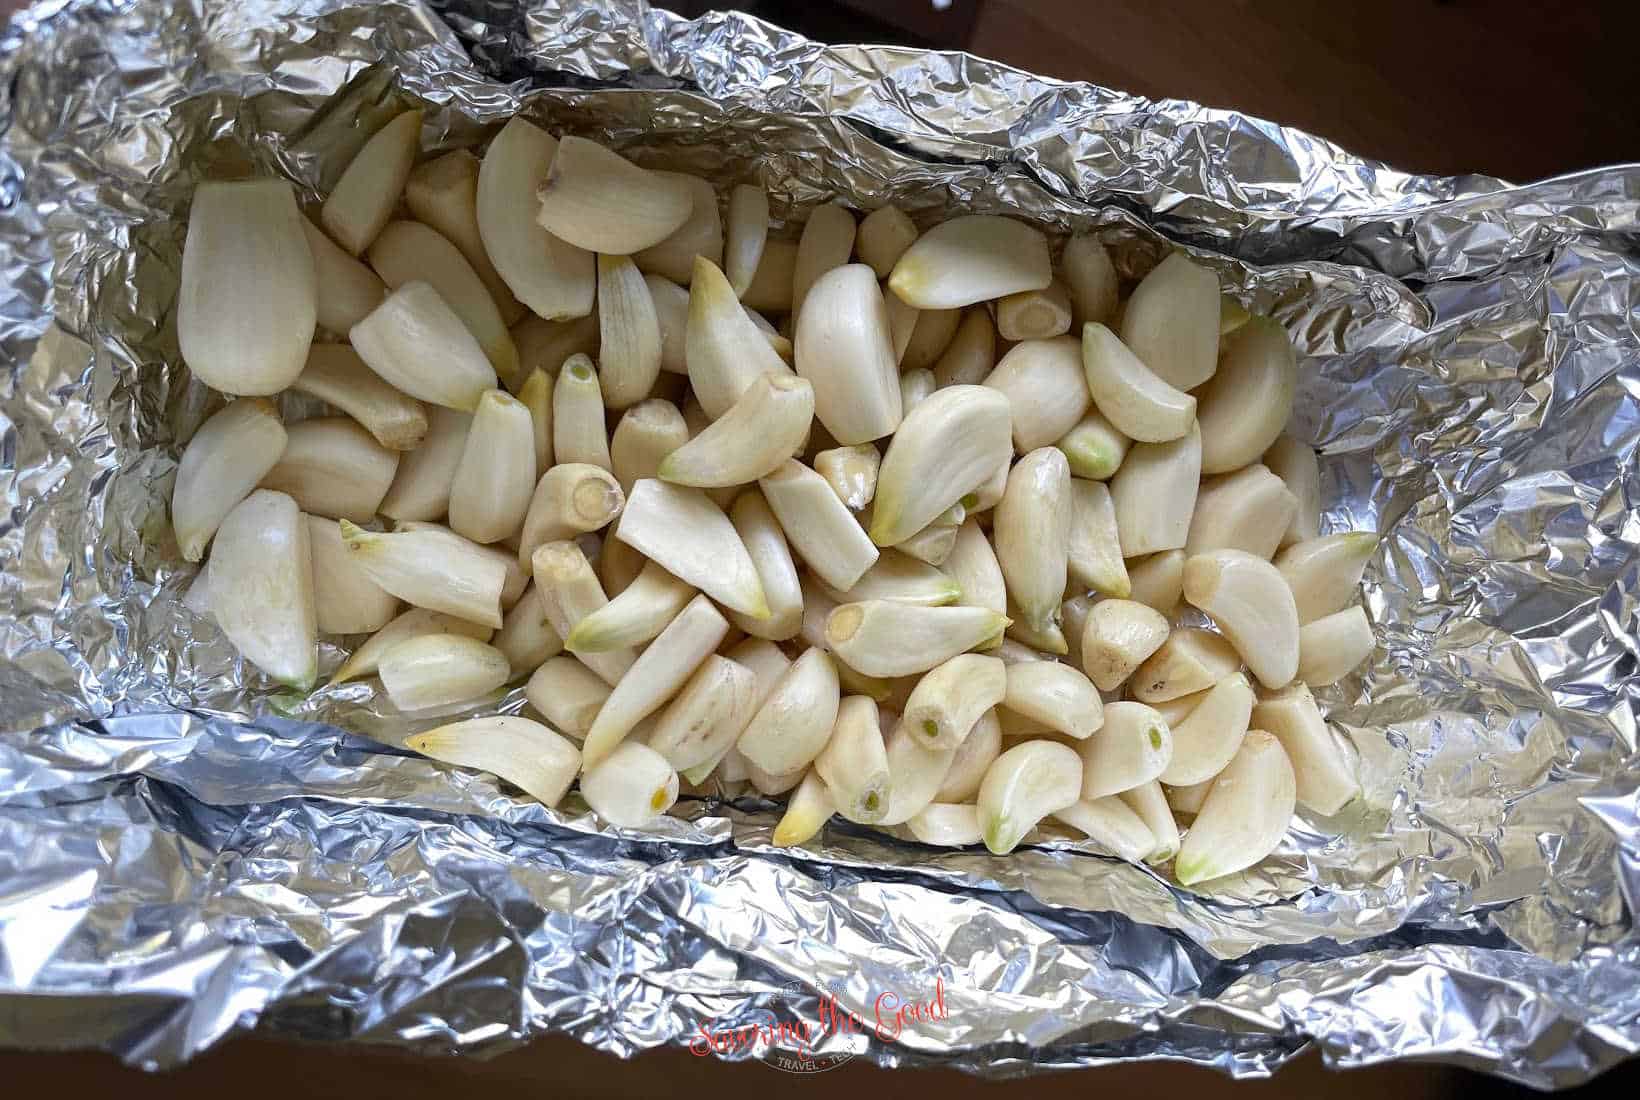
- Peel the garlic and remove the root end.
- Roast or smoke the garlic (optional).
- Puree the garlic.
- Spread in an even layer on a non stick mat.
- Dry on the lowest setting.
- Pulse or crush the dried garlic until in a powder form.
- Store in a closed container.
Seasonal Favorite
This is my award-winning Crisco pie crust recipe; flaky, tender, and made with simple ingredients you already have.
Garlic Powder Recipe Variations
This recipe calls for smoking the garlic first but I also have included instructions for how to make garlic powder in your oven or if you want to use a food dehydrator. Also, you could use garlic confit or roasted garlic to make homemade garlic powder. Just watch to be sure the paste is fully dehydrated and dry before making it into a powder.
If you grow your own garlic, do not toss the greens; my guide to garlic scapes covers what they are and how to cook with them.
Making Smoked Garlic Powder
To add another layer of flavor to your garlic powder, smoke it in your smoker for at least 3 hours on the lowest temperature. Pre smoking garlic is delicious for when you are going to be making garlic powder.

Remove Skin
If using fresh bulb garlic, remove each clove from the papery skin and slice off the root end.
Smoke
If smoking the garlic, add it to a foil packet, poeg holes in the foil, and smoke for 3 hours.
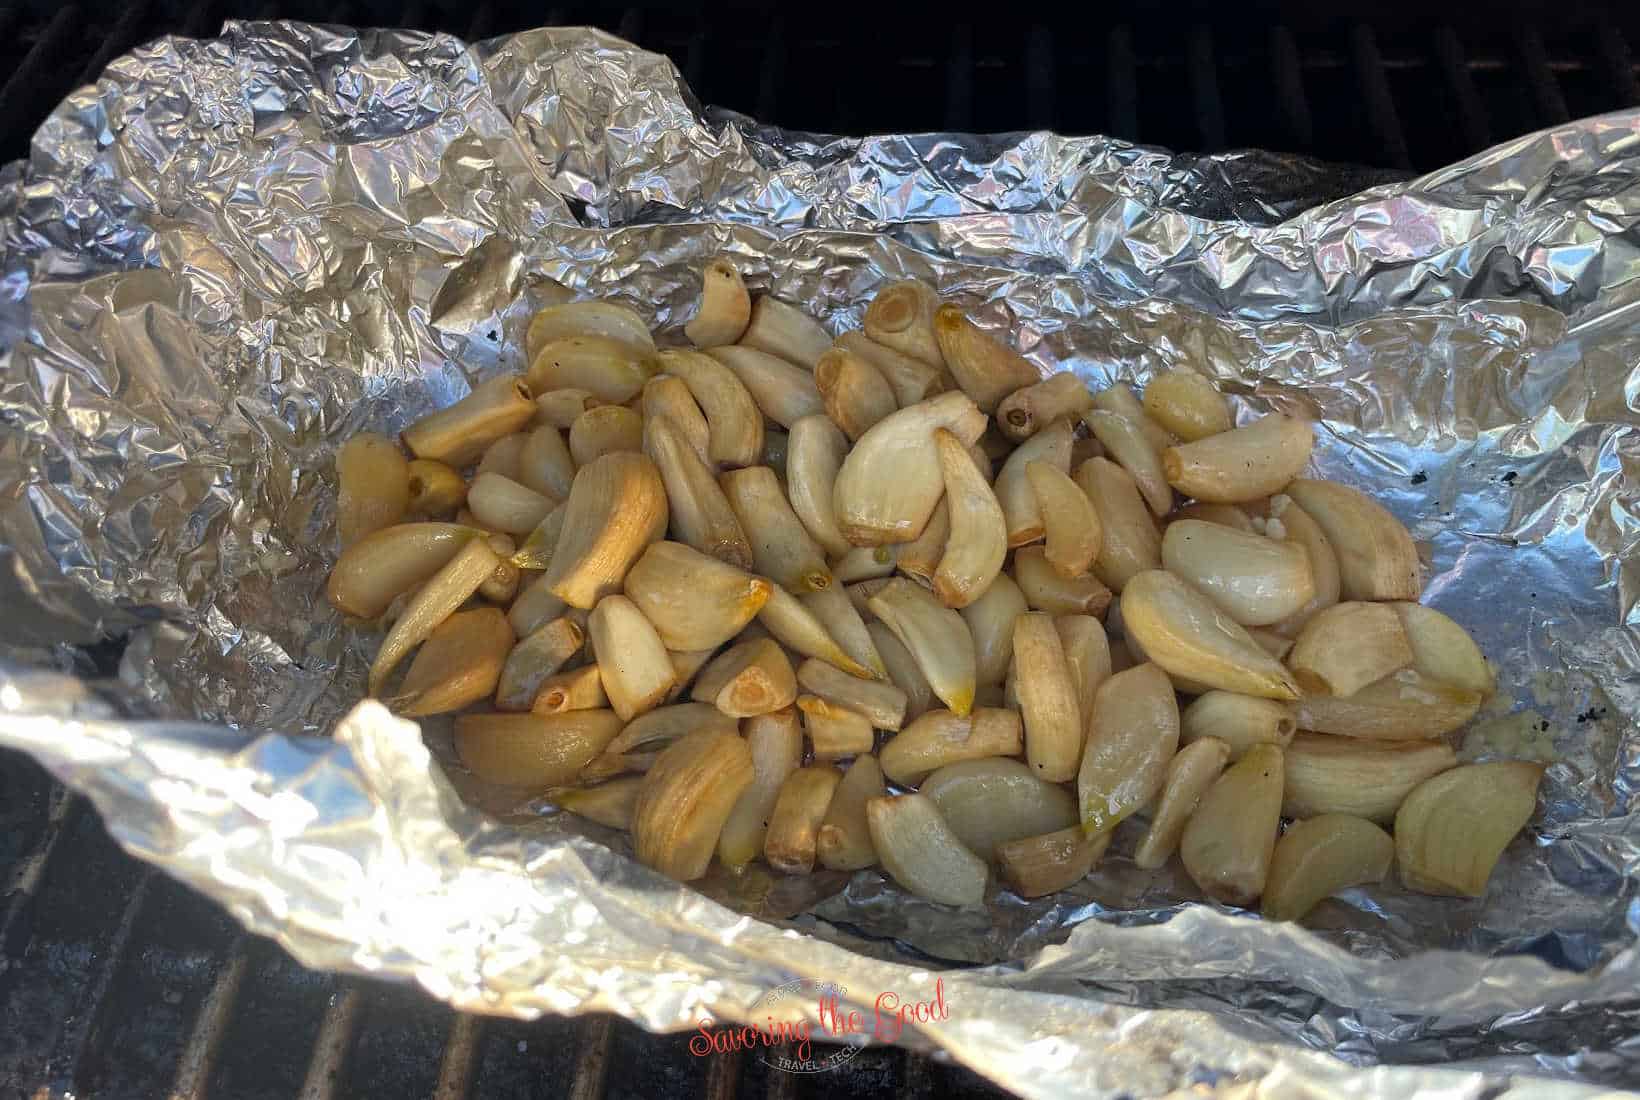
Check for texture
Make sure the garlic is soft and pliable. If not, continue to smoke.

Pulse
Add the softened garlic to a blender and pulse until well blended.
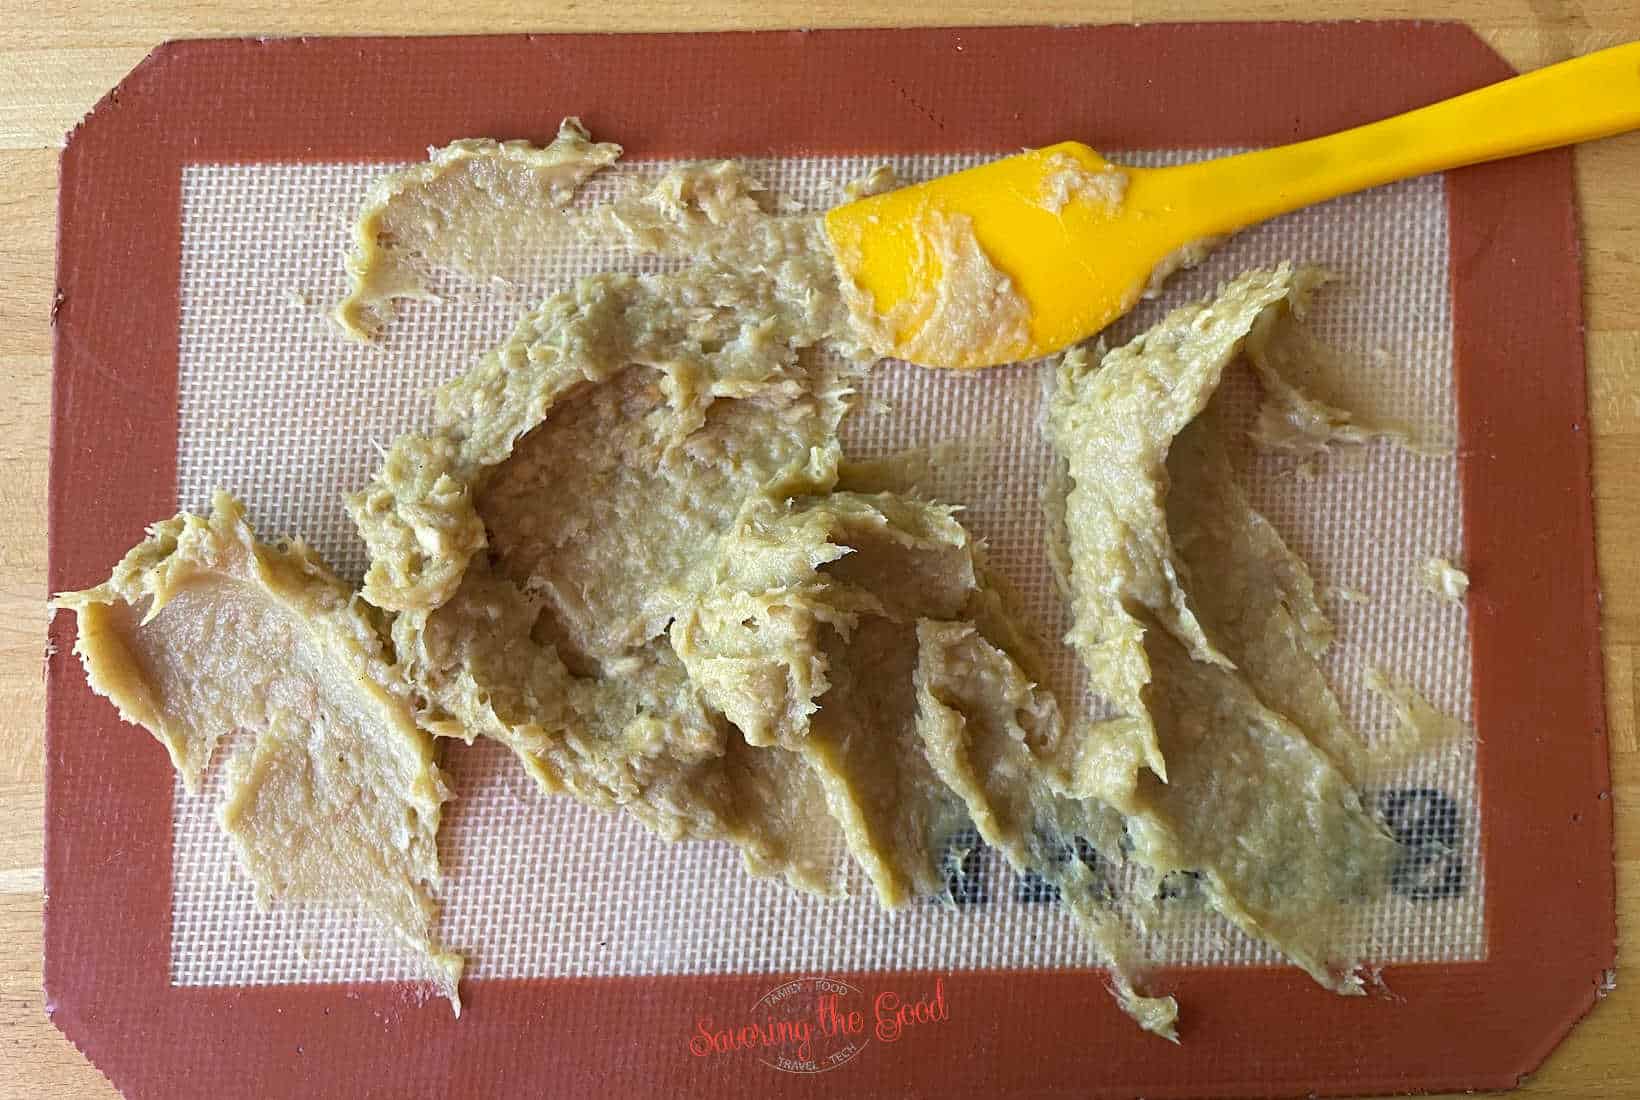
Spread Out
Using a silicone spatula, spread the pureed garlic on a nonstick mat.
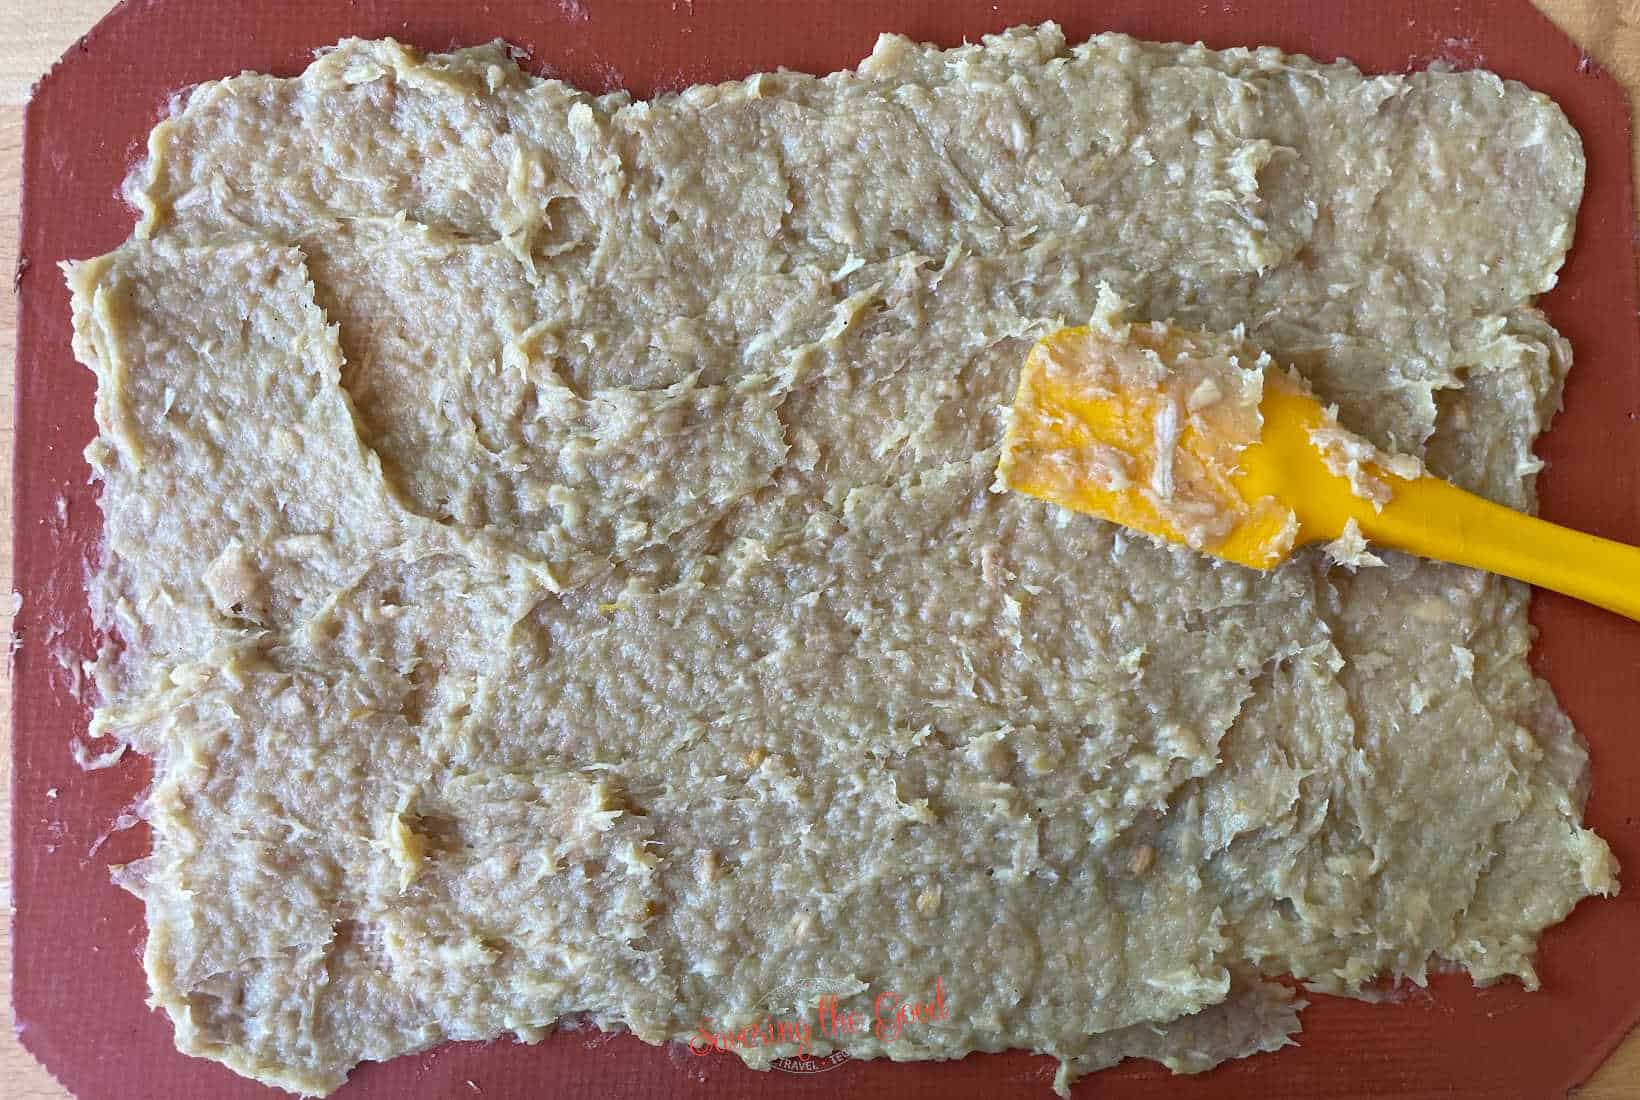
Make Even
Be sure the garlic is spread in an even layer to ensure all the garlic is dried at the same time.

Bake
Bake at the lowest temperature your oven will go. Cook for 6 hours, depending on the thickness of the garlic paste.
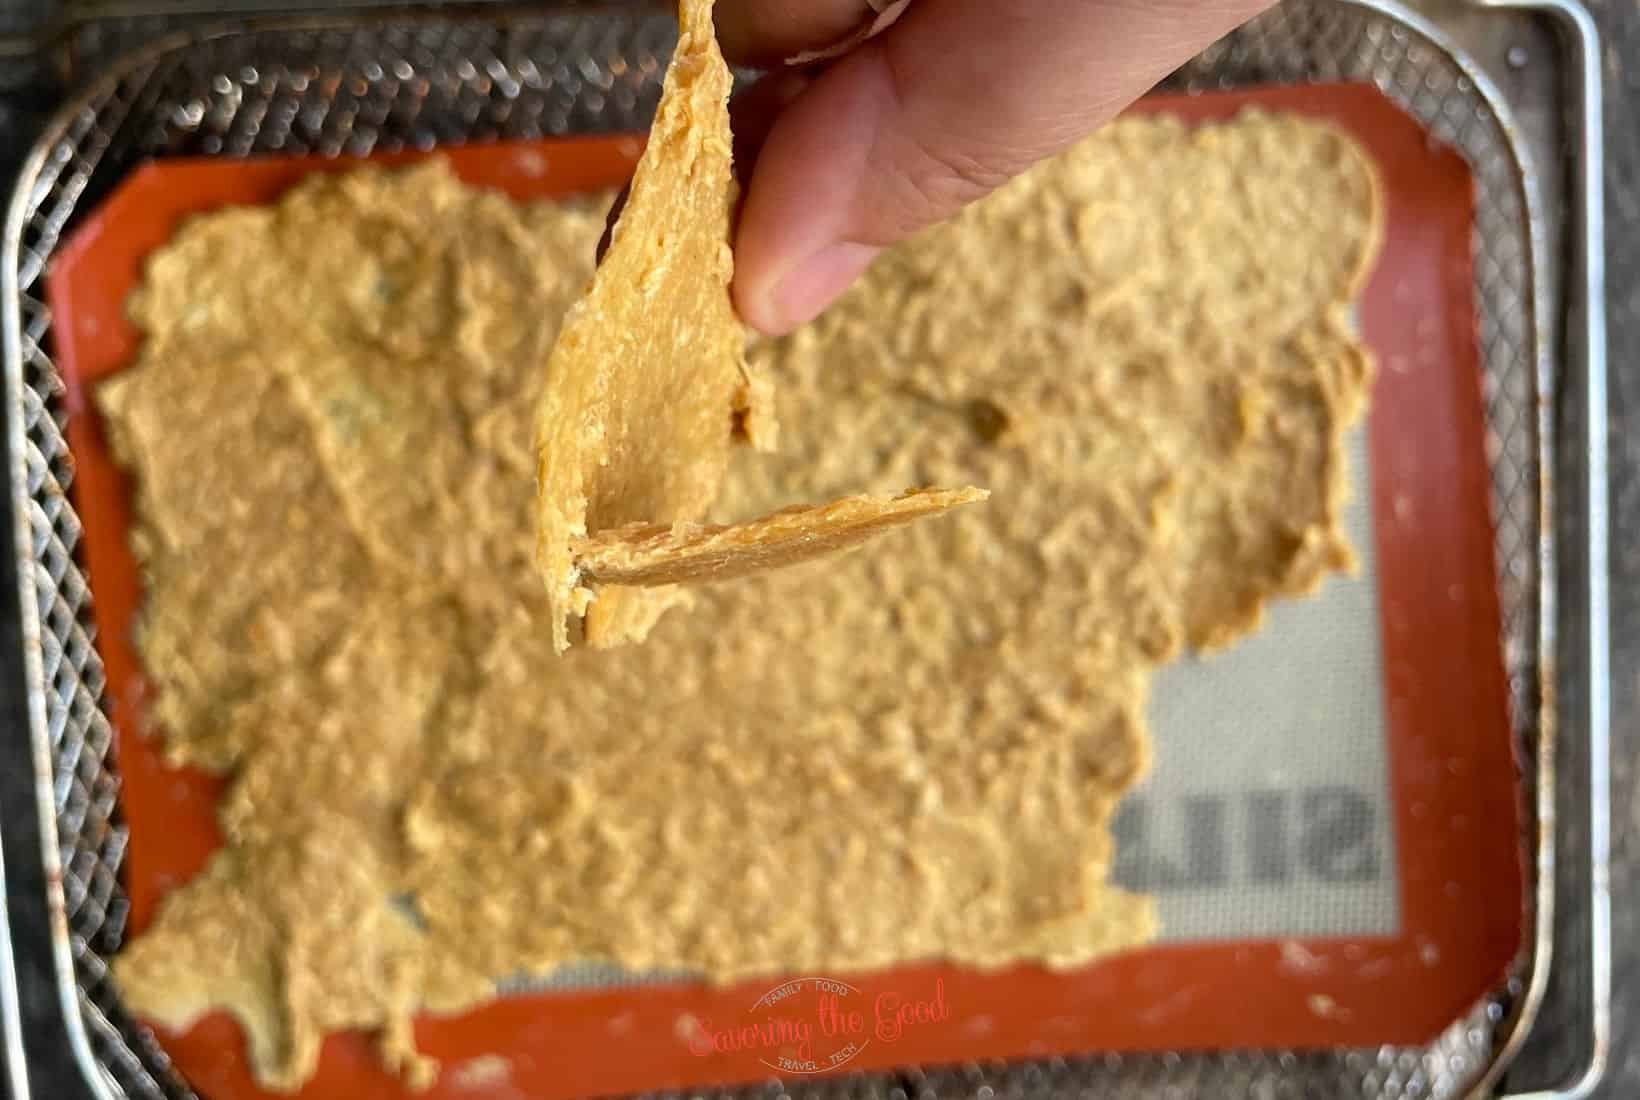
Does It Snap?
Check the garlic to see if it bends and snaps or just snaps. We want a snap, no bend.

Bake again if needed
Continue to bake/dry until the garlic snaps.

Blend
Add broken pieces to the blender cup, close it and pulse until it is powdered.

Grind
Pulse until you have reached your desired powder texture.
Store in an air-tight container and use within a year.
Oven Instructions
- Peel the garlic and remove the root end of the garlic.
- Slice the garlic into thin slices or crush it and lay it on a lined baking sheet and bake on the lowest oven temperature for 2 hours. Check to see if the garlic is dry and crisp.
- Continue to bake until the garlic slices snap when cracked.
- Pulse the dried garlic in a food processor or high-powered blender until powdered.
- Store in an air-tight container for up to a year.
Food Dehydrator
- Peel the garlic and remove the root end of the garlic.
- Slice the garlic into thin slices or crush it and lay it on the trays of your dehydrator in an even layer.
- Set the dehydrator to the lowest setting and dehydrate the garlic.
- After 4 hours, check to see if the garlic is dry and crisp.
- Continue to dehydrate until the garlic slices snap when cracked.
- Pulse the dried garlic in a food processor or high-powered blender until powdered.
- Store in an air-tight container for up to a year.
Granulated Garlic vs Garlic Powder
Both granulated garlic and garlic powder start with fresh garlic cloves. The two have a different texture. The main difference is that the granulated garlic will have a coarse texture and the garlic powder will be a fine powder. Both are great in salad dressings, dry rubs, and have an intense garlic flavor.
Storage Tips
- Be sure the garlic is completely cooled if using a high-speed blender before storing it in an air-tight container.
- If you want to be sure that all the moisture is out of the garlic powder add a small packet of silica gel packet to the jar.
Frequently asked questions, answers and tips:
The low temperature used when drying garlic to make garlic powder will ensure that the flavor of the garlic will stay intense. Low and slow is the key.
You do not need to smoke the garlic but it does add another layer of flavor.
For sure! This recipe calls for 50 cloves of garlic but you can make as much as you want. The number of garlic is not what is important, the technique is.

Ingredients
- 50 cloves (50 cloves) Garlic
Instructions
- If using fresh bulb garlic, remove each clove from the papery skin and slice off the root end.50 cloves Garlic
- If smoking the garlic, add it to a foil packet, poling hold in the foil, and smoke for 3 hours. (Optional) Make sure the garlic is soft and pliable. If not, continue to smoke.
- Add the softened garlic to a blender and pulse until well blended.
- Using a silicone spatula, spread the pureed garlic on a nonstick mat.
- Be sure the garlic is spread in an even layer to ensure all the garlic is dried at the same time.
- Bake at the lowest temperature your oven will go. Cook for 6 hours, depending on the thickness of the garlic paste.
- Check the garlic to see if it bends and snaps or just snaps. We want a snap, no bend.
- Continue to bake/dry until the garlic snaps.
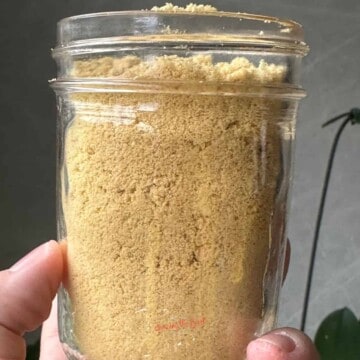
- Add broken pieces to the blender cup, close it and pulse until it is powdered.
- Pulse until you have reached your desired powder texture.
- Store in an air-tight container and use within a year.
Nutrition
Notes
- Peel the garlic and remove the root end of the garlic.
- Slice the garlic into thin slices or crush it and lay it on a lined baking sheet and bake on the lowest oven temperature for 2 hours. Check to see if the garlic is dry and crisp.
- Continue to bake until the garlic slices snap when cracked.
- Pulse the dried garlic in a food processor or high-powered blender until powdered.
- Store in an air-tight container for up to a year.
- Peel the garlic and remove the root end of the garlic.
- Slice the garlic into thin slices or crush it and lay it on the trays of your dehydrator in an even layer.
- Set the dehydrator to the lowest setting and dehydrate the garlic.
- After 4 hours, check to see if the garlic is dry and crisp.
- Continue to dehydrate until the garlic slices snap when cracked.
- Pulse the dried garlic in a food processor or high-powered blender until powdered.
- Store in an air-tight container for up to a year.

I am Sarah Mock. Welcome!
Sarah Mock is a classically trained Chef and a graduate of Johnson & Wales University. A culinary blogger for 17 years, Sarah helps the home cook prepare her recipes with professional results.




Comments
No Comments