

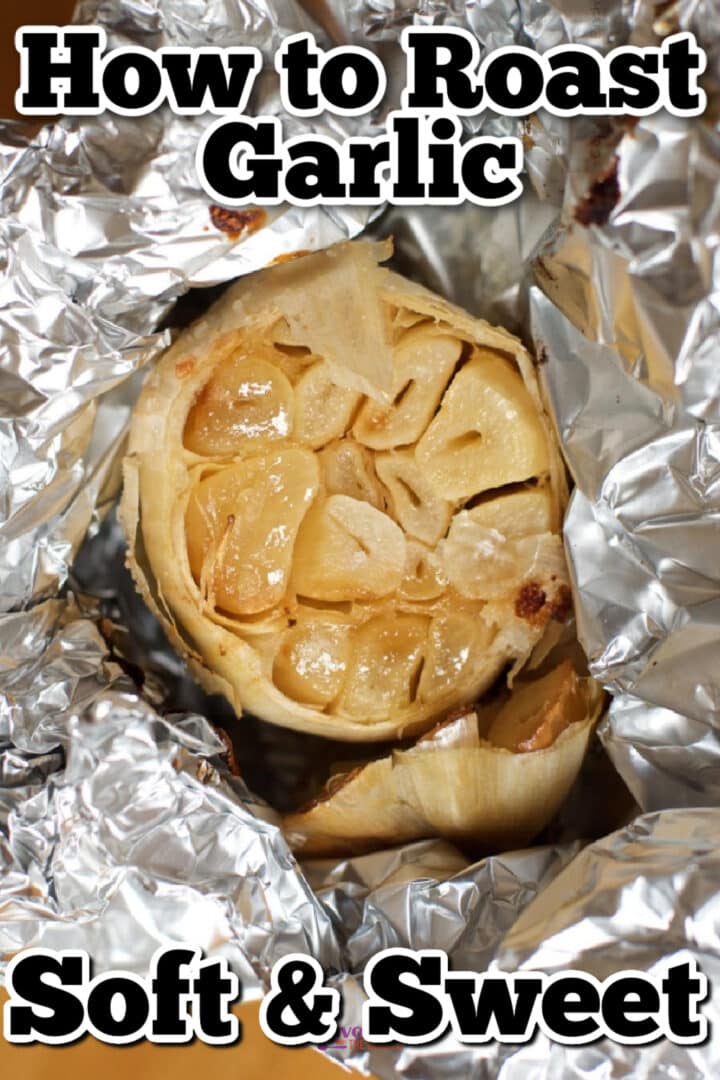
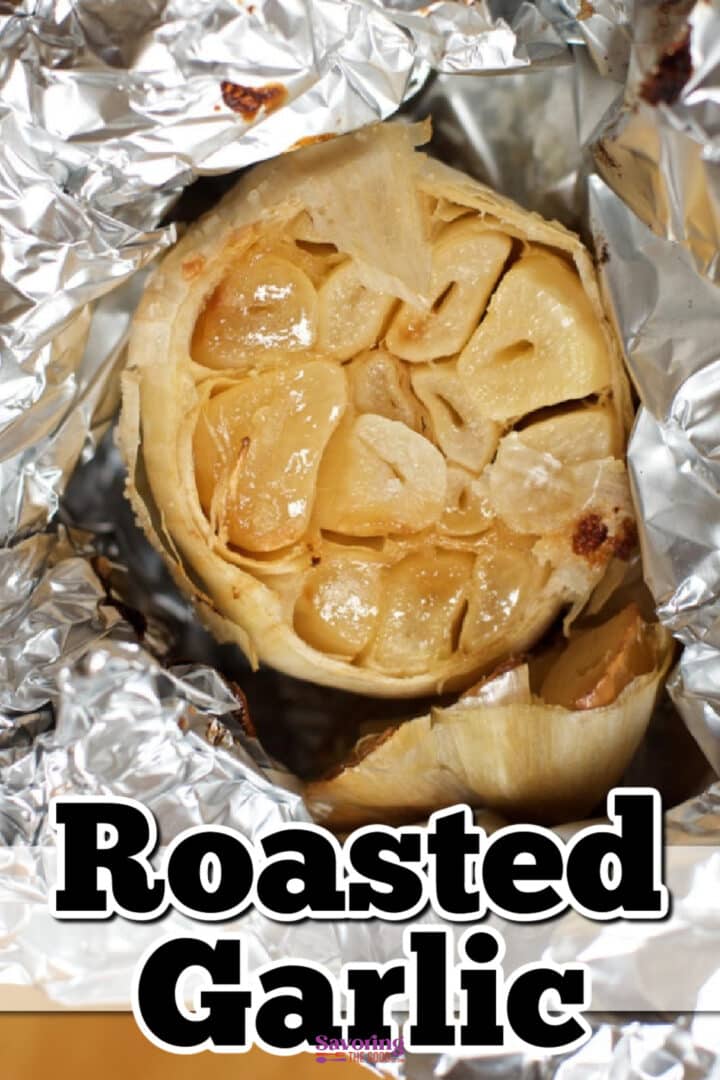
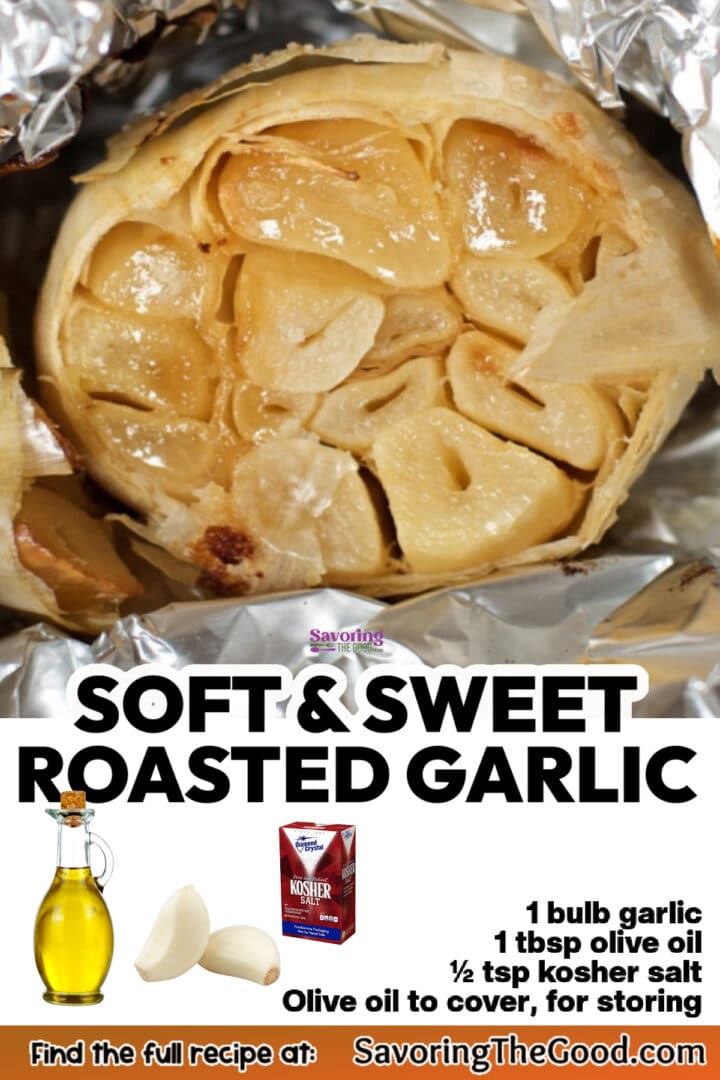
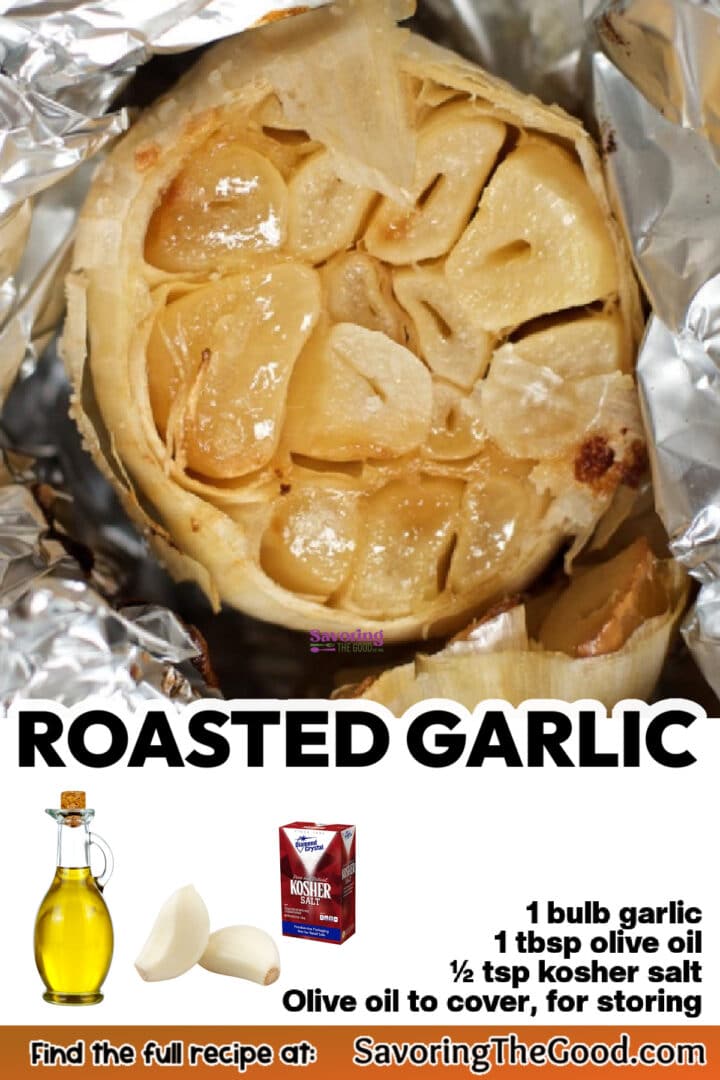
Roasted garlic is soft, sweet, and spreadable, made by roasting a whole bulb of garlic with olive oil and kosher salt in a foil tent at 400F for 45 minutes. I keep a jar of the peeled cloves covered in olive oil in my refrigerator, and I will show you how to roast it and how to store it safely, including the 4-day rule for garlic in oil.

Once you have a jar of roasted garlic in the refrigerator, it goes into everything; I stir it into my black bean hummus with roasted garlic and mash it into savory compound butter for steaks and warm bread.
You may not be a fan of raw garlic but I challenge you to not love roasted garlic. There is just something about these tender cloves of caramelized sweetness that makes me want to eat the whole bulb. In fact, I have eaten an entire bulb before. It was absolute heaven! BUT you could smell the garlic coming out of my pores for the next few days. THAT was not heavenly but it was sooooo worth it!
Ingredients for Roasted Garlic
You only need three ingredients to roast garlic, plus extra olive oil if you plan to store the cloves in a jar. The exact amounts are in the recipe card below.

- Garlic: Choose a bulb that feels heavy and firm when you squeeze it, with tight, papery skin. Soft spots or green sprouts poking out of the top mean the garlic is past its prime, and it will roast up bitter instead of sweet.
- Olive oil: The oil coats the cut tops of the cloves so they brown and soften instead of drying out. You need just a drizzle for roasting; storing the cloves takes enough extra oil to cover them completely in the jar.
- Kosher salt: I use kosher salt because the larger flakes are easy to sprinkle evenly over the cut tops. If you only have table salt, use about half as much; it is finer, so the same spoonful is saltier. Not sure which salt is which? Here is my guide to the different types of salt.
Recipe Card?
To find the full printable recipe with specific measurements and directions CLICK HERE to go to the recipe card.
How to Roast Garlic in the Oven
Roasting turns sharp, pungent raw garlic into something mellow and sweet enough to spread on bread. Fair warning: I have eaten an entire bulb in one sitting, and you could smell it on me for days.
Heat the oven
Heat your oven to 400F. That temperature is hot enough to brown and caramelize the natural sugars in the garlic in about 45 minutes without scorching the cut tops.

Slice off the top
Use a sharp knife to cut straight across the pointed top of the bulb, just enough to expose the tops of all the cloves inside. You should see a ring of cream-colored clove tops; if the small cloves in the center are still covered, take off a little more.
You do not need to peel anything for this recipe. If you need peeled raw cloves for another dish, here is how to peel garlic the fast way.

Add the oil and salt
Set the bulb cut side up on a piece of aluminum foil. Drizzle the olive oil over the top so it runs down between the cloves, then sprinkle with salt.

Make a foil tent
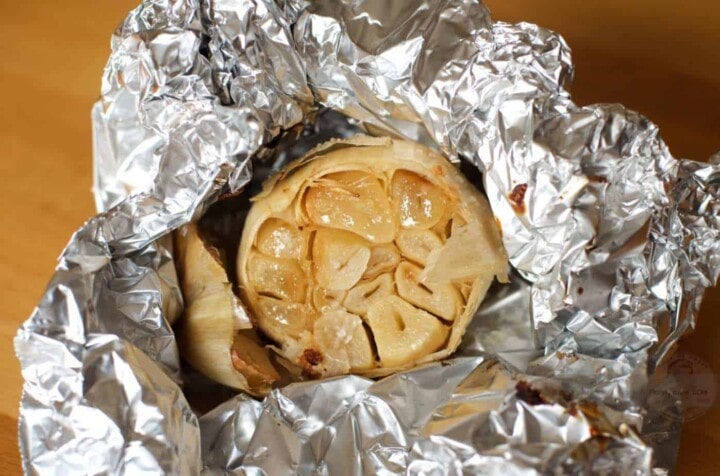
Bring the foil up and around the garlic and pinch it closed at the top. Leave some room inside rather than pressing the foil tight against the bulb; that pocket of air lets the garlic roast instead of steaming.
Roast
Roast for 45 minutes. The garlic is ready when the cloves are golden and so soft they slide out of their skins when you press on the bulb; if they still feel firm, close the foil and give them 10 more minutes.
Want MORE flavor?
For deeper color and a sweeter, more caramelized flavor, leave the garlic in for another 10 to 15 minutes.
Squeeze out the cloves
Let the garlic cool completely before you squeeze; the cloves shrink inside their skins as they cool, so they slip out much more easily, and you will not burn your fingers on the hot oil pooled around them. Hold the bulb by the root end and squeeze gently, and the soft cloves will pop right out.
Safety note: Get the garlic into the refrigerator or freezer within 2 hours of coming out of the oven; cooked garlic should not sit at room temperature any longer than that.
Roasting Garlic In Bulk
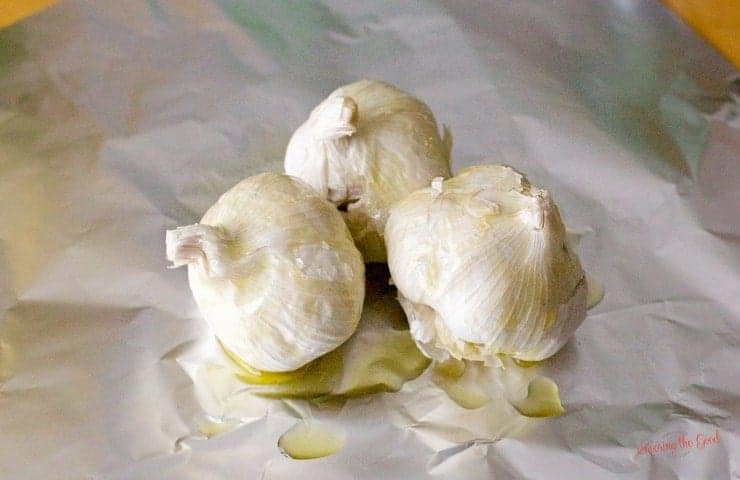
The oven is already hot, so roast several bulbs at once. One bulb, three, or a whole sheet pan all take the same 45 minutes, and you will have plenty to store.
How to Store Roasted Garlic
Roasted garlic keeps for 4 days in the refrigerator, whether you cover it in olive oil or store it plain. If you want it to last longer than that, the freezer is the answer.
In Olive Oil in the Refrigerator
Let the cloves cool completely before they go into the jar; warm garlic sealed under oil sits too long in the temperature danger zone on its way down to refrigerator temperature. Pack the cloves into a clean mason jar, pour in enough olive oil to cover them completely, and put on the lid and ring.

Put the jar straight into the refrigerator and use the garlic within 4 days. The olive oil will turn cloudy and firm up in the cold; that is normal, and it turns liquid again after a few minutes on the counter while you scoop out what you need.
Without Oil
If you would rather skip the oil, let the cloves cool completely, then store them in a sealed container in the refrigerator. Use them within 4 days, the same as any cooked leftover.
Why Garlic in Oil Can't Sit on the Counter
This is the part most people get wrong, so I want you to understand the why. Garlic is a low-acid food that can carry Clostridium botulinum spores from the soil, and covering it in oil cuts off the air.
No air, low acid, and room temperature is exactly the setup those spores need to grow and produce botulism toxin. You can't see, smell, or taste it, so a jar that looks fine can still make you very sick.
Cold slows that process down, which is why garlic in oil always lives in the refrigerator and gets used within 4 days. The oil does not preserve the garlic; it only keeps it moist. The jarred garlic in oil you see on store shelves is acidified first, which is a process for commercial kitchens, not home kitchens. The University of Georgia has a clear explanation of why homemade garlic oil needs refrigeration.
Seasonal Favorite
This is my award-winning Crisco pie crust recipe; flaky, tender, and made with simple ingredients you already have.
How to Freeze Roasted Garlic
Freezing is how I keep roasted garlic on hand for weeks instead of days, and freezing the cloves one at a time means you can grab exactly as many as you need.
- Once the cloves are out of their skins, check the bottom of each one and slice off the little nub of root if any is still attached. Scatter the cloves on a rimmed baking sheet lined with parchment paper, a silicone baking mat, or even a flattened freezer bag.
- Make sure the cloves are not touching, or they will freeze together in one clump. Slide the pan into the freezer for a couple of hours or overnight, until the cloves are frozen solid.
- Pop the frozen cloves off the pan, gather them into an airtight container, and close it tight. There is no need to thaw them; the quality holds up well when the cloves go straight from the freezer into whatever you are cooking, especially a hot dish.
- My favorite way to use them is to grate a frozen clove on a microplane grater, the same way I would grate a fresh clove of garlic. The difference is timing; roasted garlic is already cooked, so skip the usual 30 seconds in the pan and stir it in at the very last second.
If you are after garlic cooked low and slow while submerged in oil, that is a different technique, and I have a whole post on how to make garlic confit.
How I Use Roasted Garlic
Roasted garlic is mild enough to use generously, so you can swap it in wherever you would use raw garlic and want a softer, sweeter flavor. A few cloves stirred into my hot artichoke spinach dip make it taste like it took all day.
I also mash it onto toasted bread, whisk it into salad dressings, and toss it with hot pasta and a spoonful of the oil from the jar.
Roasted Garlic FAQ
While I try to share all the information you need to make this recipe in your home with restaurant-quality results, there still may be a question or two. Or these are questions I have received from the community about this recipe. I do my best to answer them as clearly as I can. I hope this helps.
How long does roasted garlic last in the fridge?
Use roasted garlic within 4 days, whether it is stored plain in a sealed container or covered in olive oil. For longer storage, freeze it.
Can I leave roasted garlic in oil on the counter?
No. Garlic in oil at room temperature creates the low-oxygen, low-acid conditions where botulism toxin can form. Keep it in the refrigerator and only take out what you need.
Can you freeze roasted garlic?
Yes. Freeze the peeled cloves in a single layer on a lined baking sheet so they do not stick together, then move them to an airtight container. Use them straight from the freezer; there is no need to thaw them first.
Can I use extra virgin olive oil or avocado oil?
Yes, either one works for roasting and for covering the cloves in the jar. The storage rules stay the same no matter which oil you use: refrigerate it and use it within 4 days, because no oil preserves garlic on its own.

Ingredients
For roasting
- 1 bulb Garlic
- 1 Tablespoon olive oil
- ½ Teaspoon Kosher Salt
For storing
- Olive Oil enough to cover the cloves
Instructions
- Heat the oven to 400F.
- Slice off the top of the garlic bulb, just enough to expose the tops of all the cloves inside.1 bulb Garlic

- Set the bulb on a piece of aluminum foil. Drizzle with olive oil and sprinkle with salt.1 Tablespoon olive oil, ½ Teaspoon Kosher Salt
- Wrap the foil loosely around the garlic to make a little tent. Leave some space inside so air can circulate.
- Roast for 45 minutes, until the cloves are golden and slide out of their skins when you press on them. For a sweeter, deeper flavor, roast 10-15 minutes longer.

- Let the garlic cool until you can handle it, then gently squeeze the cloves out of their skins.
- To store, let the cloves cool completely. Pack them into a clean jar, cover them completely with olive oil, and put on the lid. Refrigerate right away.Olive Oil

Nutrition
Notes

I am Sarah Mock. Welcome!
Sarah Mock is a classically trained Chef and a graduate of Johnson & Wales University. A culinary blogger for 18 years, Sarah helps the home cook prepare her recipes with professional results.
as seen in:


originally published Dec 18, 2014


julie says
love the way you setup the recipe "print copy "
Sarah Mock says
you are welcome! I like to be helpful to my readers.
Sarah
Tracy says
Hi Sarah. Can’t wait to try this as I’m a garlic lover! Short of me eating it right out of the jar , what other ways do you enjoy it? Thx.
Rocky says
Hi Sarah
I like your recipe, very easy to do and yummy! I want to know, how long can I store this and is it OK to keep Garlic in Olive Oil as I've heard of some health issues re: botulism?