

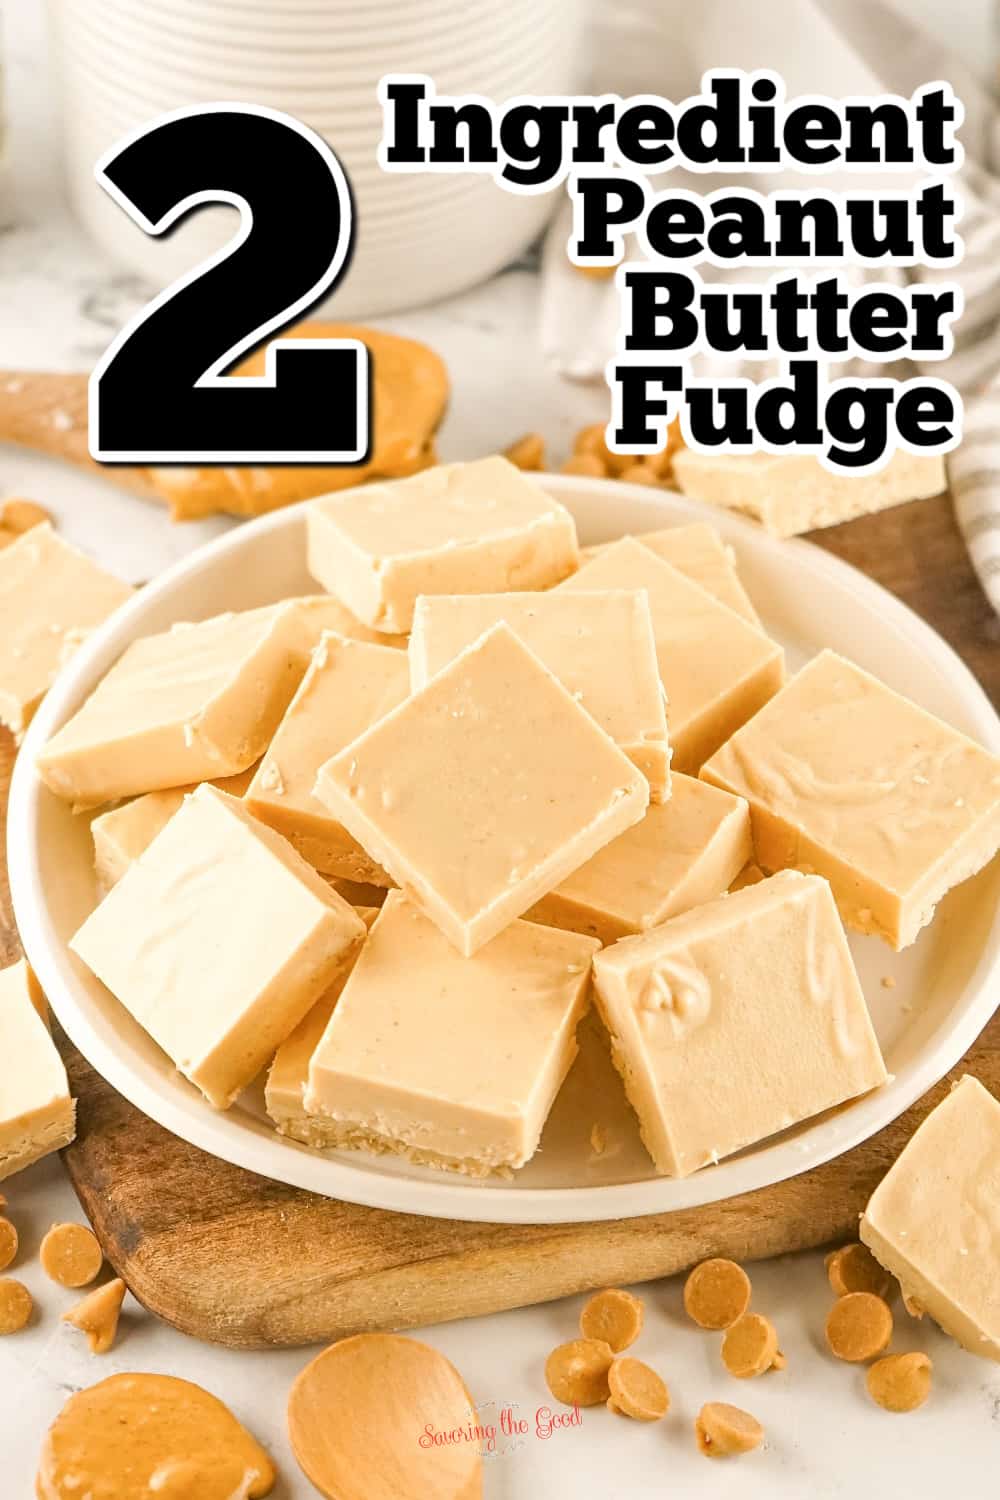
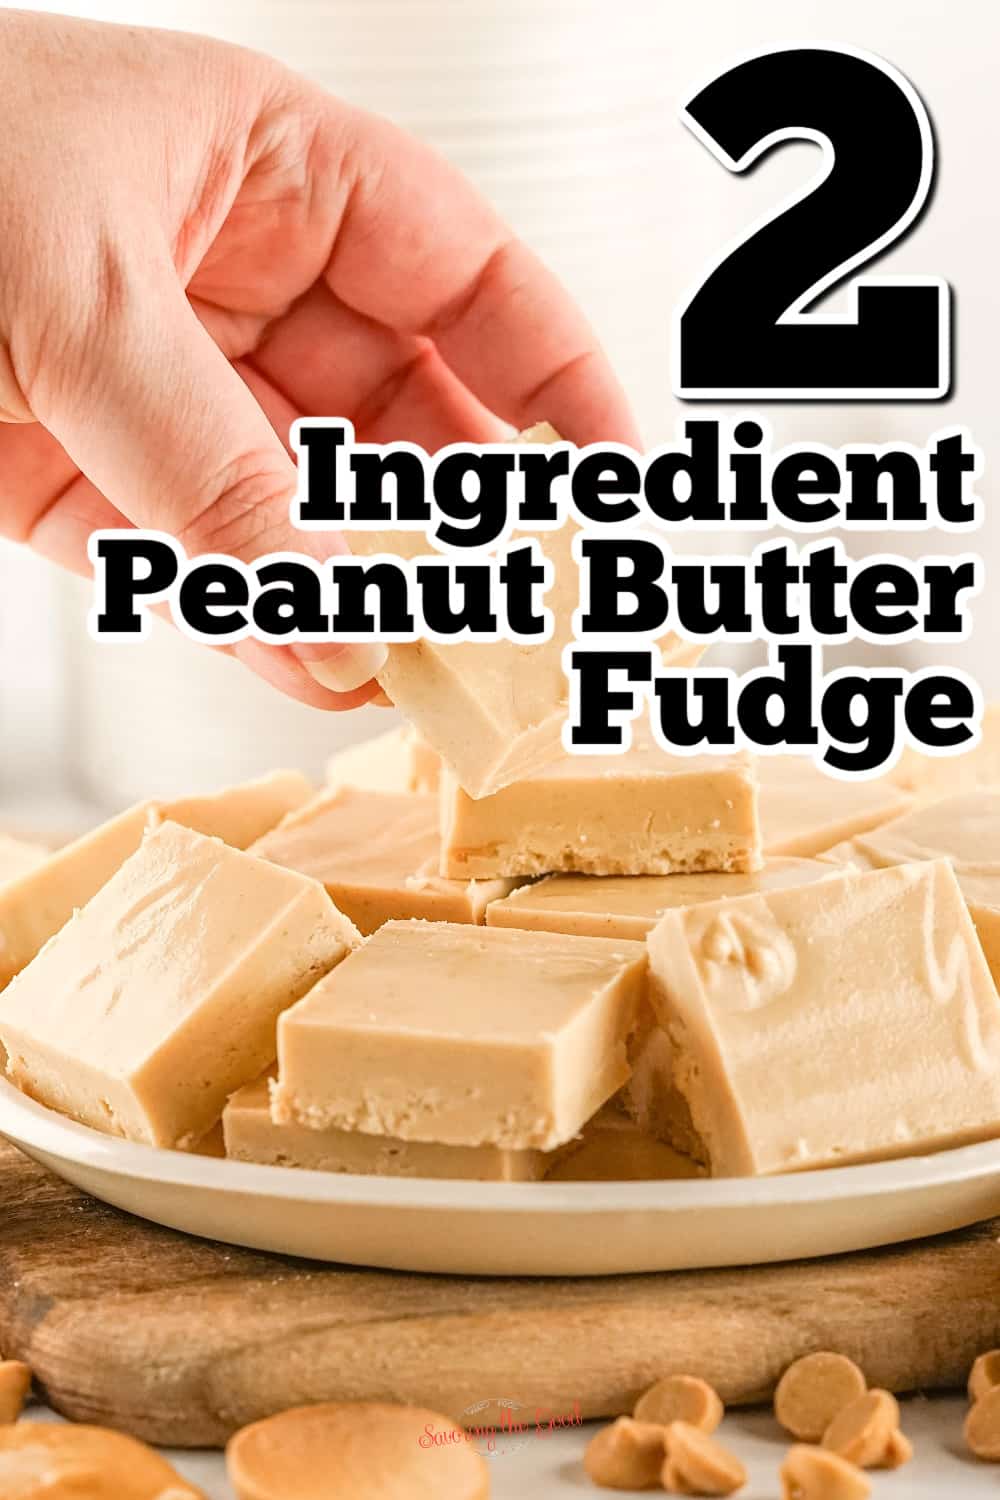
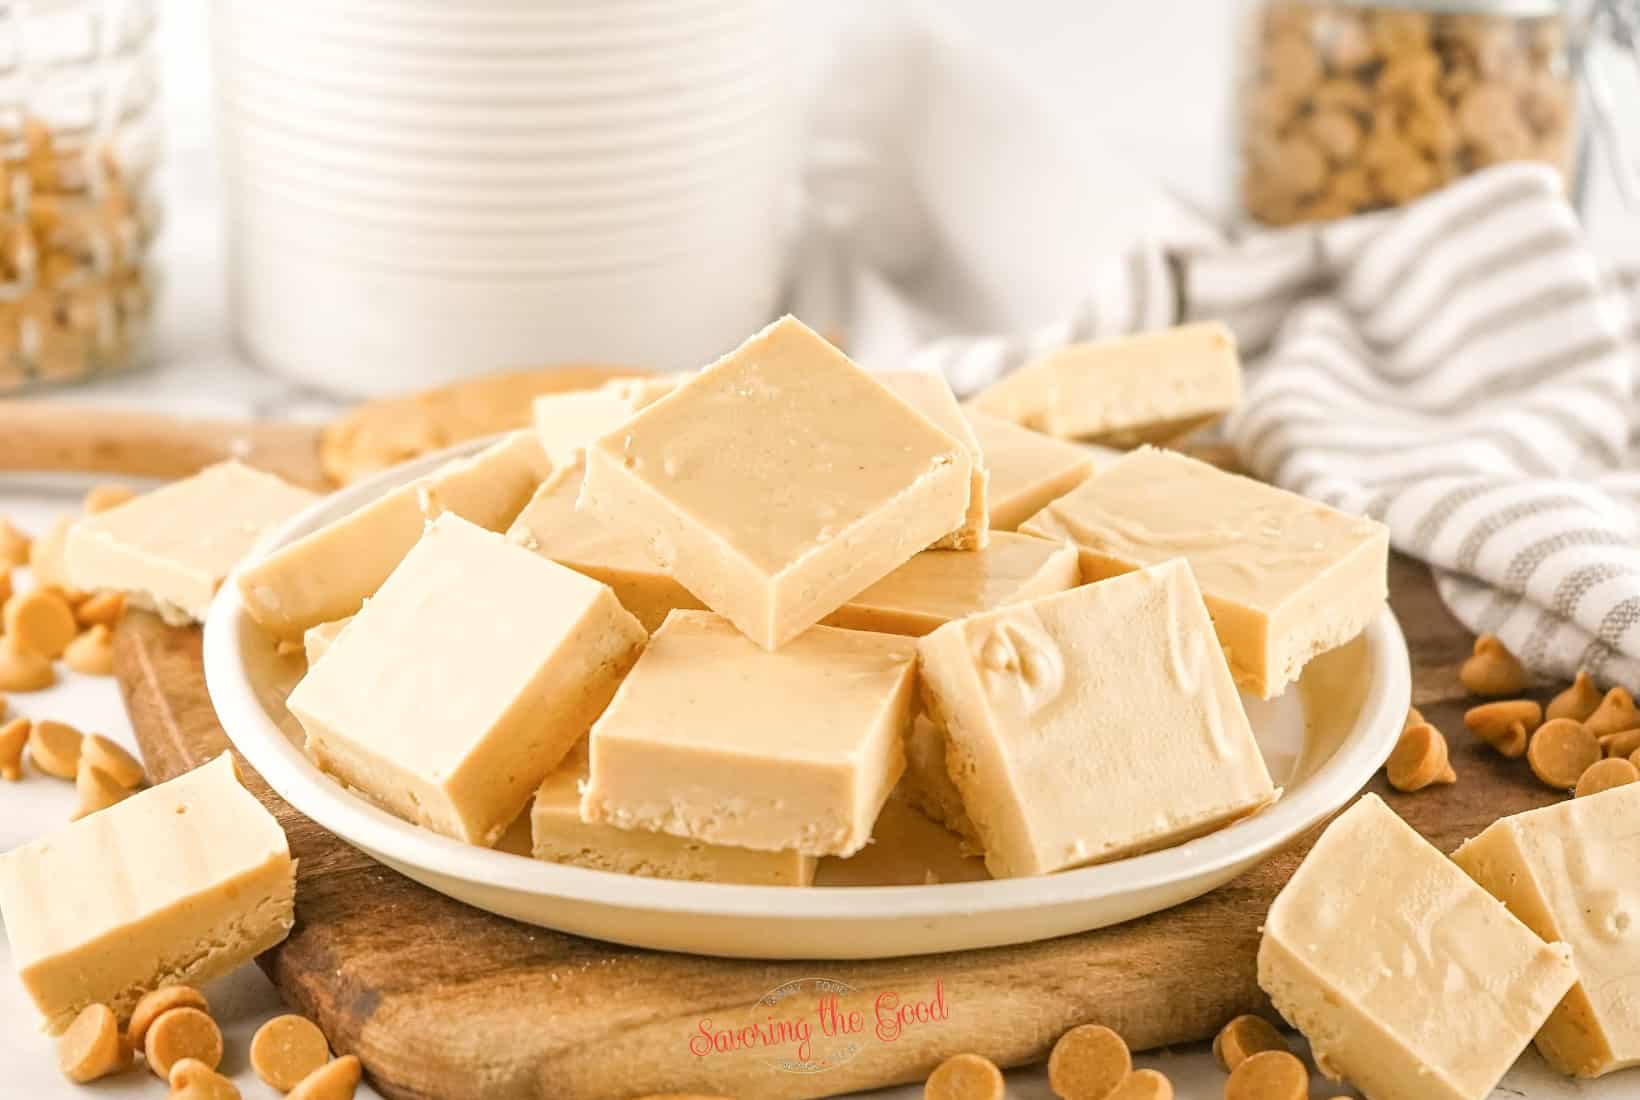
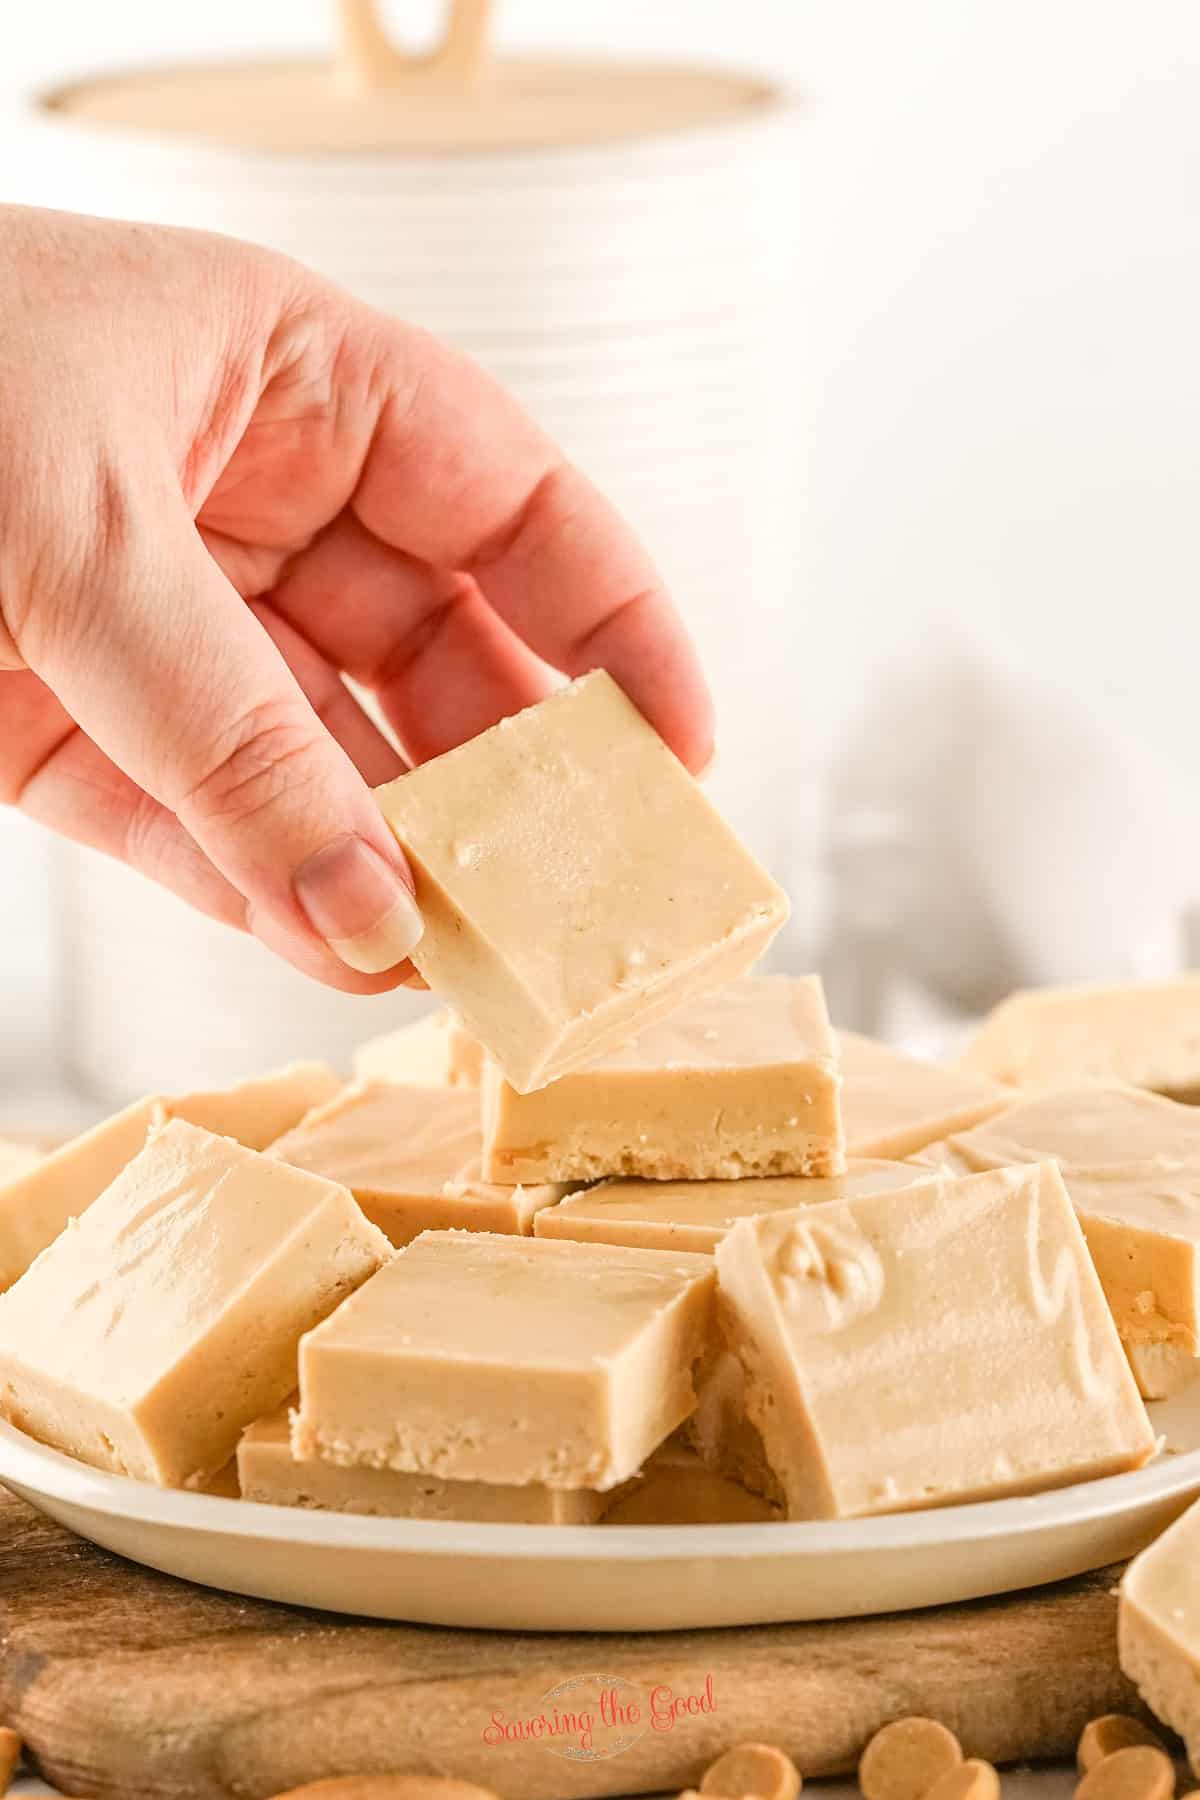
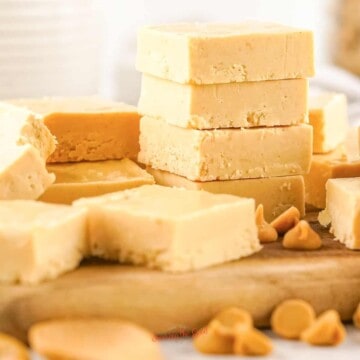
This easy, no-bake peanut butter fudge is made with just two ingredients - peanut butter chips and canned frosting. It's a simple microwave fudge that's ready in minutes.

Just melt the chips and frosting together for an old-fashioned candy treat. Customize the flavors with crunchy or creamy peanut butter and different frostings. Chill this easy peanut butter candy to set, then cut into squares. With minimal time and effort, you can make this quick, two-ingredient, no-cook, no condensed milk, freezer fudge for an easy dessert or edible gift.
Enjoy this kid-friendly microwave fudge that requires no candy thermometer and satisfies sweet cravings fast. Chocolate fudge lovers are going to want to make Chocolate Walnut Fudge this holiday season. Kids and adults who love peanut butter will want to nosh on Ritz peanut butter crackers the homemade version!!
Why you will love this easy fudge recipe:
For a sweet treat that requires minimal time and effort yet delivers big peanut butter flavor, this easy fudge is sure to satisfy!
- Easy Recipe - With just two main ingredients that you microwave and mix, even cooking novices can make this fudge successfully.
- Quick and convenient - The active prep and cook time is less than 10 minutes total, so it's great for whipping up a quick dessert or gift on short notice.
- Minimal effort - Aside from microwaving the two components, the only work is stirring and pouring into a pan, so it's hassle-free.
- Satisfies sweet cravings - The rich peanut butter and sugary frosting combination makes for a dessert that's indulgent and crave-worthy.
- Fully customizable - You can tweak the flavors by using different varieties of chips and frosting according to your tastes.
- Kid-friendly activity - Older kids will have fun making this recipe.
- Great for gifting - The fudge slices up beautifully and makes a thoughtful edible gift for friends, teachers, and neighbors.
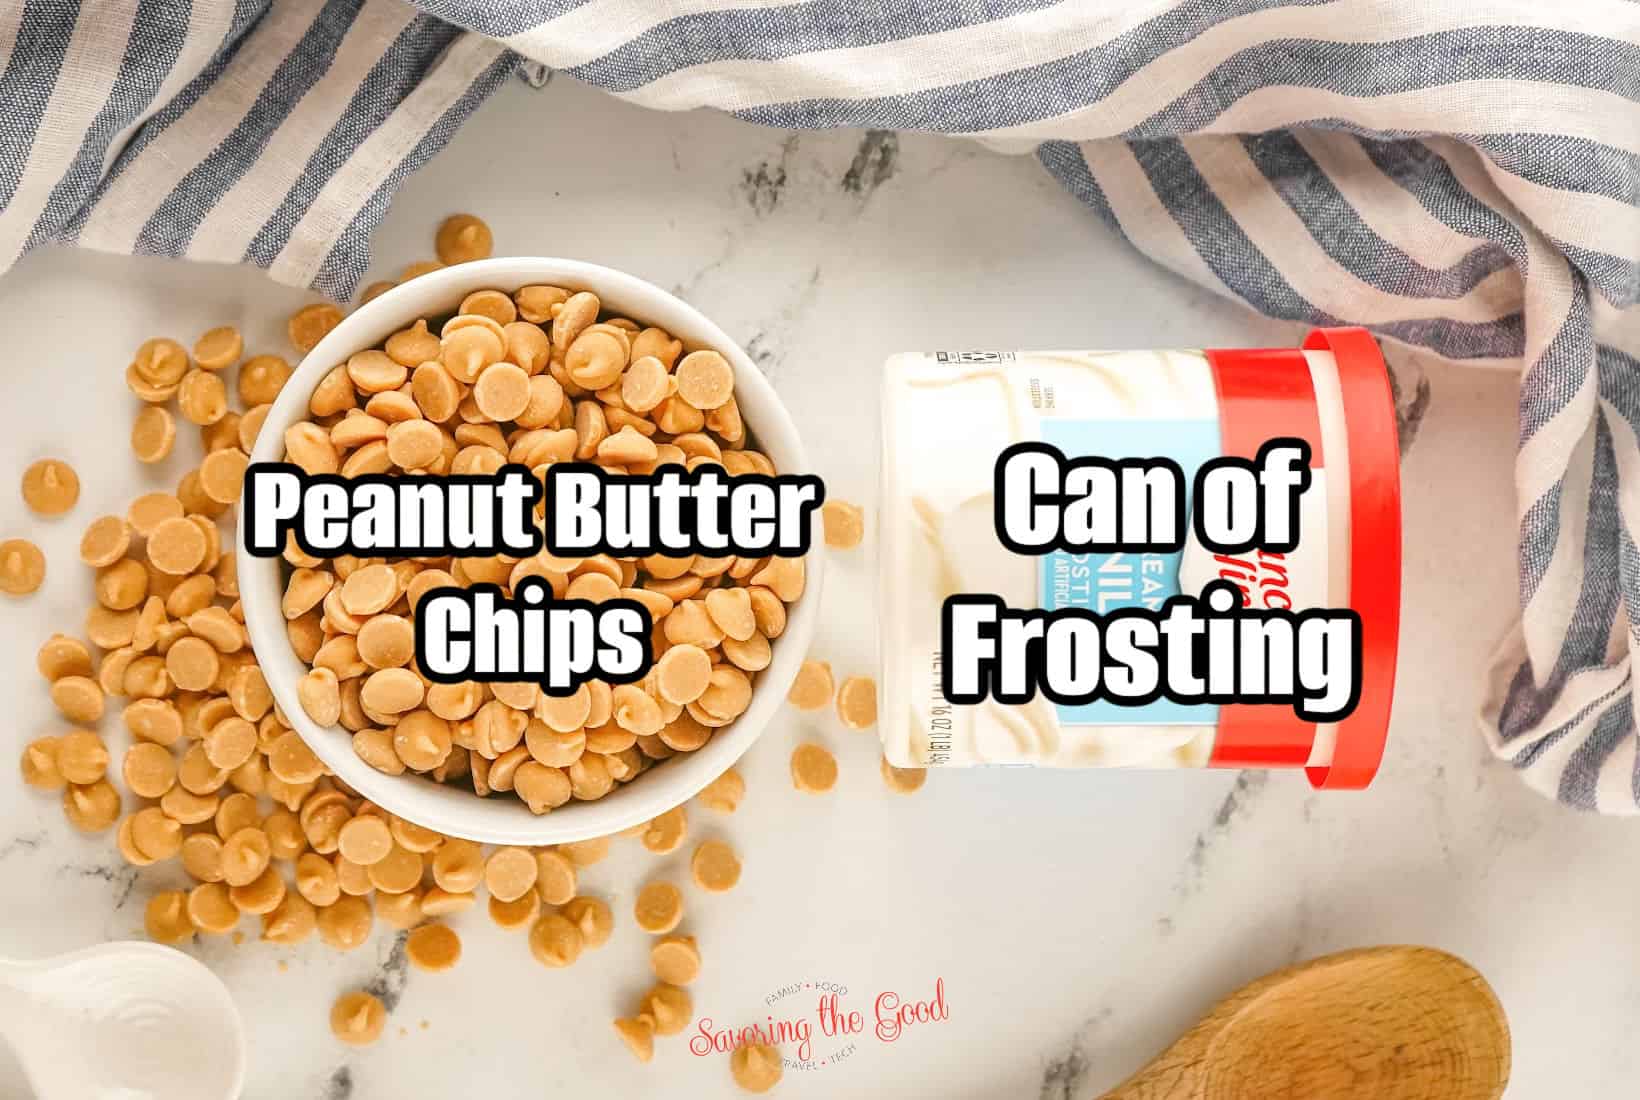
Ingredients needed to make this recipe:
Recipe Card?
To find the full printable recipe with specific measurements and directions CLICK HERE to go to the recipe card.
- Can of prepared vanilla frosting
- Reese's brand peanut butter chips/morsels
Can I Use Any Frosting?

Yes, you can use any flavor of prepared frosting in the 2-ingredient peanut butter fudge recipe.
No matter what flavor frosting you use, the method will be the same - microwave the frosting briefly to soften, pour over melted peanut butter chips, and combine well. The key is using the smooth, spreadable canned or tub frosting sold in the baking aisle. Avoid stiff frostings like royal icing.
- Chocolate Fudge Frosting - For chocolate peanut butter fudge
- Cream Cheese Frosting - For a tangy twist
- Peanut Butter Frosting - To really amp up the peanut butter flavor
- Buttercream Frosting - For a rich, smooth texture
- Coconut Frosting - For tropical flair
How to make peanut butter fudge with vanilla frosting
Prepare a pan.
Line an 8x8 pan with parchment paper.

Melt
Melt peanut butter chips in a bowl in the microwave for 2 minutes, stirring every 30 seconds.
Microwave frosting for 1 minute.

Combine
Pour frosting into a bowl with melted chips. Stir to combine.

Pour
Pour mixture into prepared pan. Spread evenly.
Refrigerate for 4 hours until set.
Cut
Cut into 1-inch pieces. Enjoy!
Did you make this recipe?
Do you have feedback that would be helpful to others? If so can help this small business owner by leaving a rating and a review in the comments section? Thank you for being part of the Savoring The Good Community. ~ Sarah
Can I use crunchy peanut butter instead of creamy?
While creamy peanut butter makes a smooth fudge, using crunchy style gives you bites of peanuts throughout for added texture and nutty flavor. The crunchy peanut butter still combines beautifully with the sweet frosting. Just be careful not to overheat it. With a few small adjustments, you can easily make crunchy peanut butter fudge.
Here are some tips for using crunchy peanut butter:
- Use an extra-crunchy natural style peanut butter so you get plenty of peanuts chunks in each bite.
- Reduce microwave melting time by 30 seconds to 1 minute since crunchy peanut butter gets hot faster.
- Stir the melted crunchy peanut butter into the frosting a bit more gently to keep some bigger chunks intact.
- Add a couple tablespoons of roasted salted peanuts to the finished fudge for even more crunch.
- Let the fudge cool completely before slicing so the peanut pieces firm up.
- Store in refrigerator to keep the crunchy texture since it will soften faster at room temp.
Helpful Kitchen Tools To Make This Fudge
Having these basic kitchen tools on hand will make whipping up this simple 2-ingredient fudge recipe easy and enjoyable!
- Microwave-safe bowl - To melt the peanut butter chips
- Rubber spatula - For stirring the melted peanut butter chips and frosting together
- Measuring cups - To accurately measure out the peanut butter chips and frosting
- Parchment paper - To line the pan for easy removal of the fudge
- 8x8 baking pan - To pour and set the fudge mixture
- Knife or pizza cutter - To slice the finished fudge into pieces
- Storage containers - Like tupperware or plastic bags to store the fudge in the fridge or freezer
- Mixer (optional) - For beating the frosting first to make it smoother
Can I use sugar free frosting?
With just a couple of adjustments like reduced cooking time and added powdered peanut butter, the sugar-free frosting allows you to create a lighter peanut butter fudge.
Here are some tips for using sugar-free frosting:
- Look for a frosting made with maltitol or erythritol as the sugar substitute because they set up firmer than others.
- Reduce microwave time to 30-45 seconds since sugar-free frosting can burn quicker.
- The fudge may not set up quite as firm using sugar-free frosting.
- Add 2-3 tablespoons of powdered peanut butter to the mixture to help bind it together.
- Let the fudge chill in the fridge for at least 6 hours to help it firm up fully before slicing.
- Store in the refrigerator as sugar-free fudge softens faster at room temperature.
- The flavor may be slightly different than full-sugar fudge, but still tasty!
Homemade Fudge Storage Tips
Follow proper refrigeration and the fudge will stay fresh and delicious for enjoyment within a week!
- Refrigerate in an airtight container like a plastic or glass storage container with a tight-fitting lid for up to 1 week.
- Can also store in the fridge in a zip top plastic bag or covered bowl for up to 1 week.
- For longer storage, wrap tightly in plastic wrap and then foil and freeze for up to 3 months.
- Let frozen fudge thaw overnight in the refrigerator before serving.
- If storing at room temperature, place in an airtight container and consume within 3-4 days.
- For gift-giving, package fudge in treat bags or boxes lined with plastic wrap for up to 5 days.
- Avoid storing in paper products or wood as they absorb moisture; glass, plastic, or foil are best.
Ingredients
- 1 16 Ounce Can White Frosting
- 1 10 Ounce Bag Reese's Peanut Butter Chips
Instructions
- Line an 8x8 pan with parchment paper.
- Melt peanut butter chips in a bowl in the microwave for 2 minutes, stirring every 30 seconds.1 10 Ounce Bag Reese's Peanut Butter Chips
- Microwave frosting for 1 minute.1 16 Ounce Can White Frosting
- Pour frosting into bowl with melted chips. Stir to combine.
- Pour mixture into prepared pan. Spread evenly.
- Refrigerate 4 hours until set.
- Cut into 1-inch pieces. Enjoy!
Nutrition
Notes
- Don't overcook chips or the fudge will get lumpy.
- Store fudge in a sealed container in the fridge for up to 1 week or freezer for up to 3 months.
- Use different flavored chips to change fudge flavor.
- Use parchment paper, not just nonstick spray.
- Can use peanut butter frosting for more peanut butter taste


Comments
No Comments