

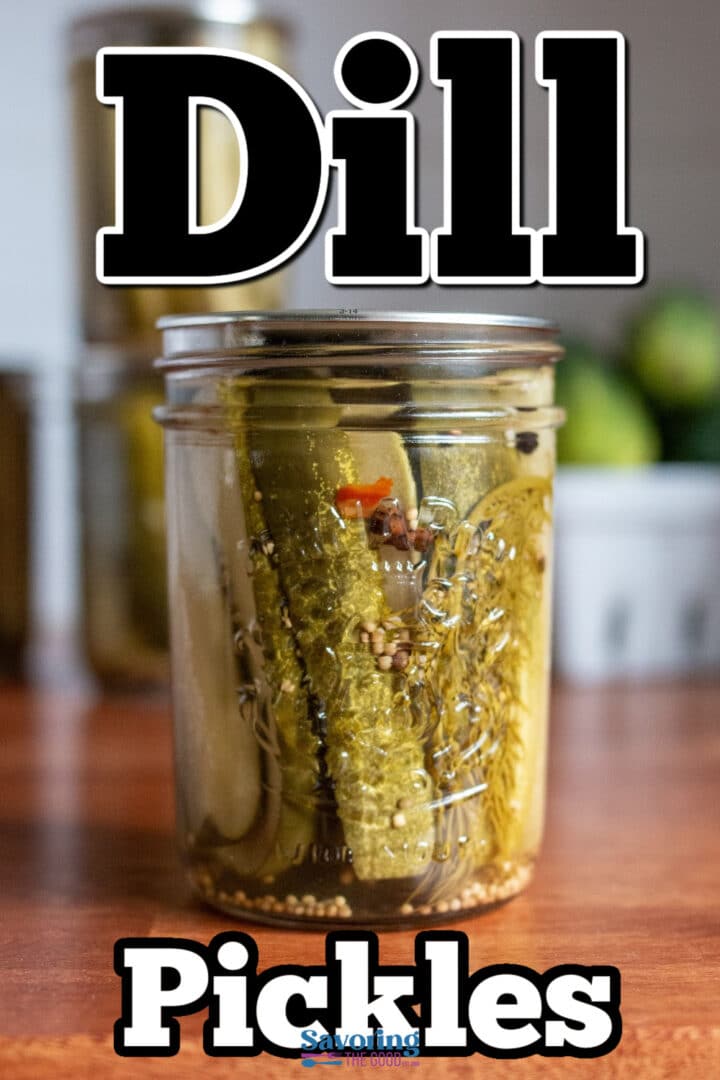
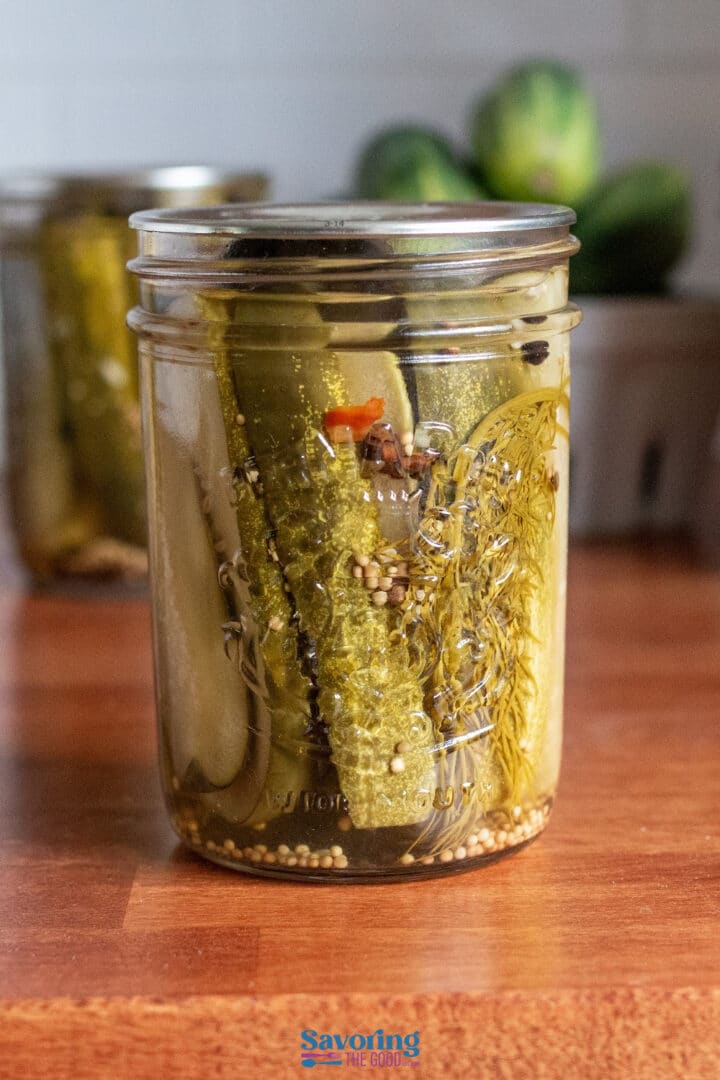
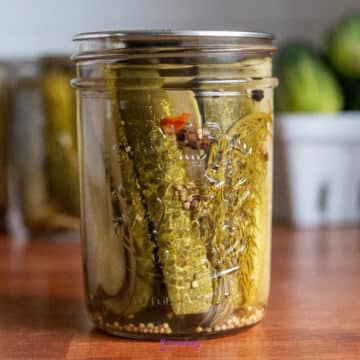
My dill pickle recipe is a crunchy, tangy, garlic-forward classic made with fresh pickling cucumbers, a simple vinegar brine, and fresh dill. This one is a true water bath canning recipe that fills your pantry shelf for the next year. This is the recipe that my Aunt Martha gave me at my recipe card bridal shower. I think of her every time I make them.
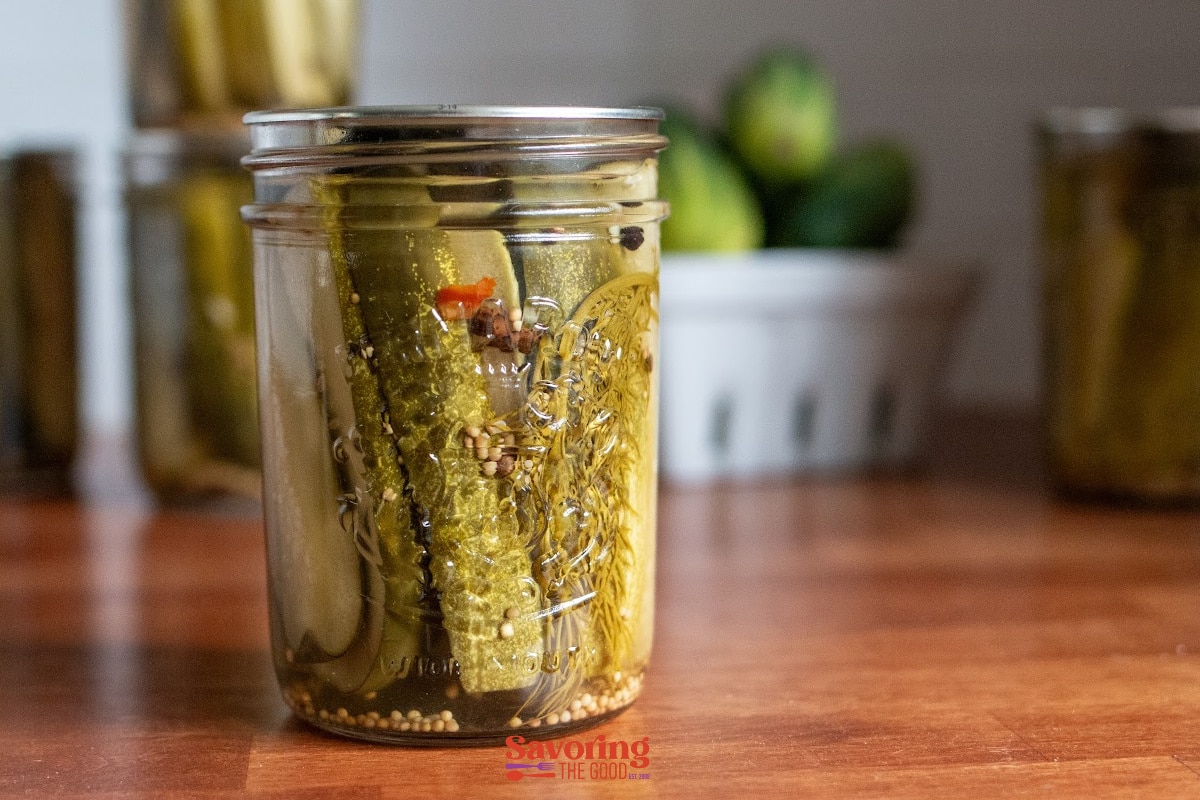
If you would rather skip the canning step entirely, my fridge dill pickle recipe is ready to eat in a few days and lives in the refrigerator instead of the pantry.
Taste like what my Pappy made for us when we were growing up!
- Linda K
Ingredients:
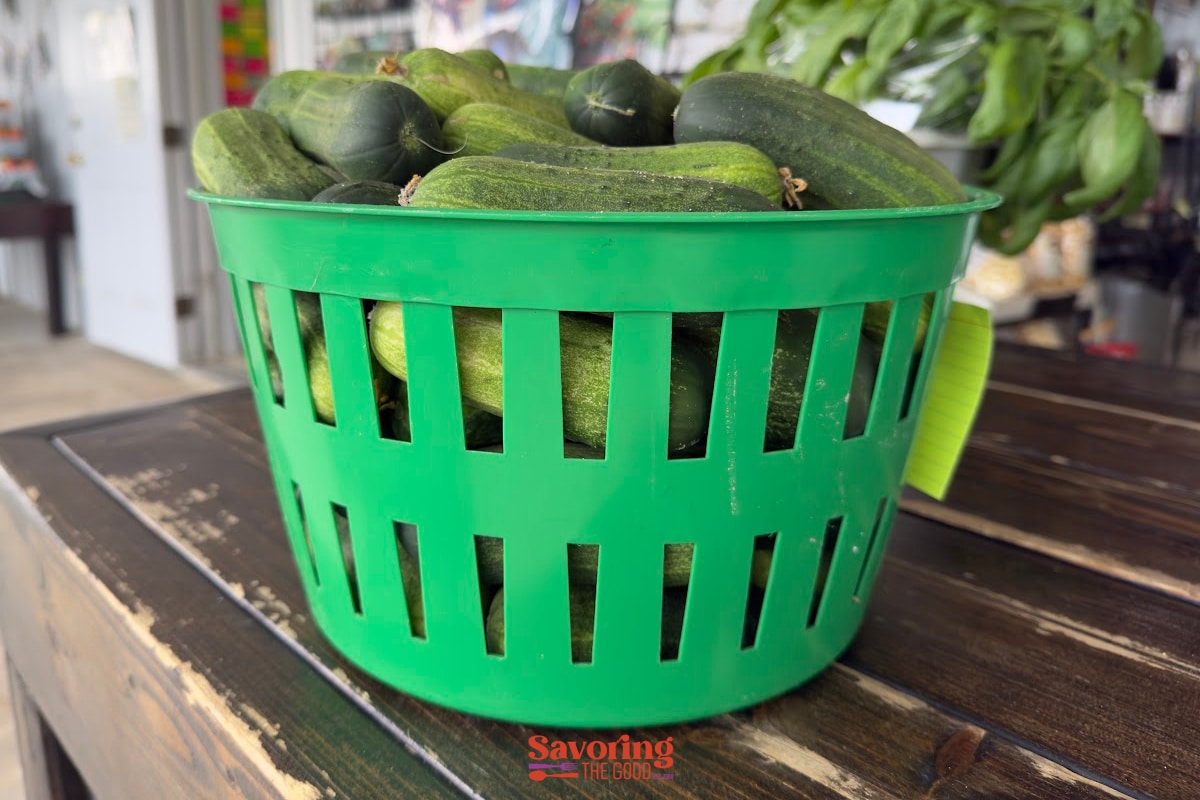
You only need a handful of ingredients here, but the cucumbers themselves matter more than anything else on this list. Reach for true pickling cucumbers (Kirby or a similar variety), 3 to 5 inches long, firm, and free of soft spots. Skip the waxed slicing cucumbers from the produce aisle; the wax coating keeps the brine from soaking in.
Recipe Card?
To find the full printable recipe with specific measurements and directions CLICK HERE to go to the recipe card.
Substitutions
You have a little room to play. Dill seed works fine in place of fresh dill heads if that's what's in your pantry. Apple cider vinegar can stand in for white vinegar, though your brine will turn a deeper gold and taste a touch fruitier. What you can't swap out is the acidity; stick with a 5% acidity vinegar so your processing times stay safe.
Can I Use Table Salt?
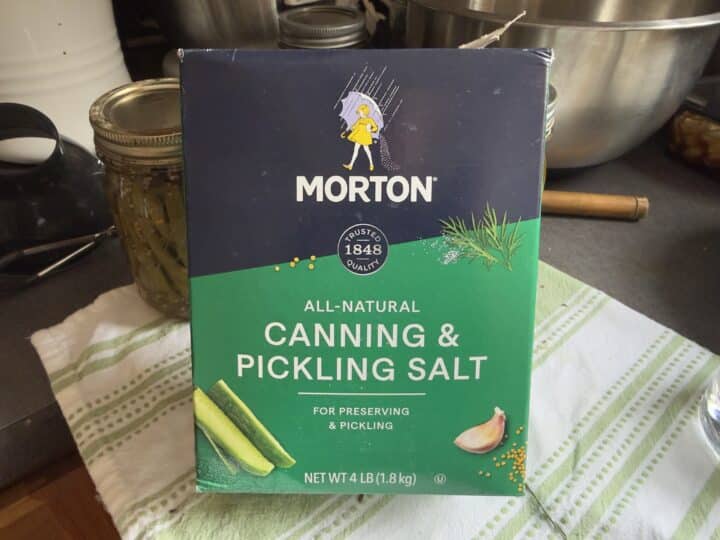
Use canning or pickling salt, not iodized table salt. Iodized salt clouds your brine and can darken the pickles over time.
How to Make Dill Pickles
Prep the cucumbers
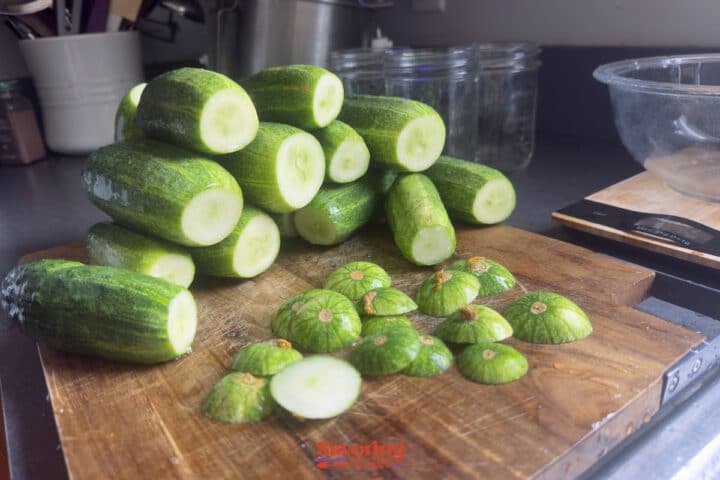
Wash the cucumbers well, then slice off the blossom end of each one and discard it, while leaving about ¼ inch of stem attached
Which is the blossom end?
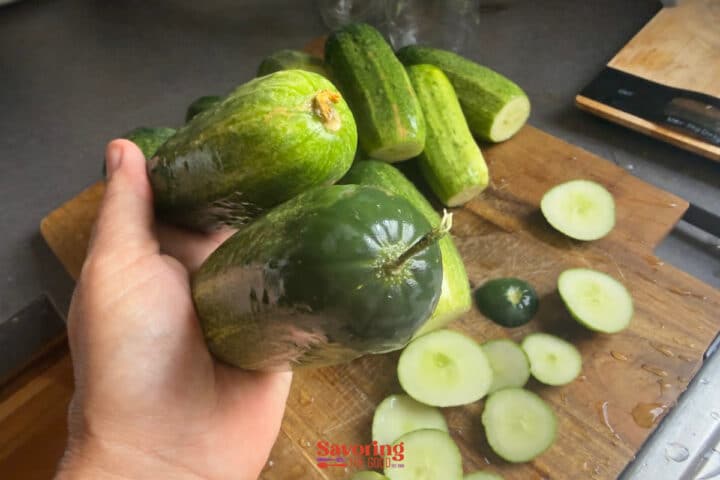
In this photo, the cucumber on the top is the blossom end. These were purchased directly from the farmer with minimal handling. Grocery store cucumbers often will have the blossom and the stem removed.
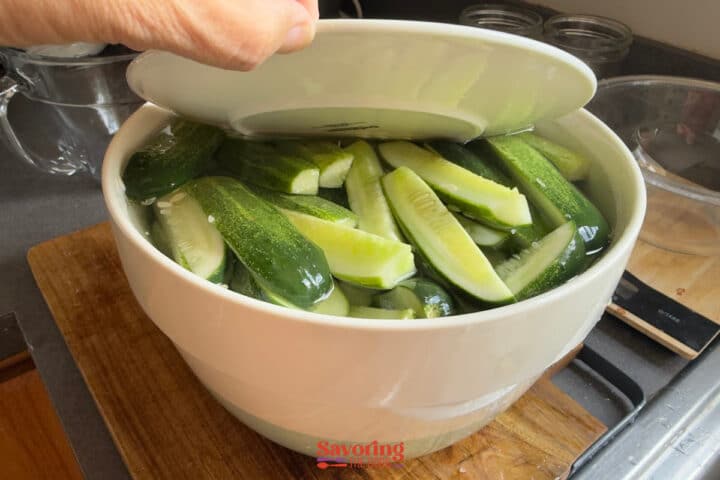
Brine the cucumbers
Dissolve 6 Tablespoons of the canning salt in 1 gallon of water, pour it over the cucumbers, and let them stand at room temperature for 12-24 hours. (I do a full 24 hours when I make them.)
What is all that water!?
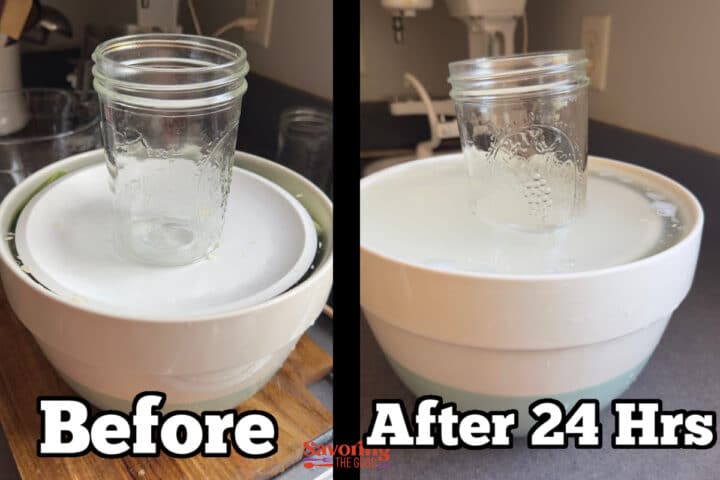
That's osmosis pulling water out of the cucumber cells. Less water means less space between cells. But the real crunch insurance is calcium: it cross-links with pectin in the cell walls to reinforce them. See FAQ for more information.
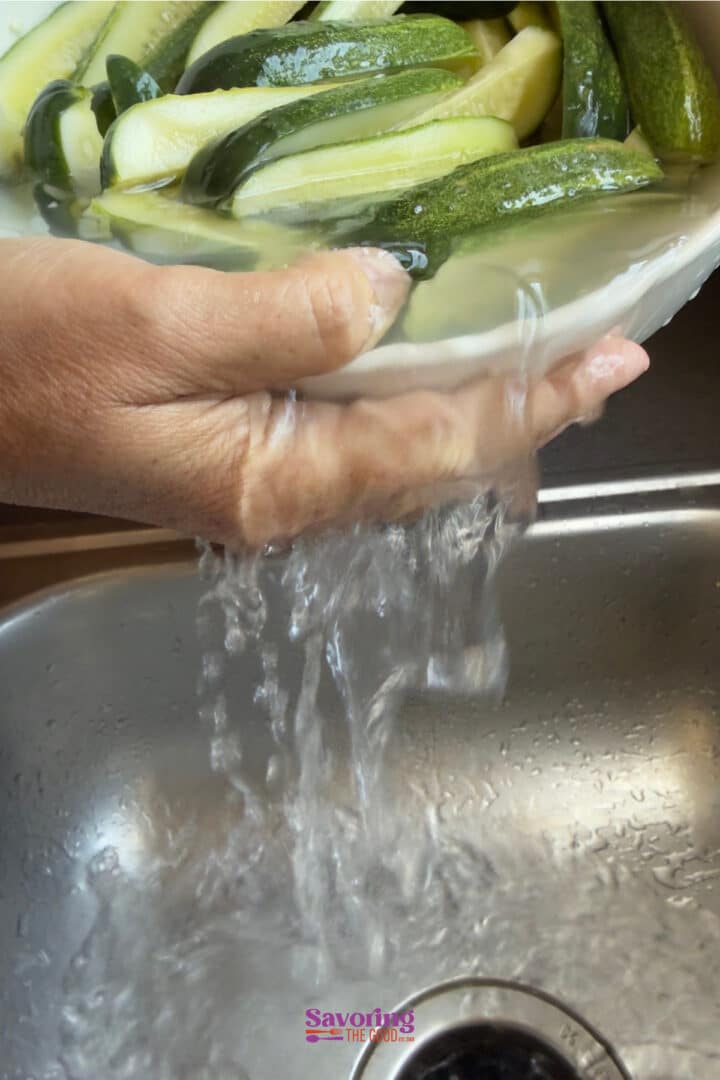
Drain and Rinse
After the initial brine, drain away all of the liquid and rinse the cucumbers in cool water.
Wash 3 Times
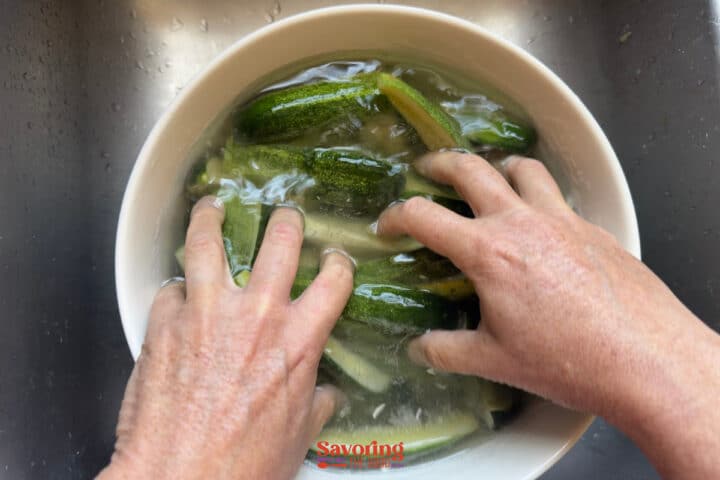
I wash my drained brined cucumbers 3 separate times to ensure I get the excess salt off of them.

Sterilize your jars
Wash pint jars, lids, and bands in hot, soapy water, then sterilize the jars in boiling water or run them through your dishwasher's sanitize cycle.
While they sterilize, make the brine.
Flavor Tip
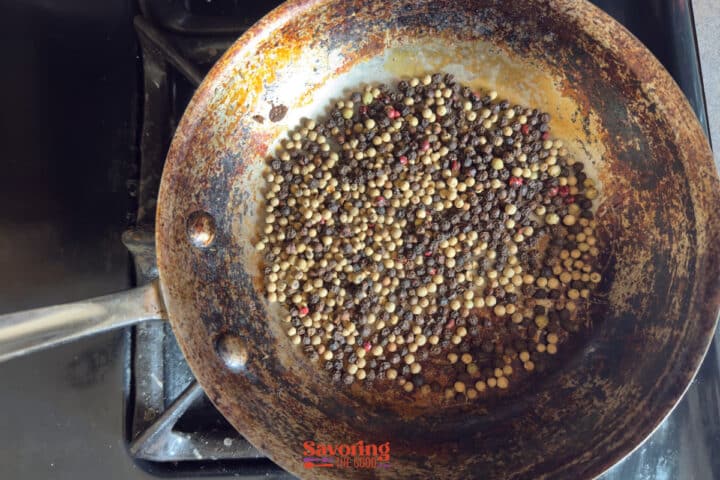
In a dry pan over medium-high heat, toast each of your dry spices to 'wake them up' and bring out the oils.
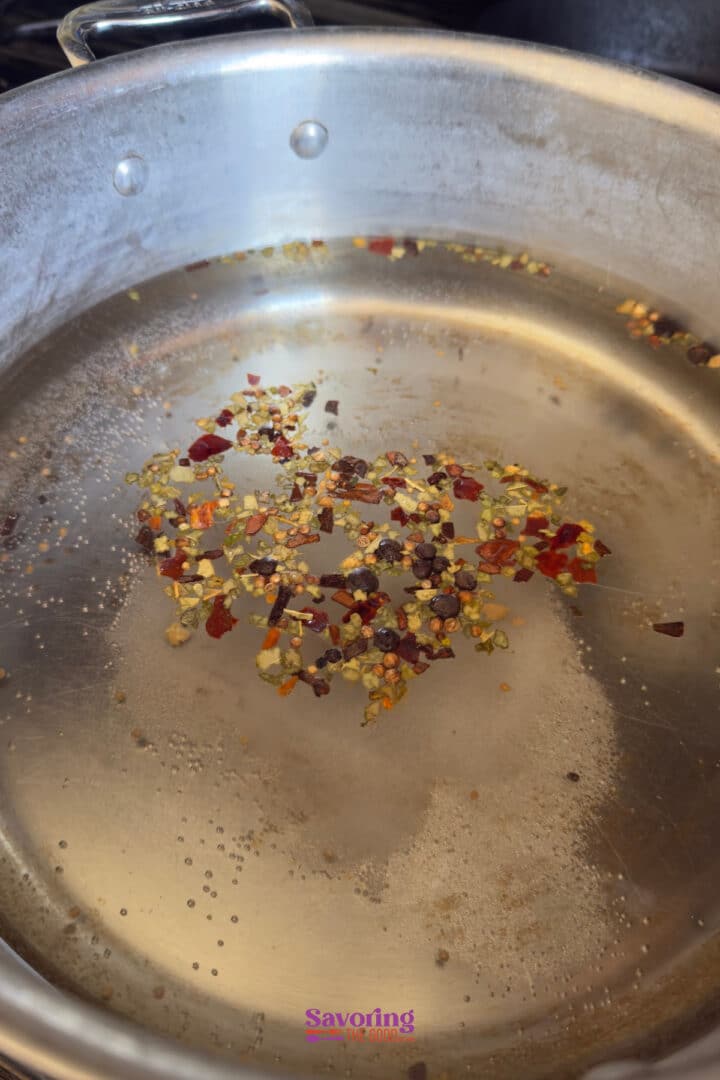
Make the pickling brine
Combine the remaining quart of water, vinegar, sugar, pickling spice, and ¼ cup pickling salt in a stainless steel or enamel-coated pan. Bring to a boil, stirring to be sure the salt and sugar are dissolved.
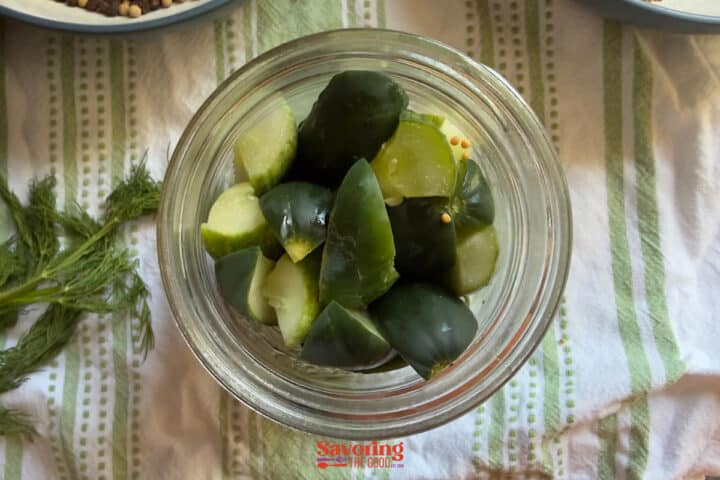
Pack the jars
Fill each hot, sterilized jar with drained cucumbers, tucking in 1 fresh dill frond, ½ teaspoon mustard seed and ¼ teaspoon peppercorns per pint jar.
Pickle packing tip
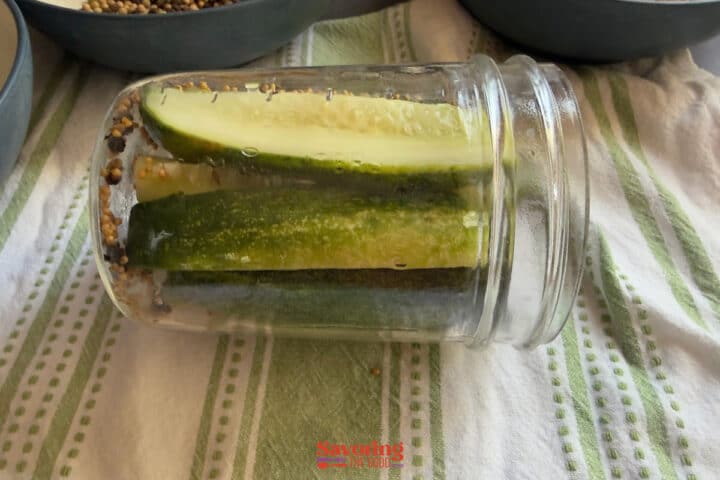
If your cucumbers 'slouch' and you have a hard time keeping them straight, lay the jar on its side until you can fill the jar. Then, right the jar and continue filling in any extra space.
Add the brine
Ladle the boiling pickling solution over the cucumbers, leaving ½ inch of headspace at the top of each jar. The brine should just cover the cucumbers.
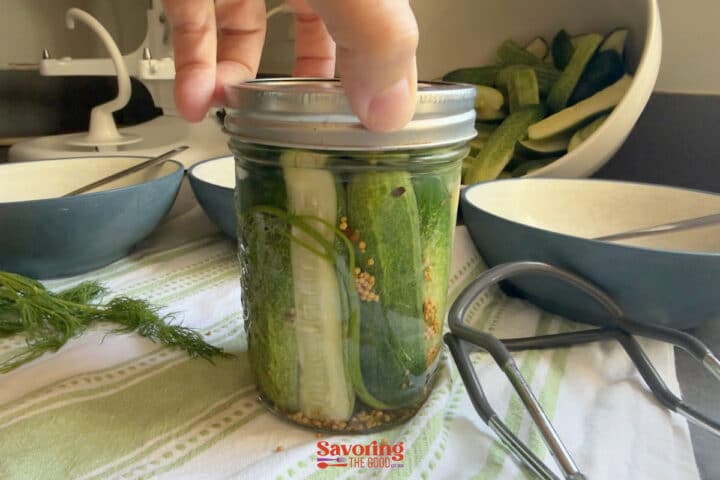
Remove air bubbles and seal
Run a thin spatula or bubble tool around the inside of each jar to release trapped air pockets, wipe the rims clean of any brine, then add lids and bands until fingertip tight.
Process in a water bath canner
Process pint jars for:
- 10 minutes if you're at 0 to 1,000 feet elevation
- 15 minutes at 1,001 to 6,000 feet
- 20 minutes above 6,000 feet.
This step is what makes the jars shelf-stable, so don't shortcut the time.
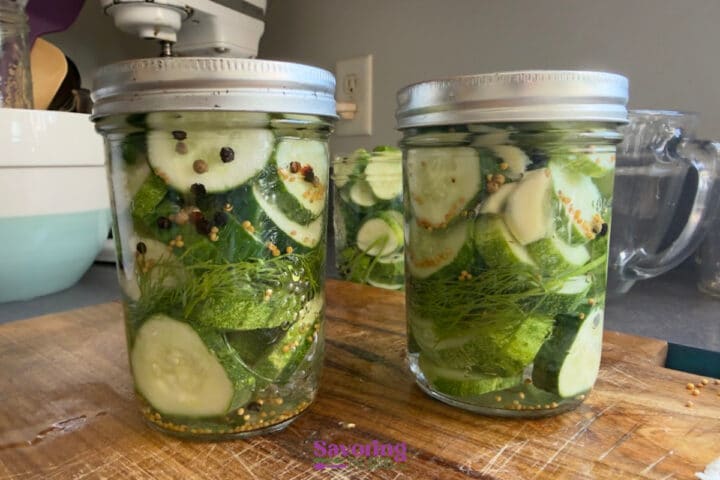
Cool and check the seals
Let jars cool undisturbed on the counter for 12 to 24 hours, then press the center of each lid; it shouldn't flex or pop back. Remove the bands, label your jars with the date, and store any jar that didn't seal in the refrigerator to eat right away instead of the pantry.

Sarah's Culinary Insight
Tucking a grape leaf into each jar is an old pickling trick, and it's a real one; grape leaves are naturally high in tannins, the same compound that inhibits the enzyme responsible for softening pickles. Just know it's mostly doing backup work here, since the blossom-end trim in Step 1 already knocks out that enzyme at the source. If you want a firming method that's doing real, active work on its own, look for calcium chloride at the canning supply aisle (sold as Pickle Crisp or Xtra Crunch); it's what modern extension guidance actually recommends, and unlike older tricks like a lime soak, it won't touch your brine's acidity. Source: Cornell.edu
Seasonal Favorite
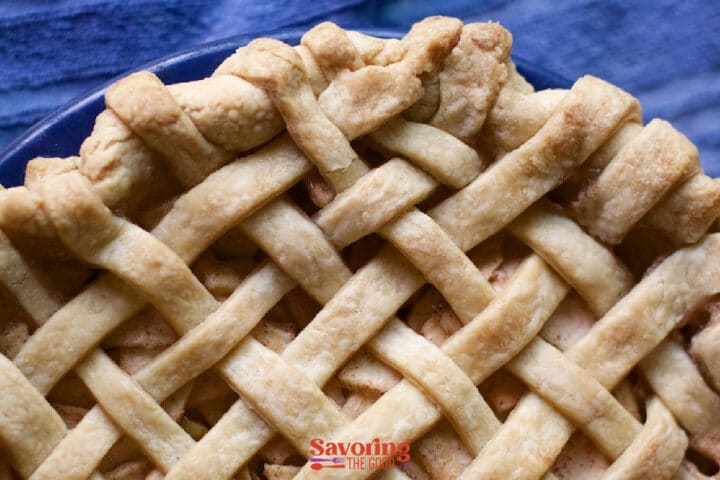
This is my award-winning Crisco pie crust recipe; flaky, tender, and made with simple ingredients you already have.
Did you make this recipe?
Do you have feedback that would be helpful to others? If so can help this small business owner by leaving a rating and a review in the comments section? Thank you for being part of the Savoring The Good Community. ~ Sarah
Storage Tips
Sealed jars keep in a cool, dark pantry for up to 1 year. Once you open a jar, refrigerate it and eat the pickles within 2 to 3 months for the best crunch. If a jar didn't seal within 24 hours, don't risk the pantry; refrigerate it instead and eat those pickles within about a week.
Frequently asked questions, answers and tips:
While I try to share all the information you need to make this recipe in your home with restaurant-quality results, there still may be a question or two. Or these are questions I have received from the community about this recipe. I do my best to answer them as clearly as I can. I hope this helps.
Mushy pickles almost always trace back to one of three things: cucumbers that sat too long after picking, skipping the blossom-end trim, or using cucumbers meant for slicing instead of pickling. Fix those three and you'll see a real difference every time!
Yes, if you want shelf-stable pickles in your pantry. Skipping the water bath step means the jars are not safe to store at room temperature; you would need to treat them like refrigerator pickles instead and keep them chilled.
I don't recommend it. Table salt contains anti-caking agents and iodine that cloud the brine and can affect color and texture. Canning or pickling salt is worth keeping on hand specifically for this.
Give the pickles at least 4 to 6 weeks in the sealed jar before opening. That's how long it takes the dill and garlic flavor to fully work through the cucumbers.
I wouldn't for a shelf-stable canning recipe. The brine's acidity drops each time it's used to process a new batch, and that acidity level is exactly what keeps these safe at room temperature.
You can, but slice them into spears or rounds rather than packing them whole. Larger cucumbers also tend to have more seeds and a softer texture, so don't expect quite the same snap as a true pickling cucumber.

Ingredients
- 4 pounds pickling cucumbers 3"-5" in length
- 10 Tablespoons Canning Salt
- 1 gal Water
Pickle Brine
- 3 Cups white vinegar
- 1 quart Water
- 2 Tablespoons Sugar
- 1 Tablespoons Pickling Spices
Add to each jar
- 1 each Dill Frond
- 1 each garlic clove smashed
- ½ Teaspoon Mustard seeds
- ¼ Teaspoons pepper corns
Instructions
- Wash the cucumbers well, then slice a 1/16-inch piece off the blossom end of each one and discard it, leaving about ¼ inch of stem attached.4 pounds pickling cucumbers

- Dissolve canning salt in 1 gallon of water, pour it over the cucumbers, and let them stand at room temperature for 12 hours. Drain well.1 gal Water, 6 Tablespoons canning salt
- Wash pint jars, lids, and bands in hot, soapy water, then sterilize the jars in boiling water or run them through your dishwasher's sanitize cycle.

- Combine the vinegar, remaining salt, sugar, and 1 quarts water in a large pot.4 Tablespoons canning salt, 3 Cups white vinegar, 1 quart Water, 2 Tablespoons Sugar, 1 Tablespoons Pickling Spices
- Fill each hot, sterilized jar with drained cucumbers, tucking in 1 fresh dill frond, ½ teaspoon mustard seed and ¼ teaspoon pepper corns per pint jar.1 each Dill Frond, 1 each garlic clove, ½ Teaspoon Mustard seeds, ¼ Teaspoons pepper corns
- Ladle the boiling pickling solution over the cucumbers, leaving ½ inch of headspace at the top of each jar.
- Run a thin spatula or bubble tool around the inside of each jar to release trapped air pockets, wipe the rims clean of any brine, then add lids and bands until fingertip tight.
- Process pint jars for 10 minutes if you're at 0 to 1,000 feet elevation, 15 minutes at 1,001 to 6,000 feet, or 20 minutes above 6,000 feet.
- Let jars cool undisturbed on the counter for 12 to 24 hours, then press the center of each lid; it shouldn't flex or pop back. Remove the bands, label your jars with the date, and store any jar that didn't seal in the refrigerator to eat right away instead of the pantry.


Nutrition

I am Sarah Mock. Welcome!
Sarah Mock is a classically trained Chef and a graduate of Johnson & Wales University. A culinary blogger for 17 years, Sarah helps the home cook prepare her recipes with professional results.



Comments
No Comments