

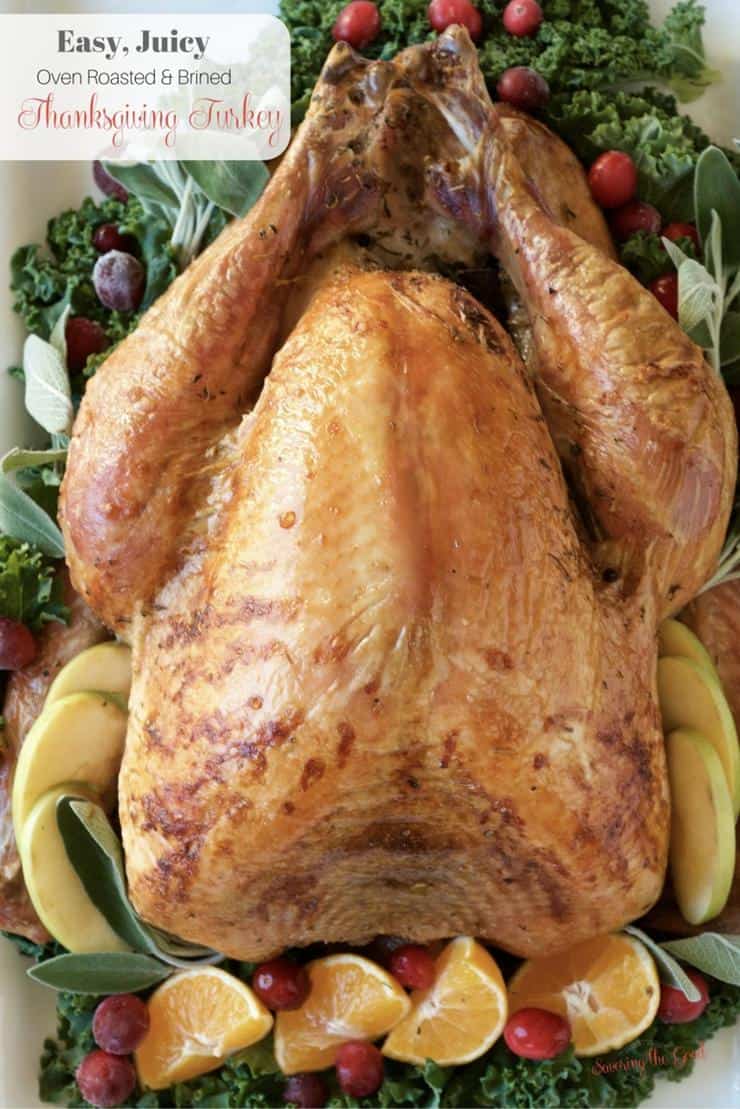
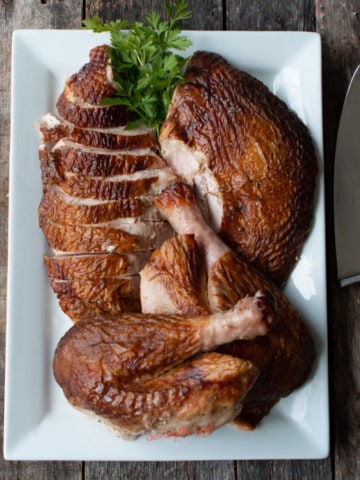
Juicy oven roasted turkey starts with a simple trick: a hot sear at 500°F before the oven drops to 350°F to finish. I brine mine first with my turkey brine recipe, and between the two steps you get deep golden skin and meat that stays moist all the way to the wing. Plan on about 30 minutes of active prep, roughly 3 to 4 hours in the oven depending on the size of your bird, and at least 15 minutes of rest before you carve.
Start with how to thaw a frozen turkey if yours is still frozen, and once it's carved, how to carve a turkey breast walks you through the rest. If you want a juicy turkey in less time, my spatchcock turkey method cuts the roasting time by close to half.
Juicy Turkey Recipe
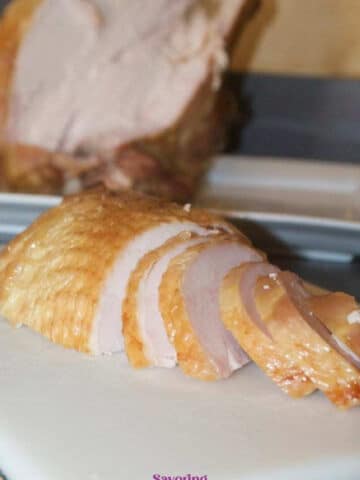
A brine is what makes this recipe reliable. It is not the only path to a moist turkey, but it is the one I trust every year because it gives you a margin for error; if the bird spends an extra 20 minutes in the oven than you planned, the brine is still doing its job.
The full ingredient list is in the recipe card below. Two things do more work than the rest: the brine you make ahead, and the aromatics you pack into the cavity right before the bird goes in the oven.
How do I keep my turkey from getting dry?

My answer is simple! Brine your turkey to keep it from getting dry. The infusion of flavor and salt will help the turkey to retain the delicious juicy flavors .
What Aromatics Go Inside the Turkey
Apple and orange add gentle sweetness and moisture as they heat up in the cavity. Rosemary and sage are doing the real flavor work; I use a full bundle of sage because it wilts down fast in that heat and you want enough left to actually season the meat.
- 1 apple, quartered
- 1 orange, quartered
- 3 sprigs fresh rosemary
- 1 large bundle fresh sage

Pack all of it into the cavity. As the bird roasts, the aromatics heat up and release moisture and flavor back into the meat. You will discard this after roasting; it is for flavor, not for eating, and it is not a substitute for cooking stuffing separately.
Turkey Preparation Essentials



How to Roast a Juicy Turkey
This is a two-temperature method: a hot sear first, then a slower finish. It takes more attention than setting one number and walking away, but it is why the skin comes out deep gold instead of pale.
Preheat and position the rack
Set your oven to 500°F and move the rack to the lowest position. Ovens vary; if yours is anything like mine, drippings on the bottom of the oven will start to smoke at this heat, so crack a window or run your range hood before you start.
Sear at 500°F
Roast the turkey uncovered at 500°F for 30 minutes. This high heat sets the skin fast and helps seal in the juices before the long cook ahead. You will see the skin blister and deepen in color within the first 15 minutes.
Drop the temperature and finish
Lower the oven to 350°F and continue roasting until a meat thermometer inserted into the thickest part of the breast reads 165°F and the dark meat reads 175°F. Check both spots separately; dark meat carries more connective tissue and needs the higher number to be tender, not just safe.
Preheat and position the rack
Set your oven to 500°F and move the rack to the lowest position. Ovens vary; if yours is anything like mine, drippings on the bottom of the oven will start to smoke at this heat, so crack a window or run your range hood before you start.
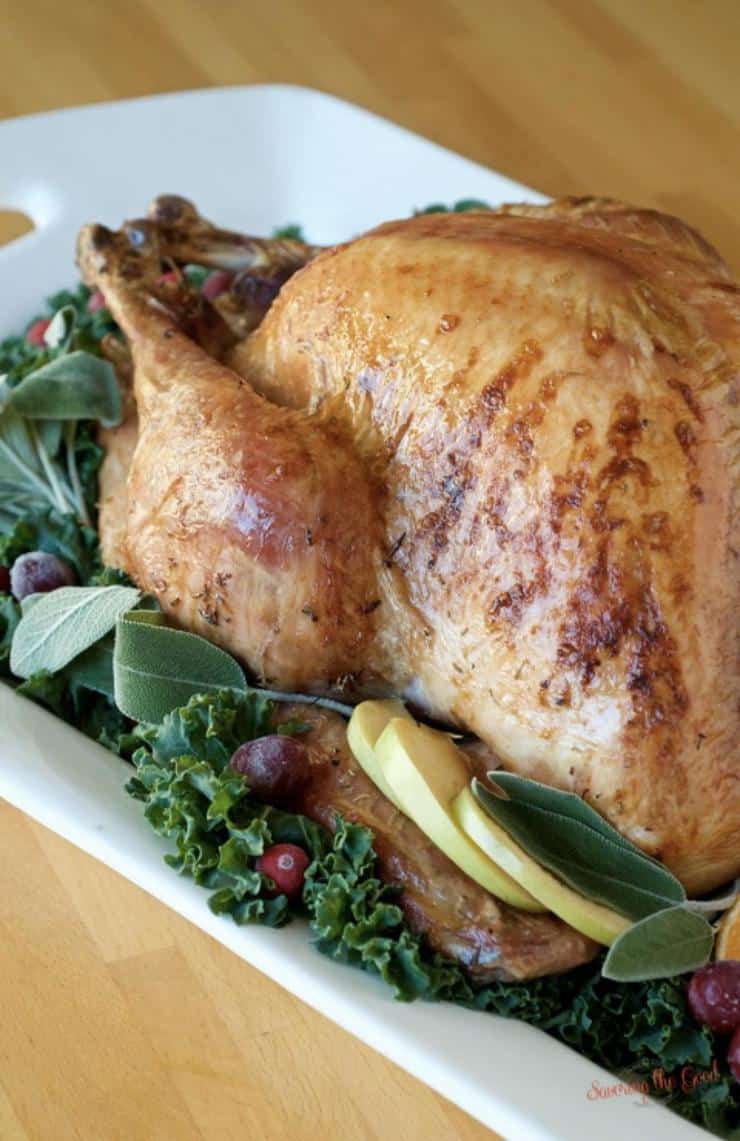
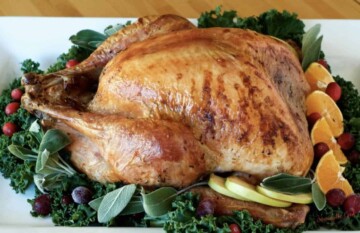
I garnish the platter with what went into the bird: sliced apples, orange wedges, sage, and rosemary, plus cranberries for color, all resting on a bed of kale.
Sarah's Culinary Insight
I've rested turkeys the full 30 minutes and rested them for barely 10, and the difference shows up on the platter every time. Rush the rest and the juices pool on the plate; give it the full window and they stay in the meat.
Skip the 500°F sear and go straight to 350°F, and you lose the deep gold color in the skin along with some of that initial moisture lock. The extra half hour at the start is doing real work, not just adding a step.
My oven smokes a little in that first 500°F stretch because of drippings hitting the bottom of the oven. If yours does the same, that's not a sign anything is wrong; crack a window or run your range hood and keep going.
Check the dark meat separately from the breast every time. They finish at different internal temperatures, and if you only probe the breast, you can pull the thighs before they're actually tender.
Most turkeys come with a little plastic leg clamp holding the legs together. I leave it in place; it does the same job as trussing with kitchen twine, and it saves you from digging through a drawer looking for twine on a morning when you don't have time for that.
Seasonal Favorite
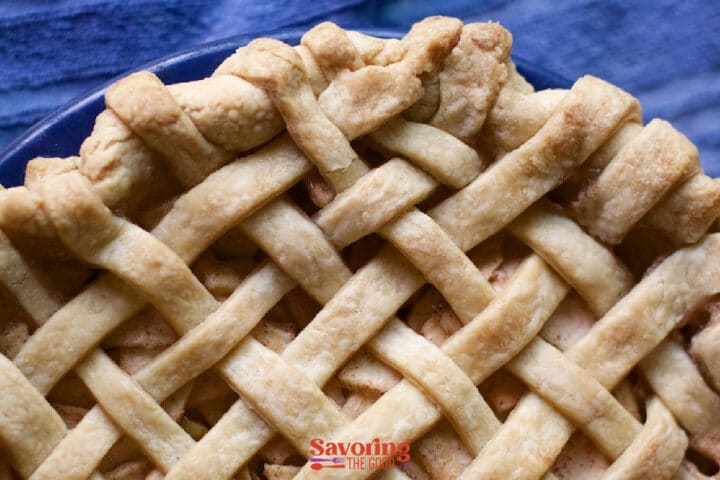
This is my award-winning Crisco pie crust recipe; flaky, tender, and made with simple ingredients you already have.
Juicy Turkey FAQ
While I try to share all the information you need to make this recipe in your home with restaurant-quality results, there still may be a question or two. Or these are questions I have received from the community about this recipe. I do my best to answer them as clearly as I can. I hope this helps.
Why does this recipe start the oven at 500°F instead of a steady 325°F or 350°F?
The high heat sets the skin fast, giving you that golden color right away and helping lock the juices in before the long, slower finish. A constant lower temperature browns the skin more gradually and gives moisture more time to escape.
What internal temperature means the turkey is done?
165°F in the thickest part of the breast, and 175°F in the dark meat. Check both; the breast and thighs cook at different rates and dark meat needs the higher number to be tender.
Do I need to put liquid in the bottom of the roasting pan?
No. The turkey's own drippings will collect in the pan as it roasts. Adding a lot of liquid at the start steams the bird instead of roasting it, which works against the crisp skin this method is built for.
Should I stuff the cavity with bread stuffing?
I don't, and for a food safety reason as much as a flavor one: bread stuffing packed inside the cavity often doesn't reach a safe internal temperature by the time the turkey itself is done. I keep the cavity to aromatics only and bake my vegetable stuffing recipe separately in its own dish, where I can control its temperature directly.
Can I make the turkey brine ahead of time?
Yes. My turkey brine recipe has the exact timing for mixing it ahead and brining the bird before roasting day.

Ingredients
- 1 Turkey
Turkey Brine:
- 1 Cup salt
- ½ Cup Sugar
- 2 mandarin orange peels
- 3 Bay Leaves
- 3 sprigs of sage
- 2 Tablespoon Rosemary
- 2 Tablespoon Thyme
- 2 Tablespoon peppercorns
- Water enough to fully submerge the turkey
Cavity Aromatics
- 1 apple quartered
- 1 orange quartered
- 3 sprigs of fresh rosemary
- 1 large bundle of fresh sage
Instructions
How to brine a turkey
- Determine how much water you are going to need to make the brine deep enough to cover the turkey completely.Water
- Instead of guessing, place your turkey, still in the packaging in a large stock pot. Please be sure to wash off the outside of the packaging of the turkey.1 Turkey
- Fill with clean tap water until the turkey is submerged.
- Remove the turkey from the water. This way, when you are ready to place the turkey in the brine you don't have a large over flow of brine, loosing all the flavors
- Remove the turkey from the packaging and remove the turkey neck and the bag of innards from the cavity of the turkey.
- Pour your brine salt, sugar and spices into the pot of measured water.Be sure to stir until all the salt and sugars have dissolved completely.1 Cup salt, ½ Cup Sugar, 2 mandarin orange peels, 3 Bay Leaves, 3 sprigs of sage, 2 Tablespoon Rosemary, 2 Tablespoon Thyme, 2 Tablespoon peppercorns
- Place your turkey back in the brine and cover with a lid.
- Place your turkey and its brine in the refrigerator for a minimum of 8 hours but preferably 12-18 hours.
What aromatics to put inside the turkey for roasting1 apple, 1 orange, 3 sprigs of fresh rosemary, 1 large bundle of fresh sage
How to prepare a turkey for roasting
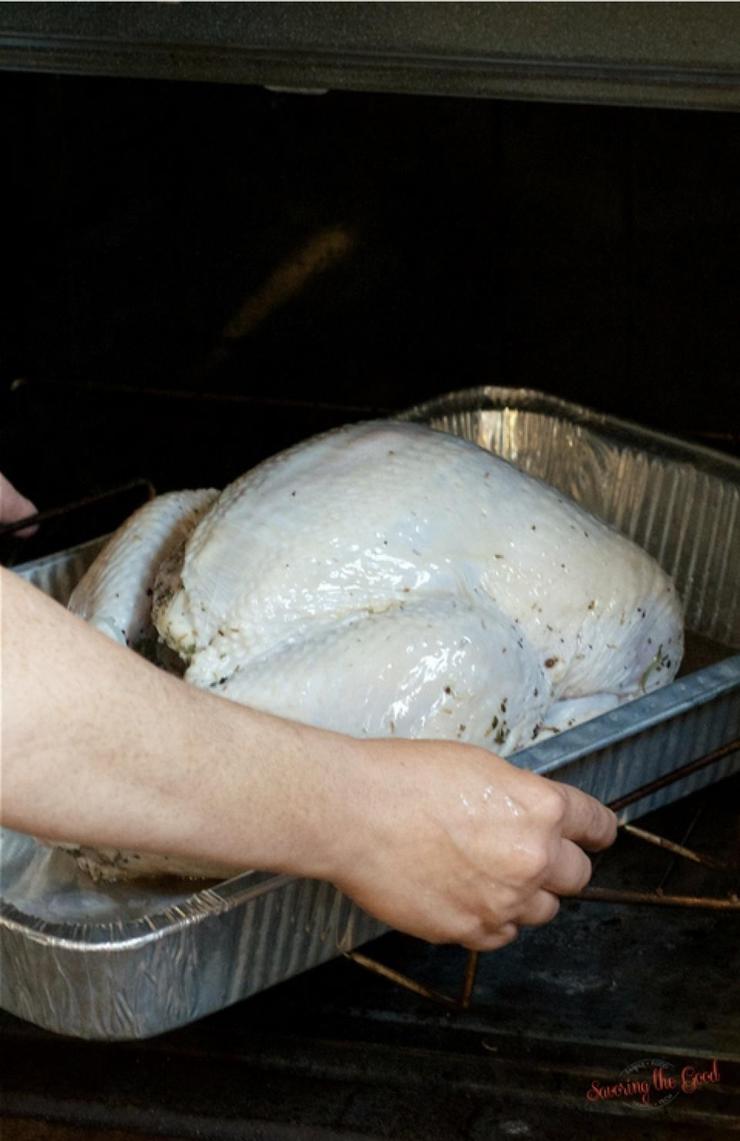
- Place the turkey in the roasting pan, with the back side down and tuck the wings under the body. This gives the turkey more stability, a wider stance to sit on when it comes to carving the bird.
- Next, pat the turkey dry with paper towels.
- Drizzle a bit of vegetable oil over the entire bird and give it a good rub down. The oil helps give it a gorgeous golden color and crispy skin. If you would like to use butter you are welcome to do that.
- I leave this little 'leg clamp' in place. The legs are tied together and I don't have to fuss with finding my kitchen twine and tying them together.
How to roast turkey
- Set your oven to 500 degrees and place your oven rack in the lowest position. Be aware that if you oven is anything like mine, it will burn off any of the drippings that might be on the bottom of the oven.
- Roast the turkey at 500 °F (260 °C) for 30 minutes. This will give the skin a beautiful golden brown color and almost sear the turkey, keeping the delicious juices in the bird.
- Lower the temperature to 350 and continue to cook the turkey until a meat thermometer inserted into thickest part of breast is 165˚ F and dark meat is 175˚ F.
- Carefully remove your beautifully roasted turkey from the oven and allow it to rest for at least 15 minutes, preferably 30 minutes.
Nutrition
Notes
originally posted: Nov 14, 2017

I am Sarah Mock. Welcome!
Sarah Mock is a classically trained Chef and a graduate of Johnson & Wales University. A culinary blogger for 17 years, Sarah helps the home cook prepare her recipes with professional results.



Raquele Strickland says
Do you rinse the turkey after brining?
Linda Bell says
Do you cover the turkey at all while roasting?
Andie Thueson says
My husband is usually on brining duty, I will have to share this with him! It looks amazing.
Sarah Walker Caron says
Your turkey looks absolutely perfect! I've never brined before but these instructions make it sound so doable. Might have to try it this year.
Sarah says
YES!! Brine the turkey. Once you do you will wonder why you never brined before!
Charity Beth Long says
Brining makes all the difference! What a gorgeous turkey!
Beth K says
What an amazing turkey! I cant wait to make it for thanksgiving!
Sarah says
Thank you! This is my favorite part of the Thanksgiving meal. Turkey!
Nellie Tracy says
This is perfect preparation for the holiday! It looks like an absolutely delicious recipe and I can't wait to try it!
Sarah says
Yes! I hope this recipe makes your turkey perfect.
Robin Gagnon says
Yes, brining the turkey is a must in my house!
Sarah says
Once I learned about brining..... there was no going back.
Krissy Allori says
This recipe has me excited for ALL THINGS FALL!!! It's all about the brine!
Sarah says
I KNOW!!! Brine is the best. And I am soooooo ready for the warn flavors of fall.