


-
Strawberry Topping
-
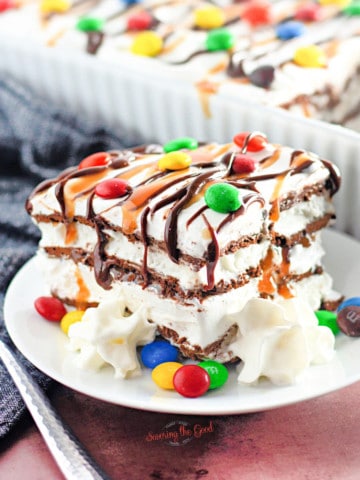
Ice Cream Sandwich Cake
-
Peach Dump Cake with Cake Mix
-
Vintage Orange Fluff Salad
-
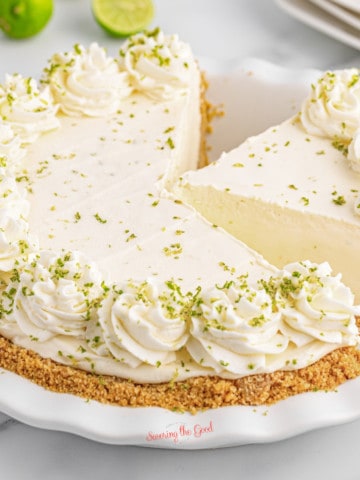
No Bake Key Lime Pie with Graham Cracker Crust
-
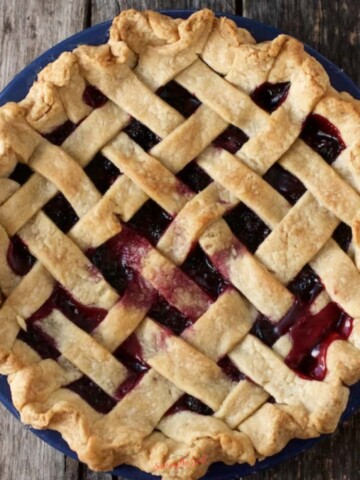
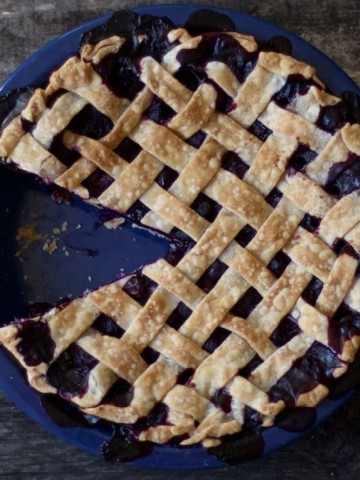
Black Raspberry Pie Recipe
-
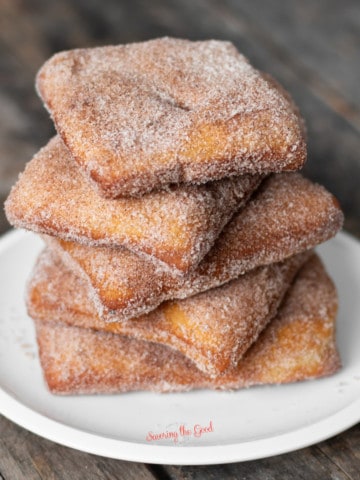
Fastnachts
-
Crisco Pie Crust Recipe
-
Blueberry Pie Recipe
-
Golden Graham Bars Recipe
-
Sous Vide Lemon Curd
-
No-Bake Éclair Cake
-
Cranberry Orange Bread Recipe
-
Cherry Scone Recipe
-
Pineapple Dump Cake Without Cherries
-
Blackberry Dump Cake Recipe (Without Pie Filling)
-
Easy Rhubarb Dump Cake (No Mixing Needed!)
-
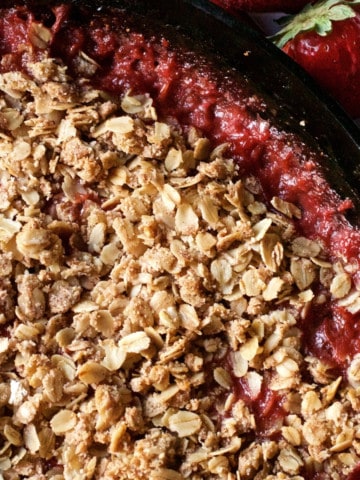
Strawberry Rhubarb Crisp
-
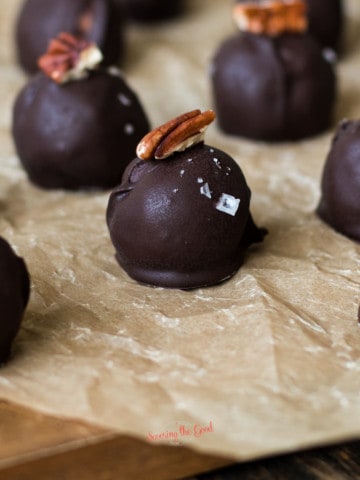
Kentucky Bourbon Balls
-
Mini Black Bottom Cupcake Recipe
-
Choux Pastry Recipe
-
Chocolate Pizzelle Recipe
-
Sugared Champagne Grapes
-
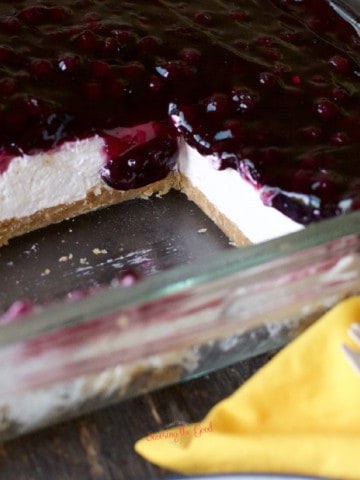
Blueberry Delight (No-Bake Dessert Recipe)
-
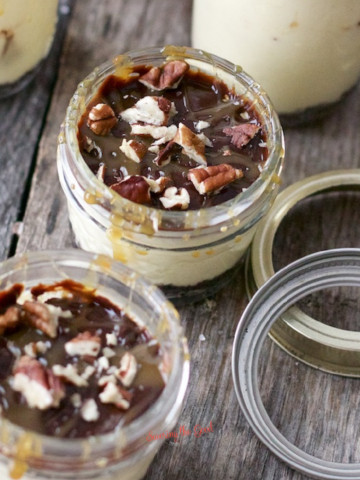
Sous Vide Cheesecake in Jars
-
Peanut Butter Pie Recipe
-
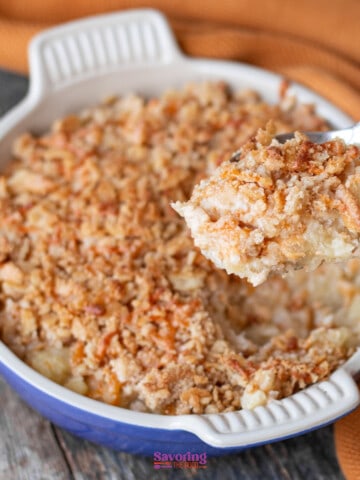
Pineapple Casserole Recipe
-
Fruity Pebbles Rice Crispy Treats Recipe
-
Peanut Butter Frosting Fudge (2 Ingredient Peanut Butter Fudge)
-
Valentine Pretzel Hug Treats
-
Easy Oreo Truffle Balls Recipe
-
Christmas Puppy Chow (Muddy Buddies)
-
Pumpkin Whoopie Pie Recipe
-
Rainbow Jello Layers Recipe (with Video)
-
Strawberry Tanghulu Recipe (Candied Strawberries)
-
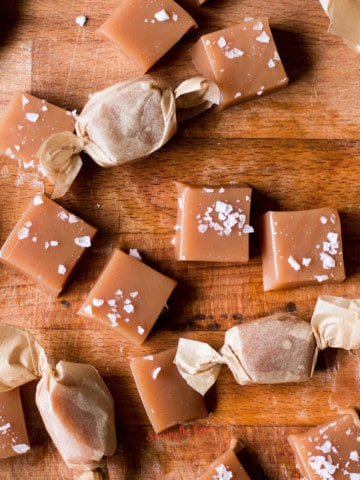
Recipe for Caramels
-
Scotcheroos
-
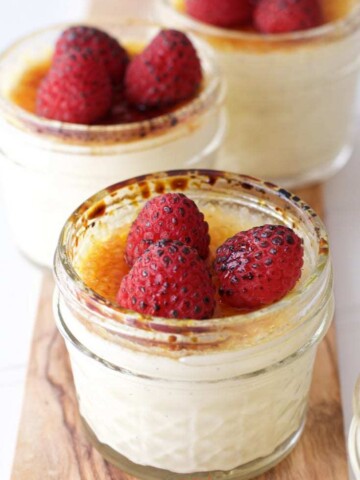
Sous Vide Crème Brûlée (How to make sous vide creme brulee)
-
Heaven On Earth Cake
-
3-Ingredient Lemonade Popsicles Recipe
-
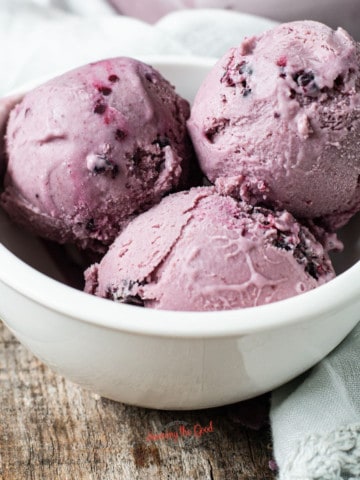
Black Raspberry Ice Cream Recipe
-
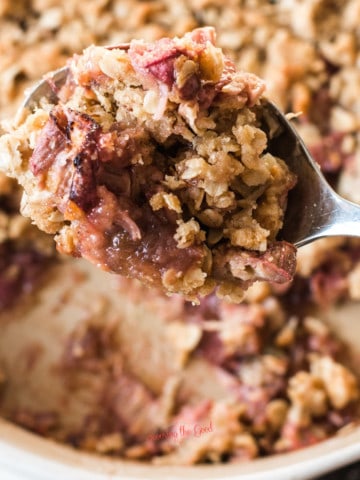
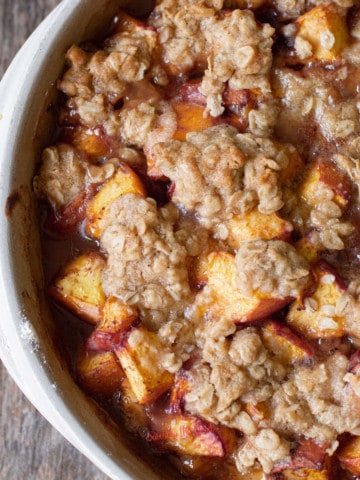
Easy Peach Crumble Recipe with Oats
Eating dessert first is allowed at my house! Currently, my daughter is making Peanut Butter Pie for every family member's birthday this year. A great recipe for those starting to make homemade desserts.

Peanut butter kiss cookies are a classic Christmas cookie that we make by the dozens each holiday. The newest recipe on the site is the Black Raspberry Pie. The blackberry harvest was GOOD this year! My favorite allergy-friendly treat is the old-school Golden Graham S'Mores.
No Bake Dessert Recipes
Perfect for those hot summer days, and you might just find yourself making them even when the weather cools down!

Best Cuisinart Ice Cream Maker Recipes
Next time you take out your homemade ice cream maker these Cuisinart ice cream maker recipes will give you lots of delicious ice cream recipe options.